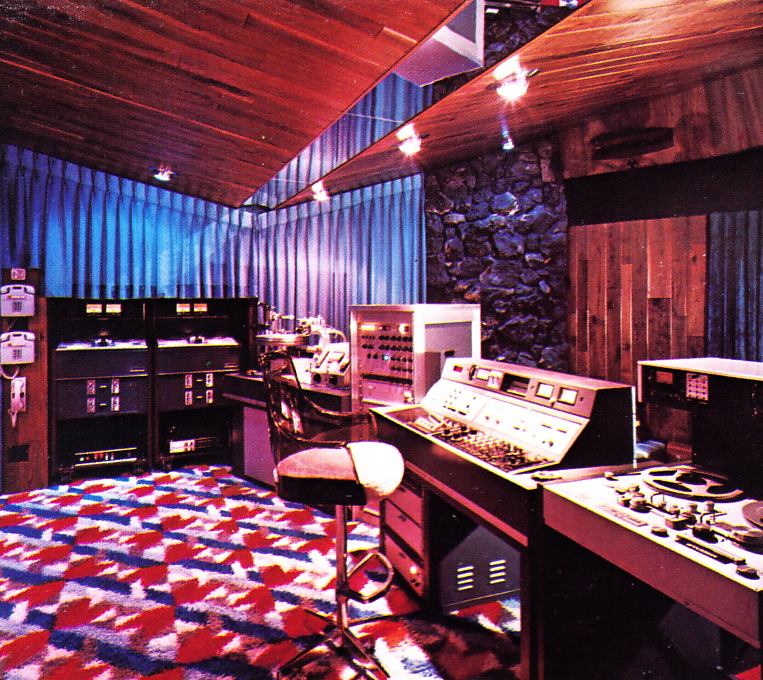
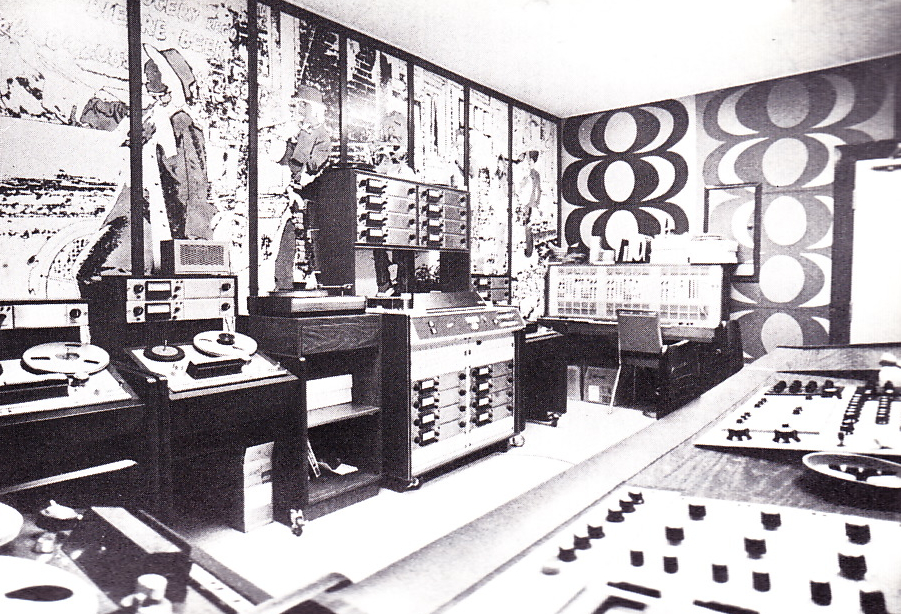
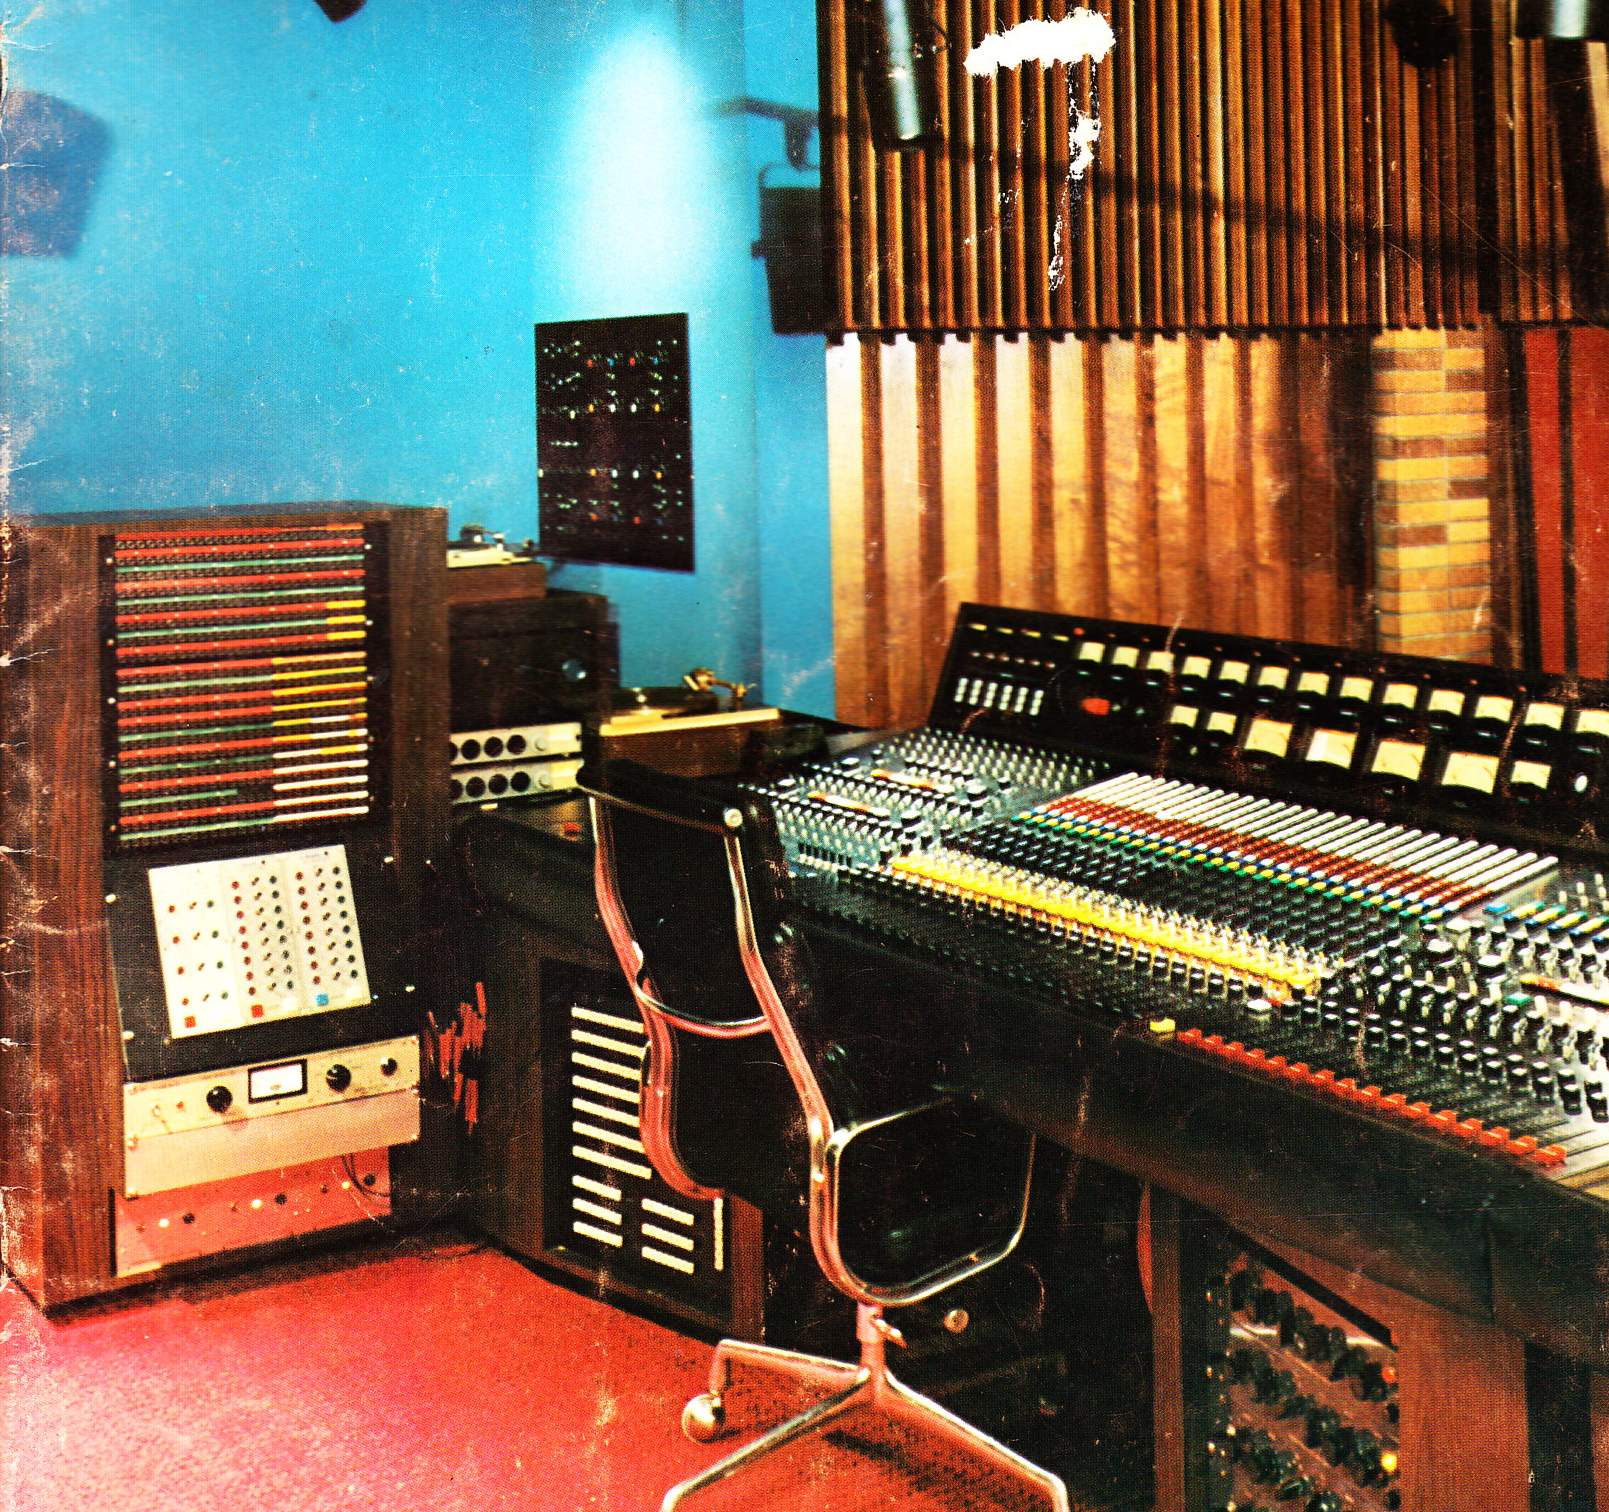
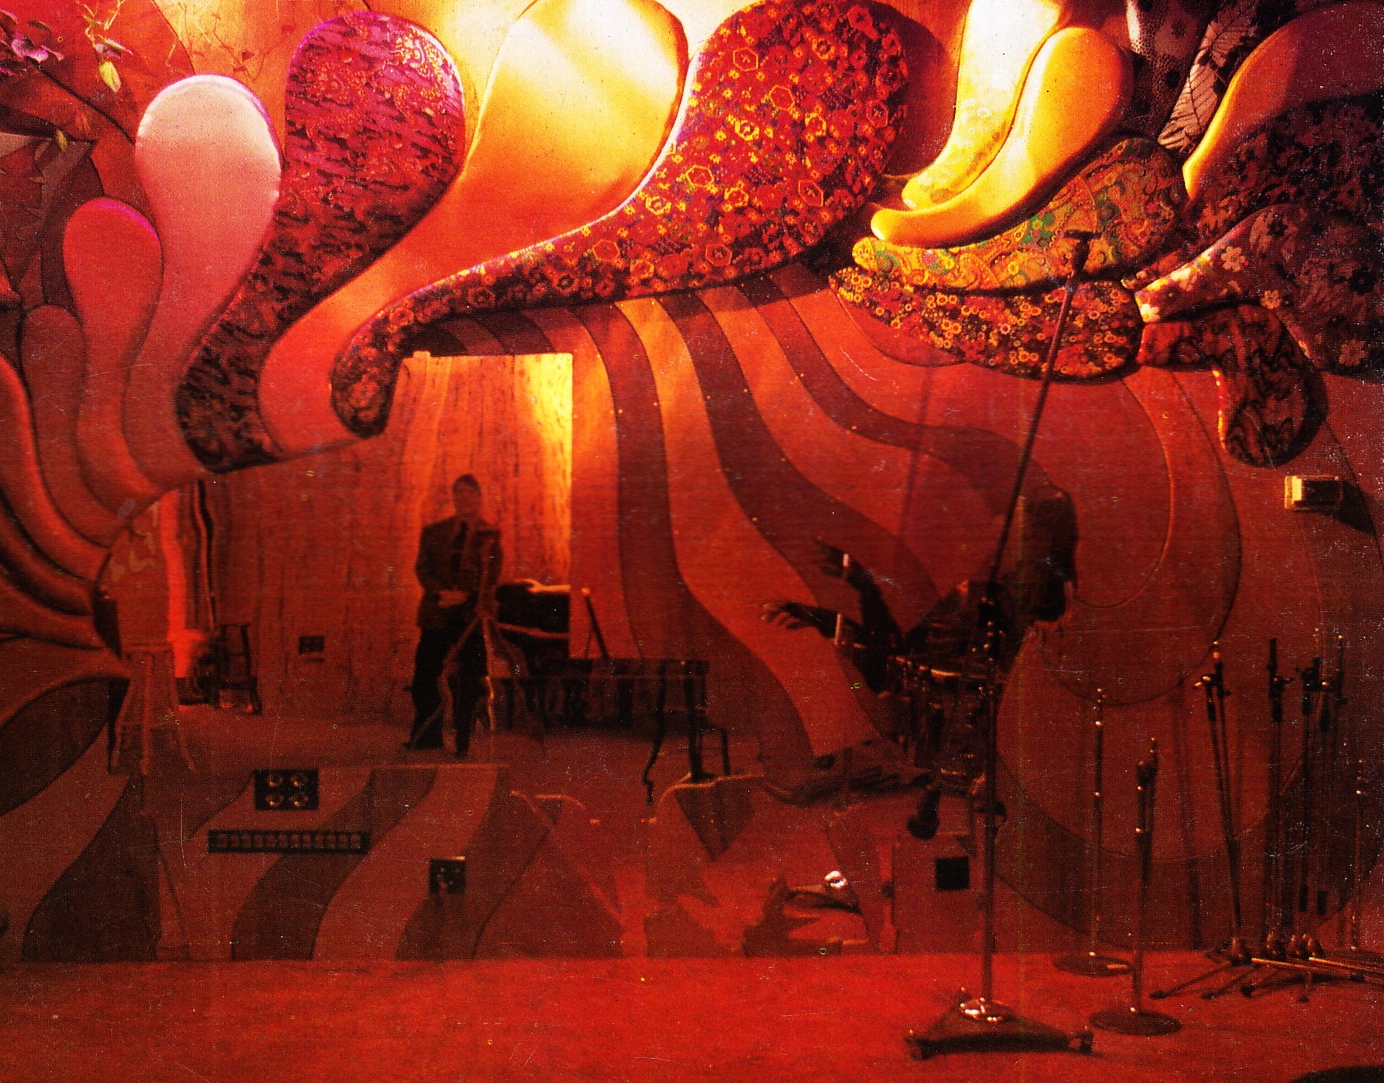
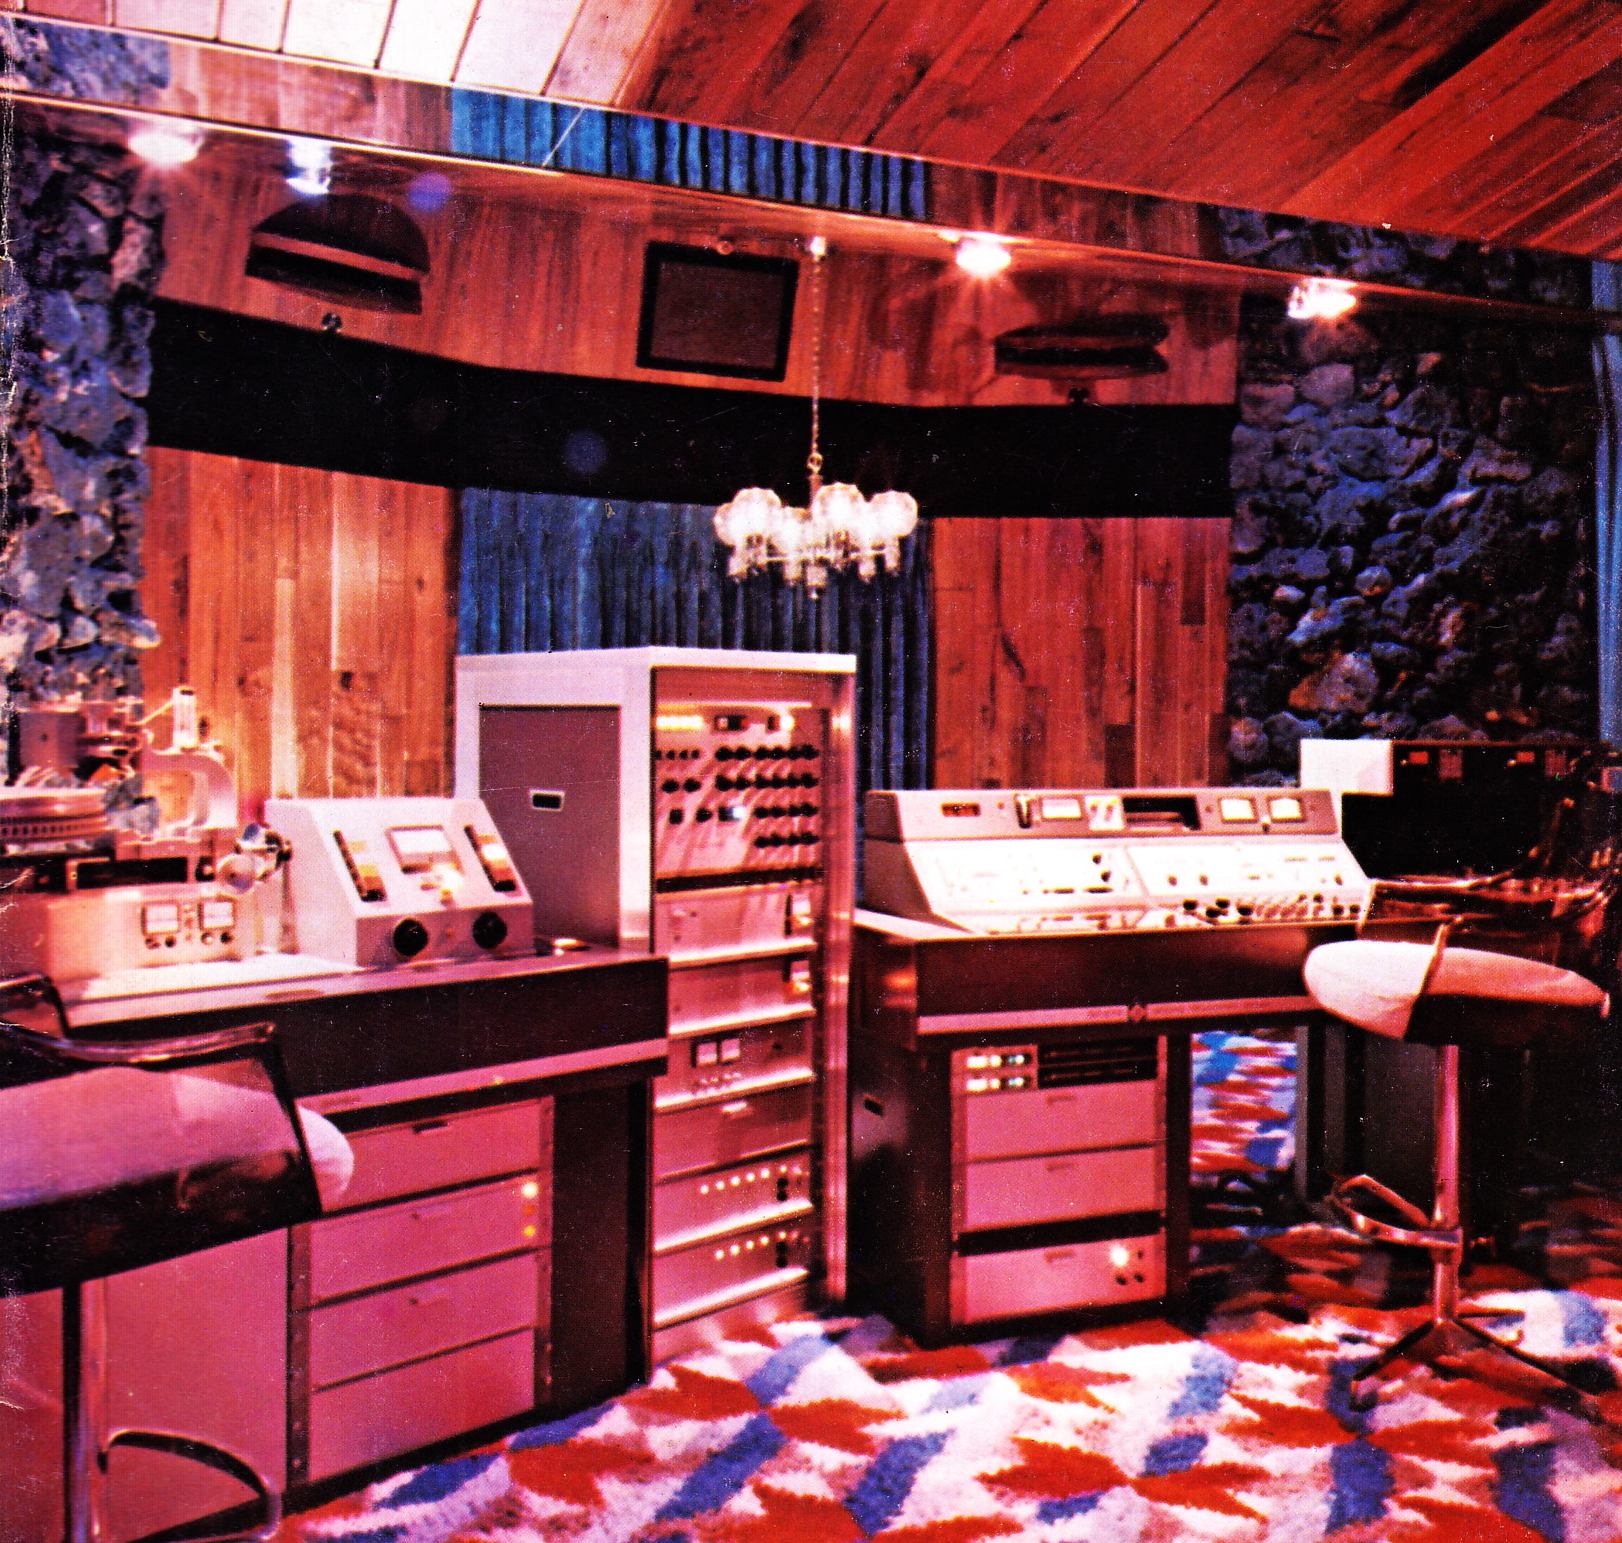
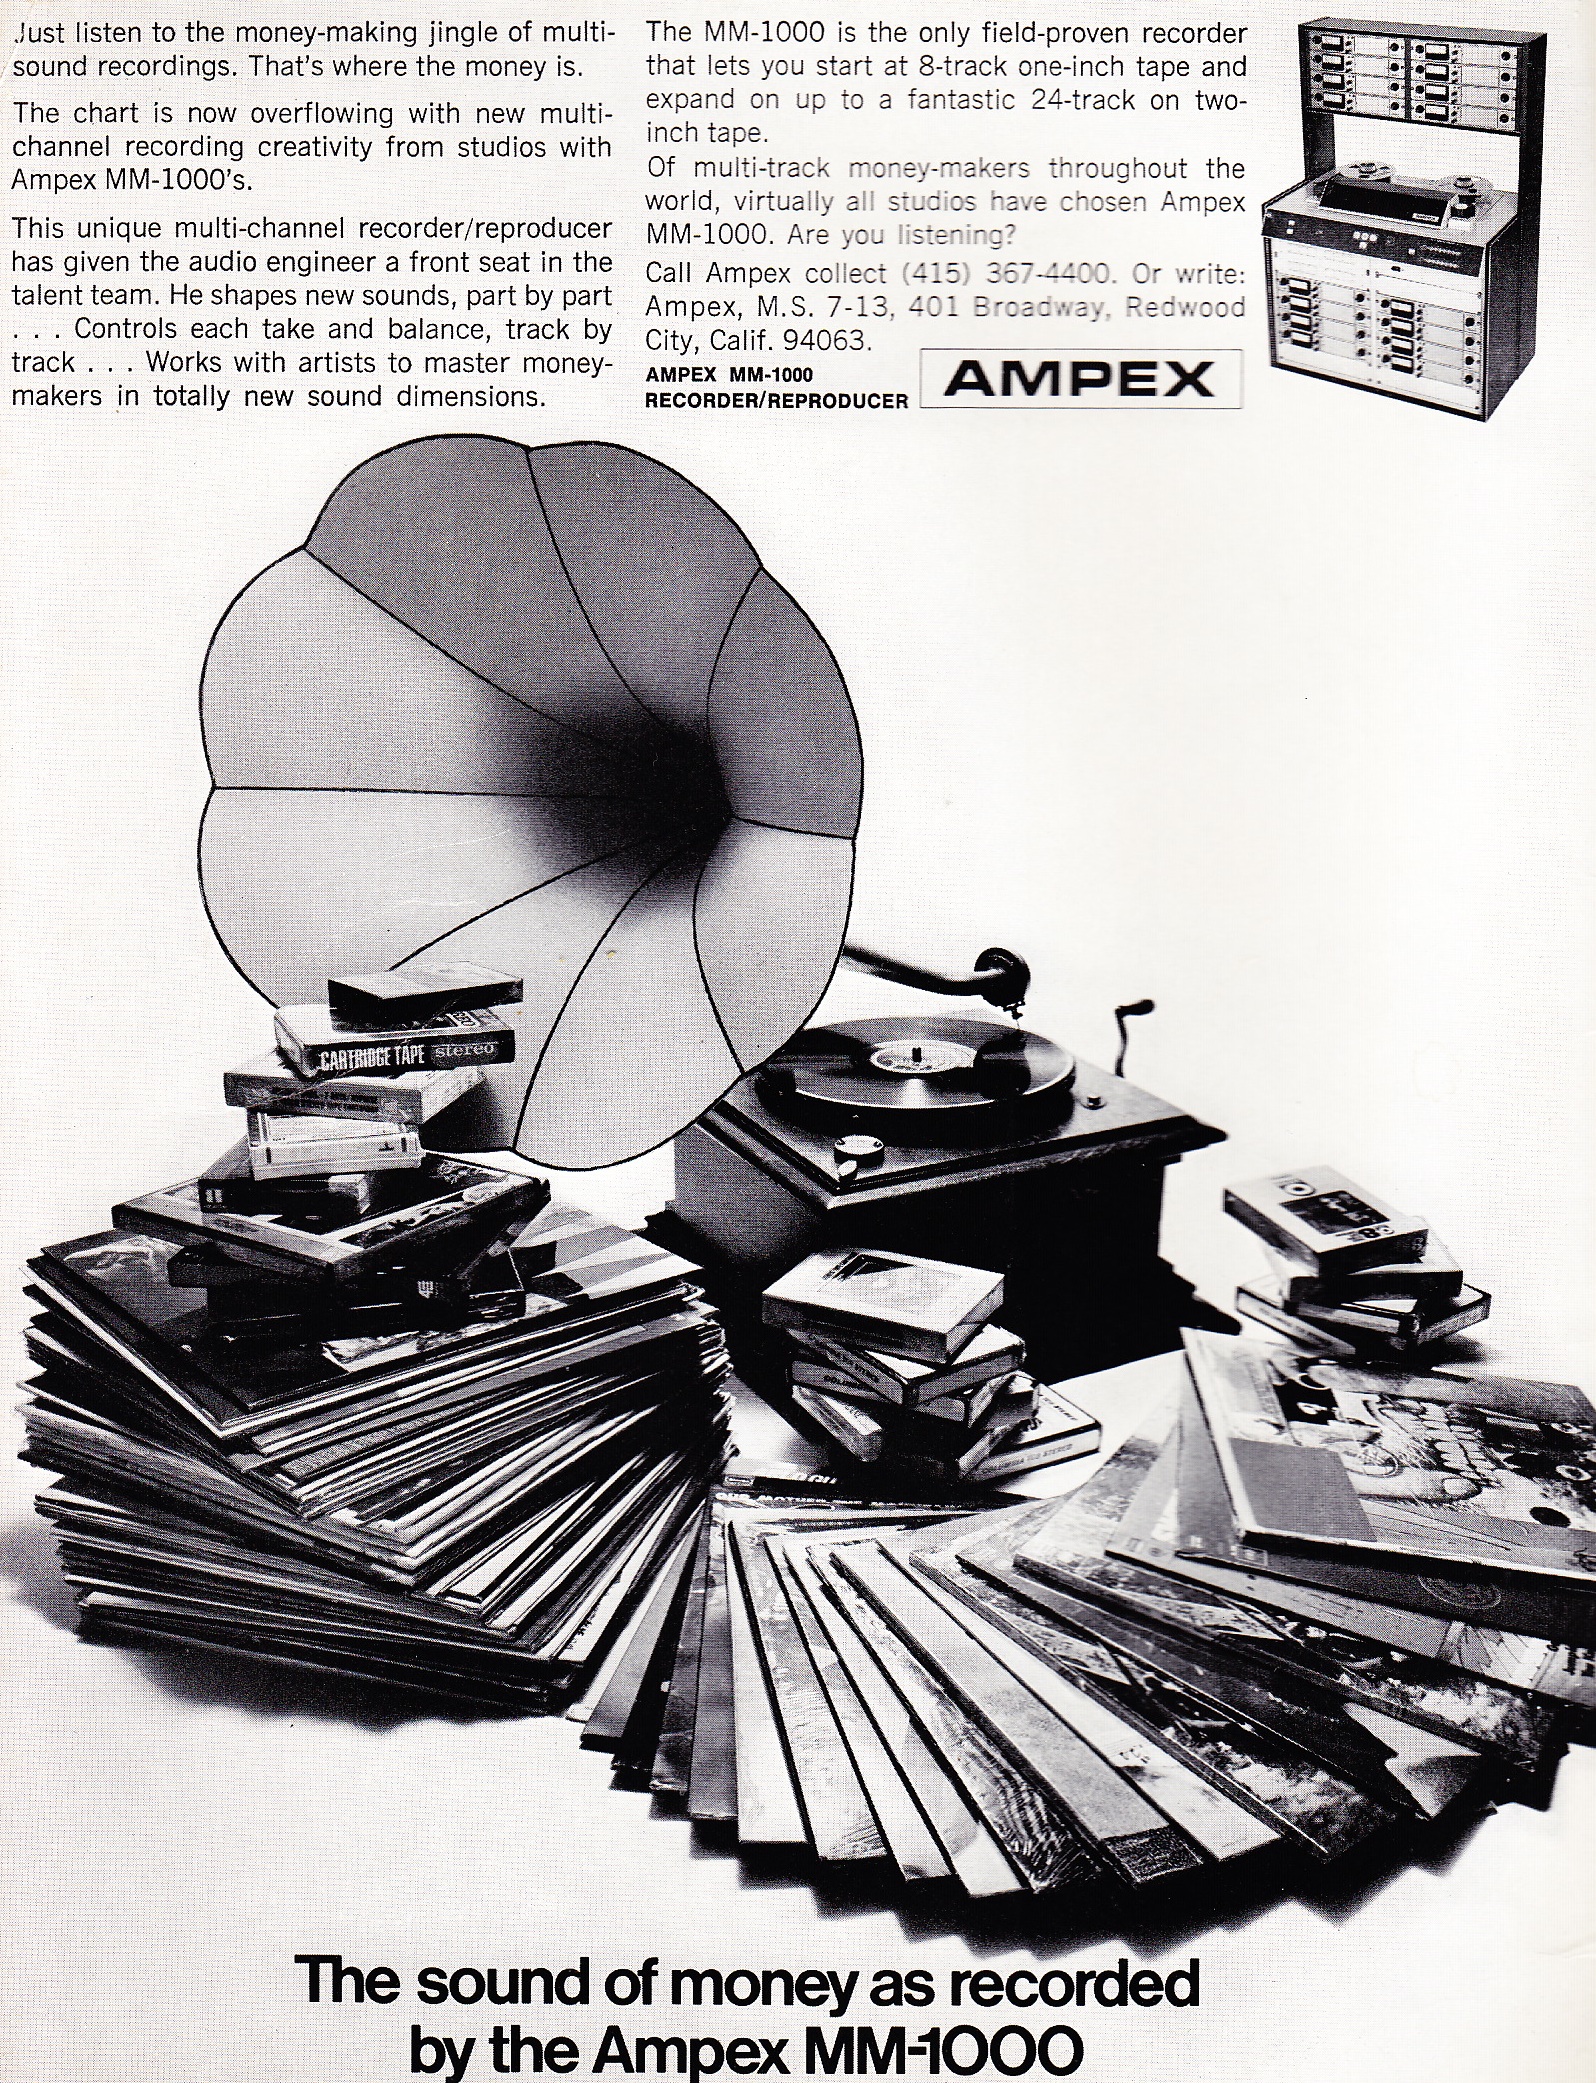
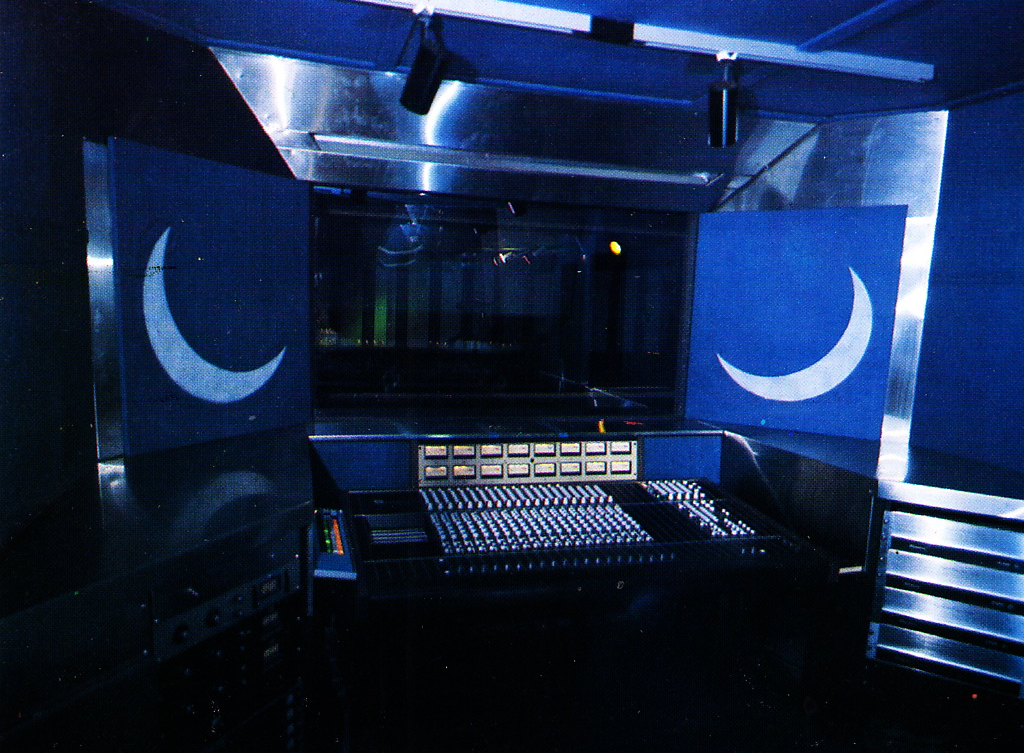
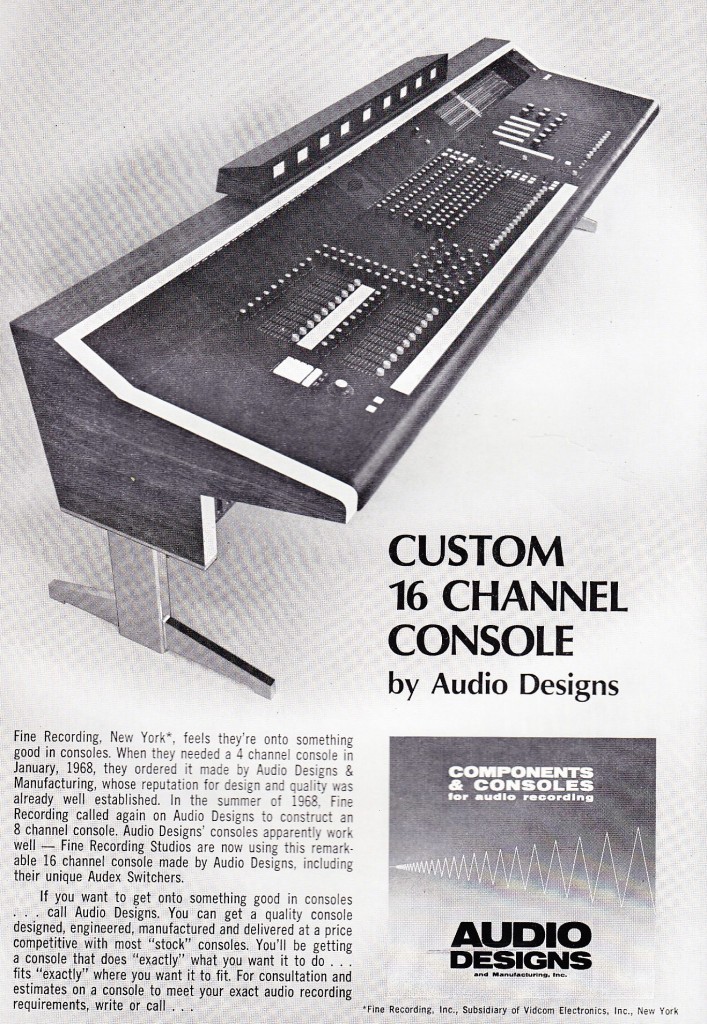
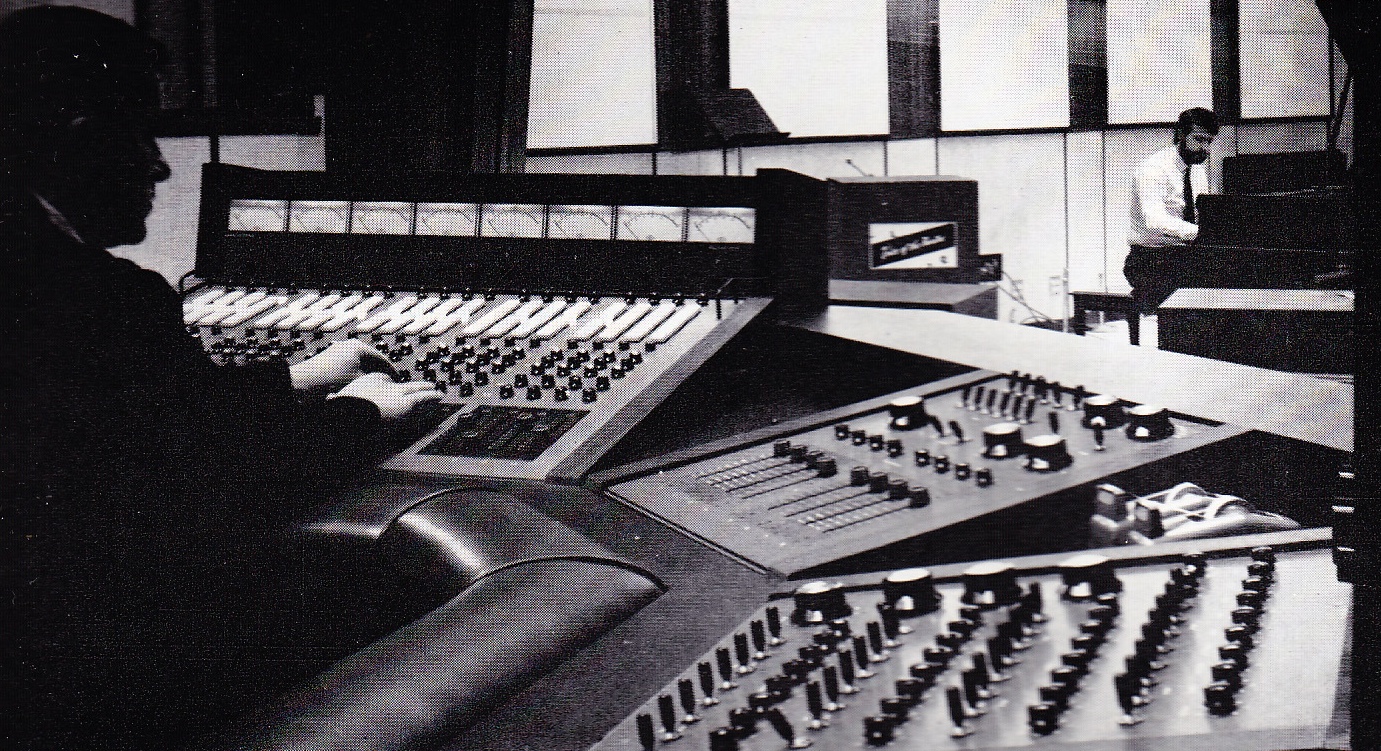
In the account of his folk’s FINE RECORDING, INC., operation, Tom Fine mentioned the custom ADM console that was installed at the end of the 1960s. I stumbled across a period trade-ad announcing this installation and add it here to the stack. For the telling of the whole F.R.I. story, click here.
 Ah the 1970s: that in-between-time which spanned the earthy-idealism and radical upheavals of the 1960s with the slick techno-consumerist-complacency of the 1980s. Having spent most of the decade as an unfertilzed egg I can’t really offer any first-hand account, but I think we can agree that this at least holds true in the popular imagination. Media critics often use the term ‘incoherent’ to describe the texts that come from this time period, meaning that there is often very faulty logic revealed when the binary signifiers within the texts are mapped out and correlated. The 70s saw the ascension of Asian technology, New Hollywood, and Rock-Music-As-Industry. Rock-into-punk, soul-into-disco, and transistors into everything.
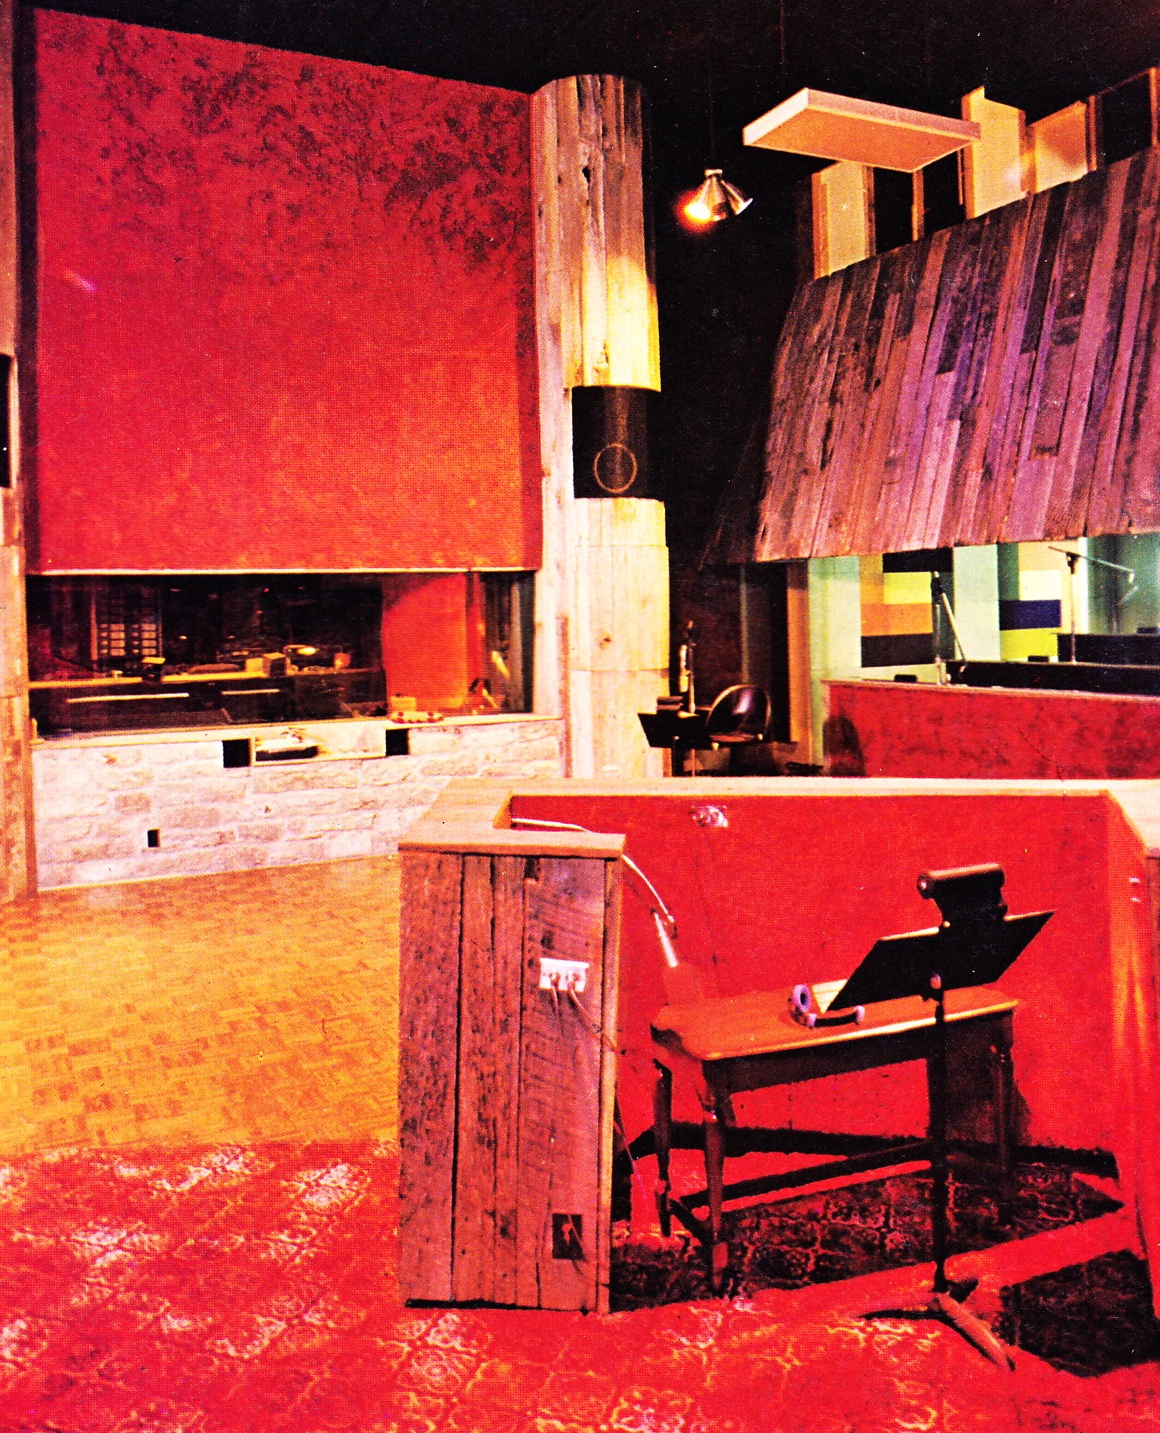
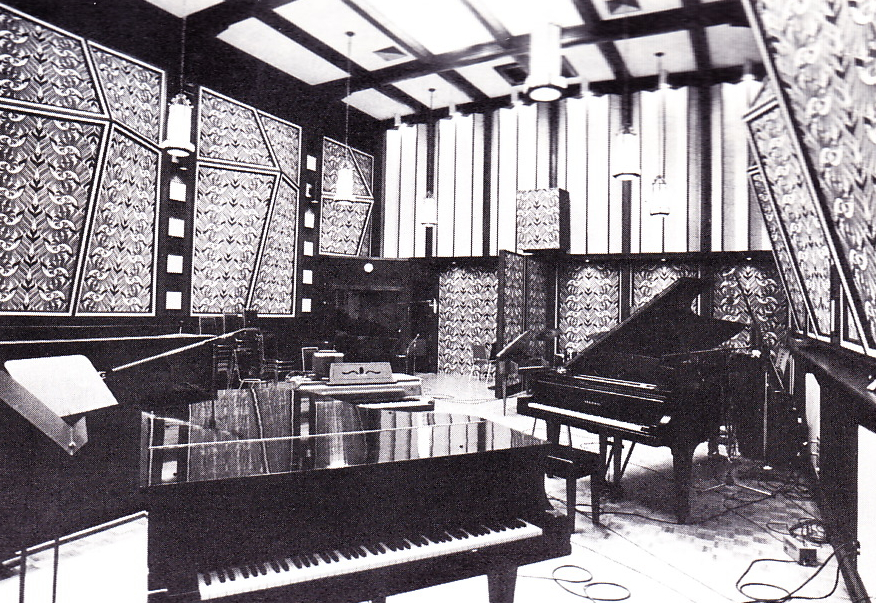
People tell me that I am obsessed with the 1970s. Now, I am not consciously aware of any particular bias that I have towards this time period (or its cultural products), but ain’t it true that we often see ourselves very differently than others see us. Psychologists call this The Problem Of The Differential Fit. NEways… Here’s some photos of 1970’s recording-studio-dreamlands to get ya started. Man could you imagine going to work in one of these crazy, lurid dream-factories everyday? Amazing. The lights, colors, the mirrors, the supergraphics… Much more to come so stay tuned. (btw – photo attributions refer only to the image directly above the text – the other images, i have no idea).
Above: unknown studio circa 1970
The Black Box
 Let’s just say hypothetically that you had to write+ record a tremendous amount of guitar-based music very quickly. And even though you work at a recording studio filled with numerous custom and vintage-modified tube amps and great microphones, this music needed to be recorded in a modest home-studio using the not-awful but not-awesome Line 6 POD Pro XT. Could there be some device that might bridge this gap in audio aesthetics, if even a bit?
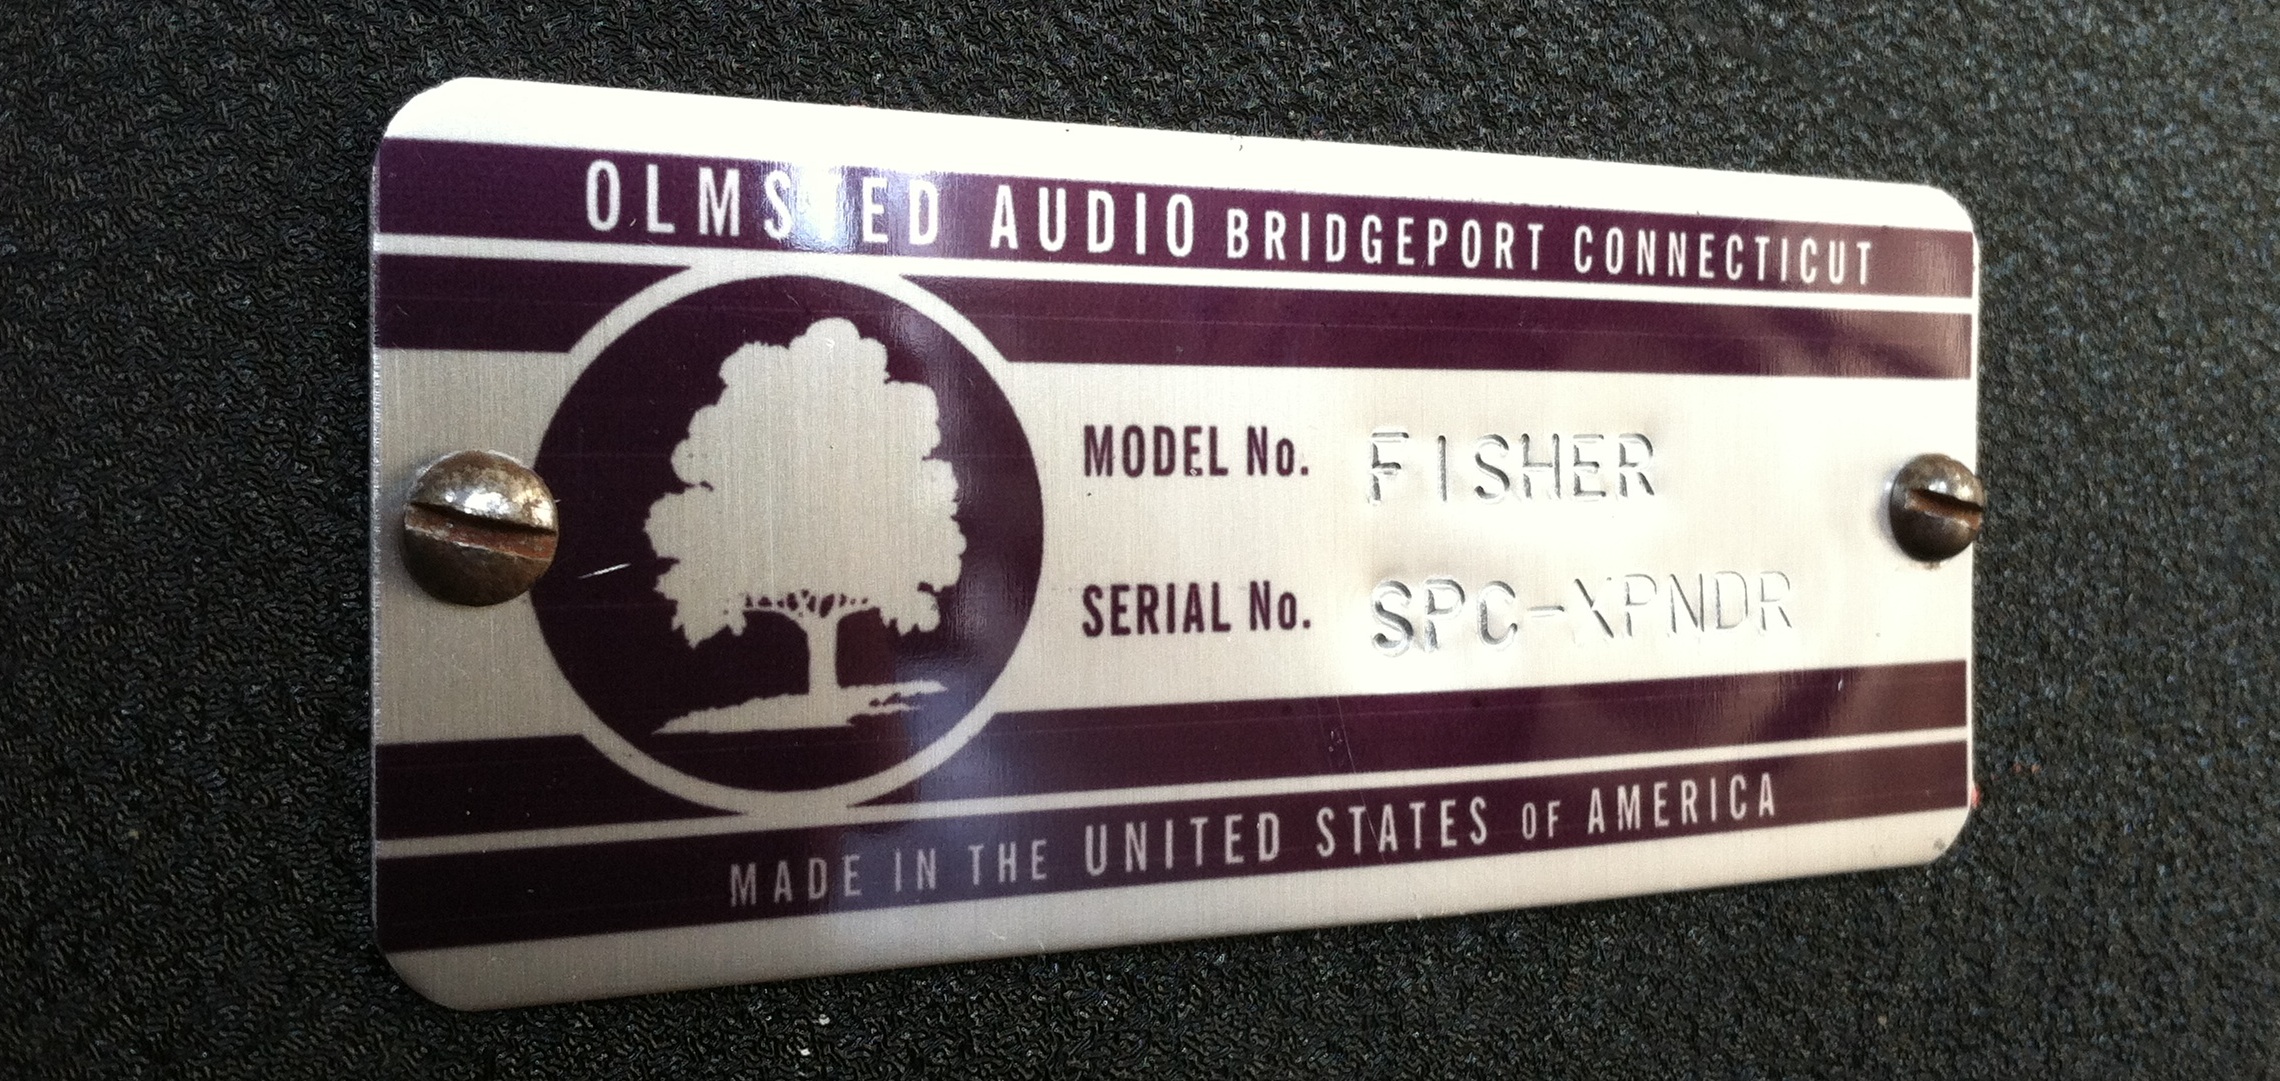 I’ve used the Line 6 ‘POD’ series of devices for a decade; they are not very good for recording prominently-featured electric guitar parts, but they definitely have their uses in the studio; the Bass Pod Pro has actually worked out well a few times, and the Pod Pro is often good to add grit to synths. When music must be recorded in a domestic environment, though, a POD can be very helpful, at least logistically. I recently bought the newer POD ‘PRO XT’ version for around $200 on eBay. Aside from an annoying but sonically inconsequential mechanical-hum given off by the power transformer it seems to work fine. It even has the ability to user-adjust the blend between close mics and far mics on the ‘Amps.’ Does it sound just like a good tube amp, well-mic’d, in a great sounding room? No. At best, it sounds rather like playback from a 16-bit ADAT, if any of y’all can remember that sound. Not bad, but not very detailed and overall sterile. I knew that some tubes, transformers, and real mechanical reverb could help transform the POD sound to something that I would be a little more comfortable with. So when I found a Fisher Space Expander for $10 at the flea market last fall, this little project went up near the top of the list.
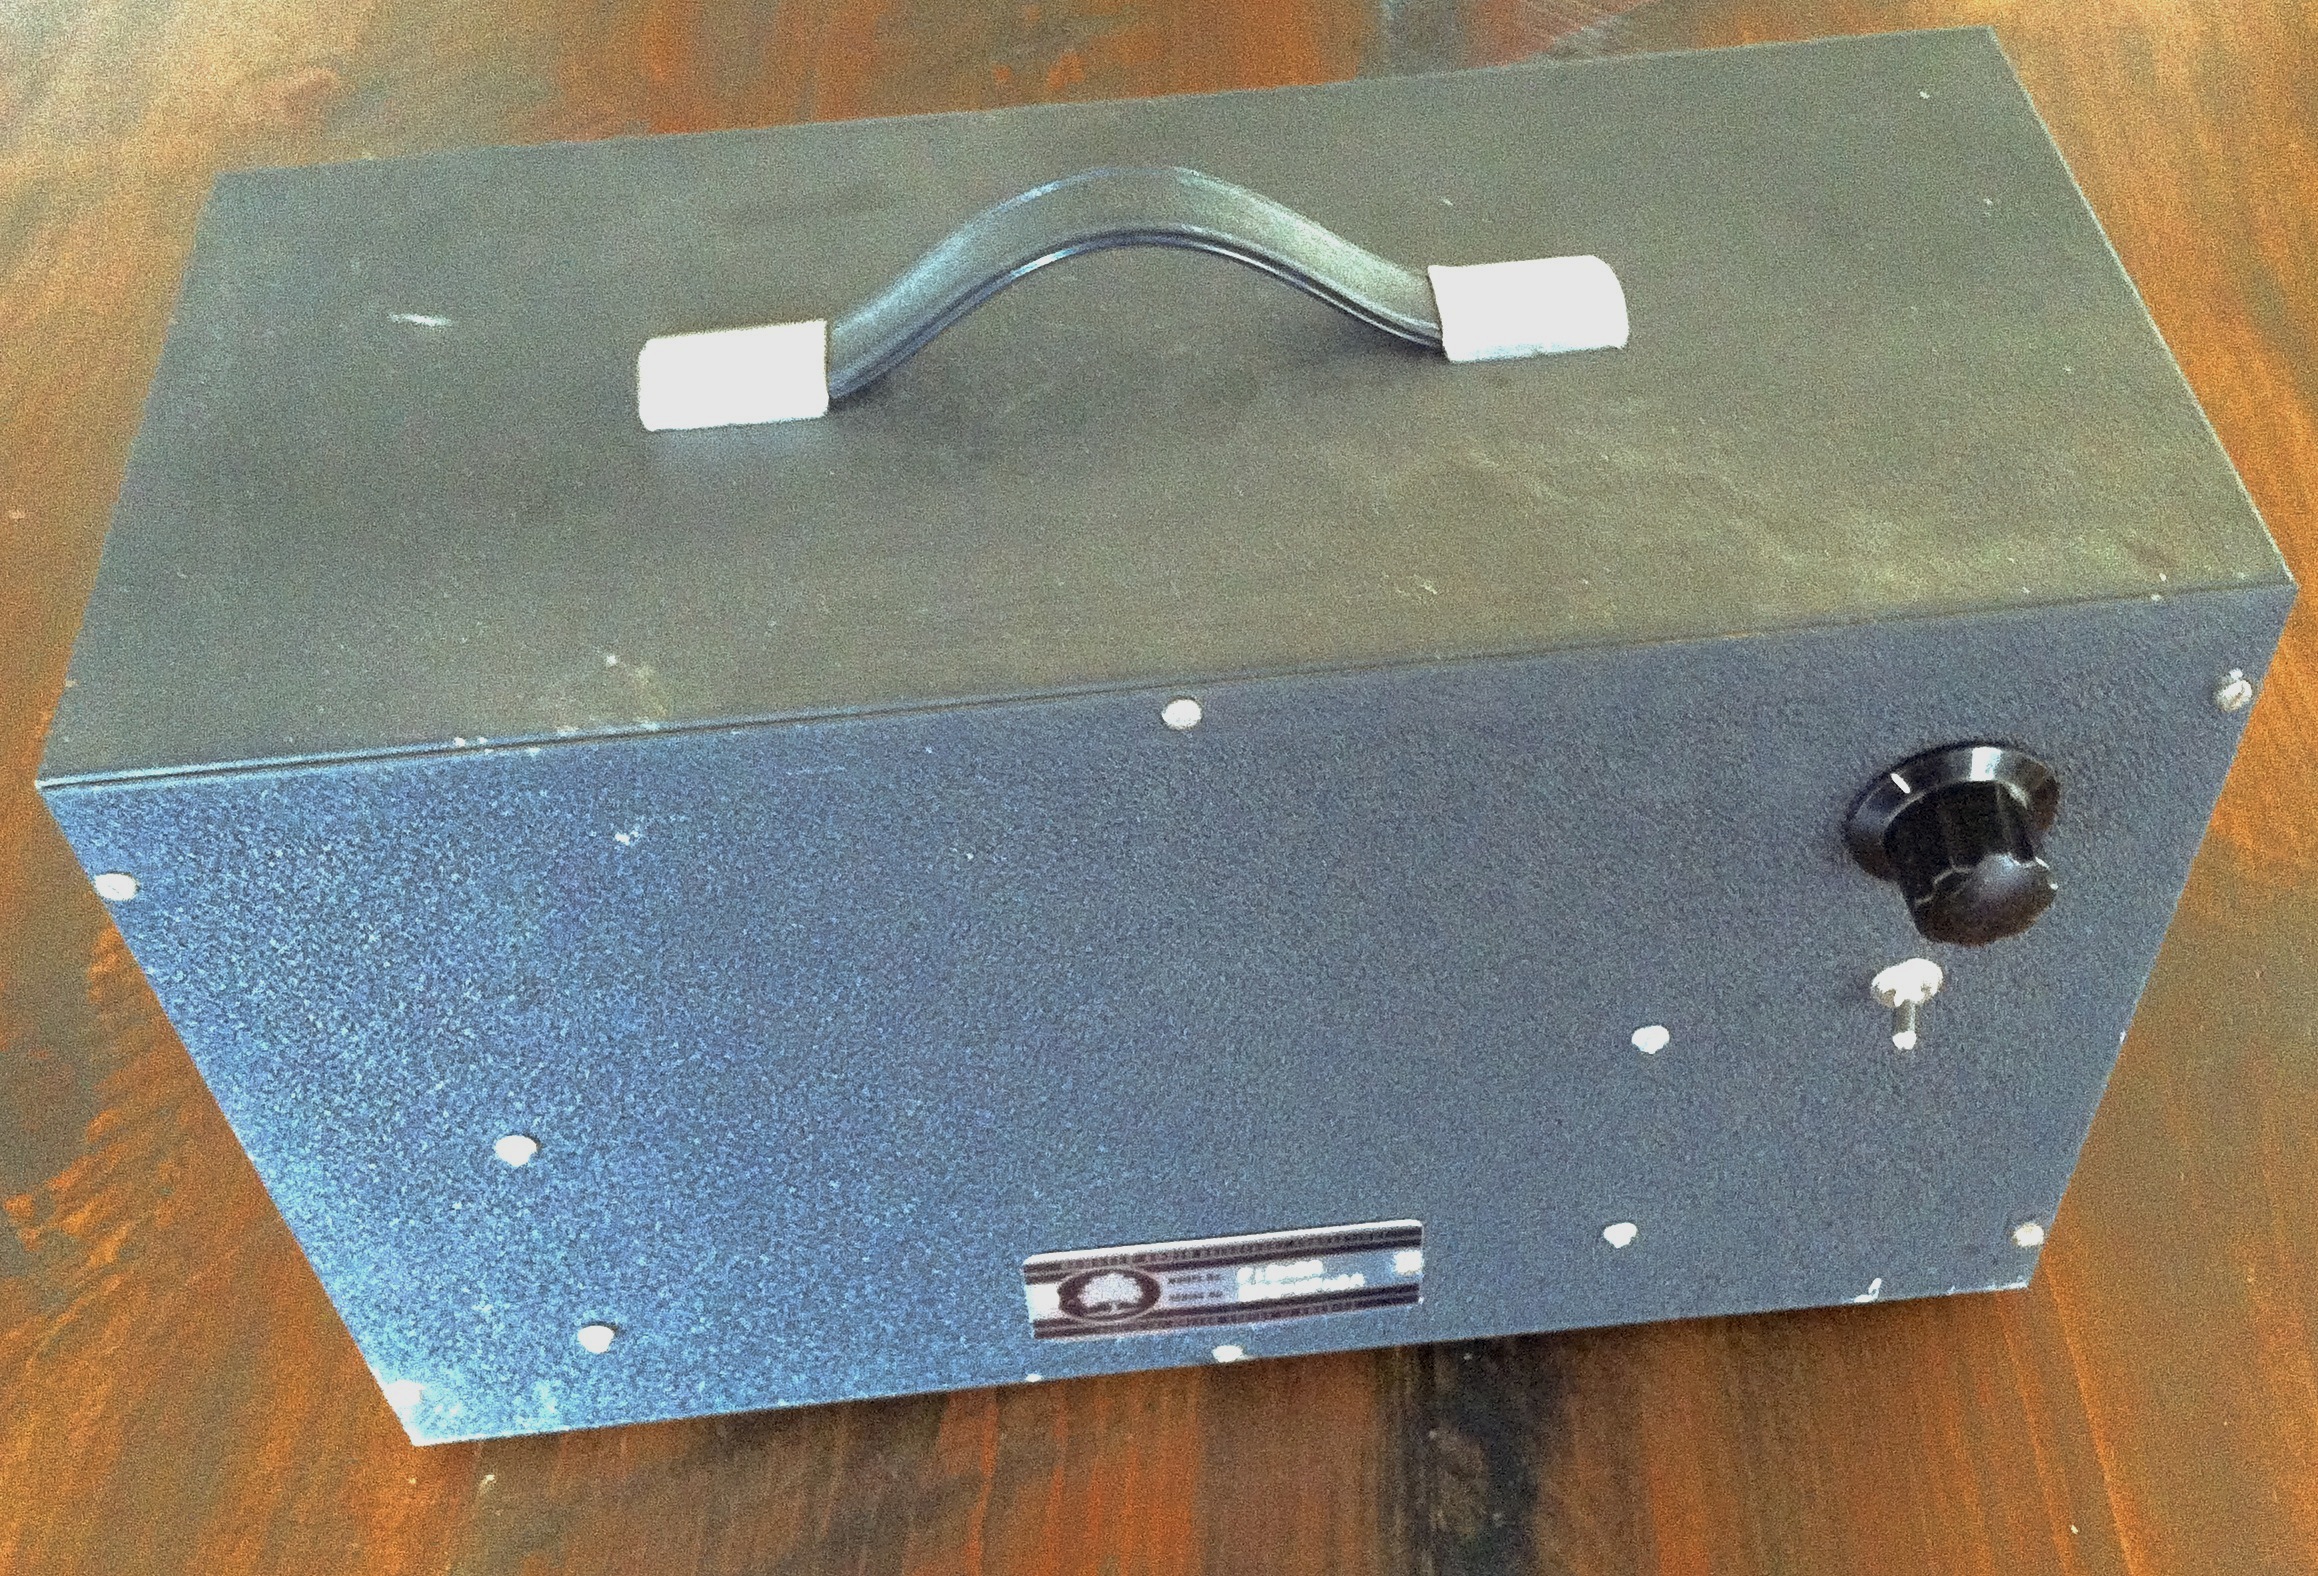
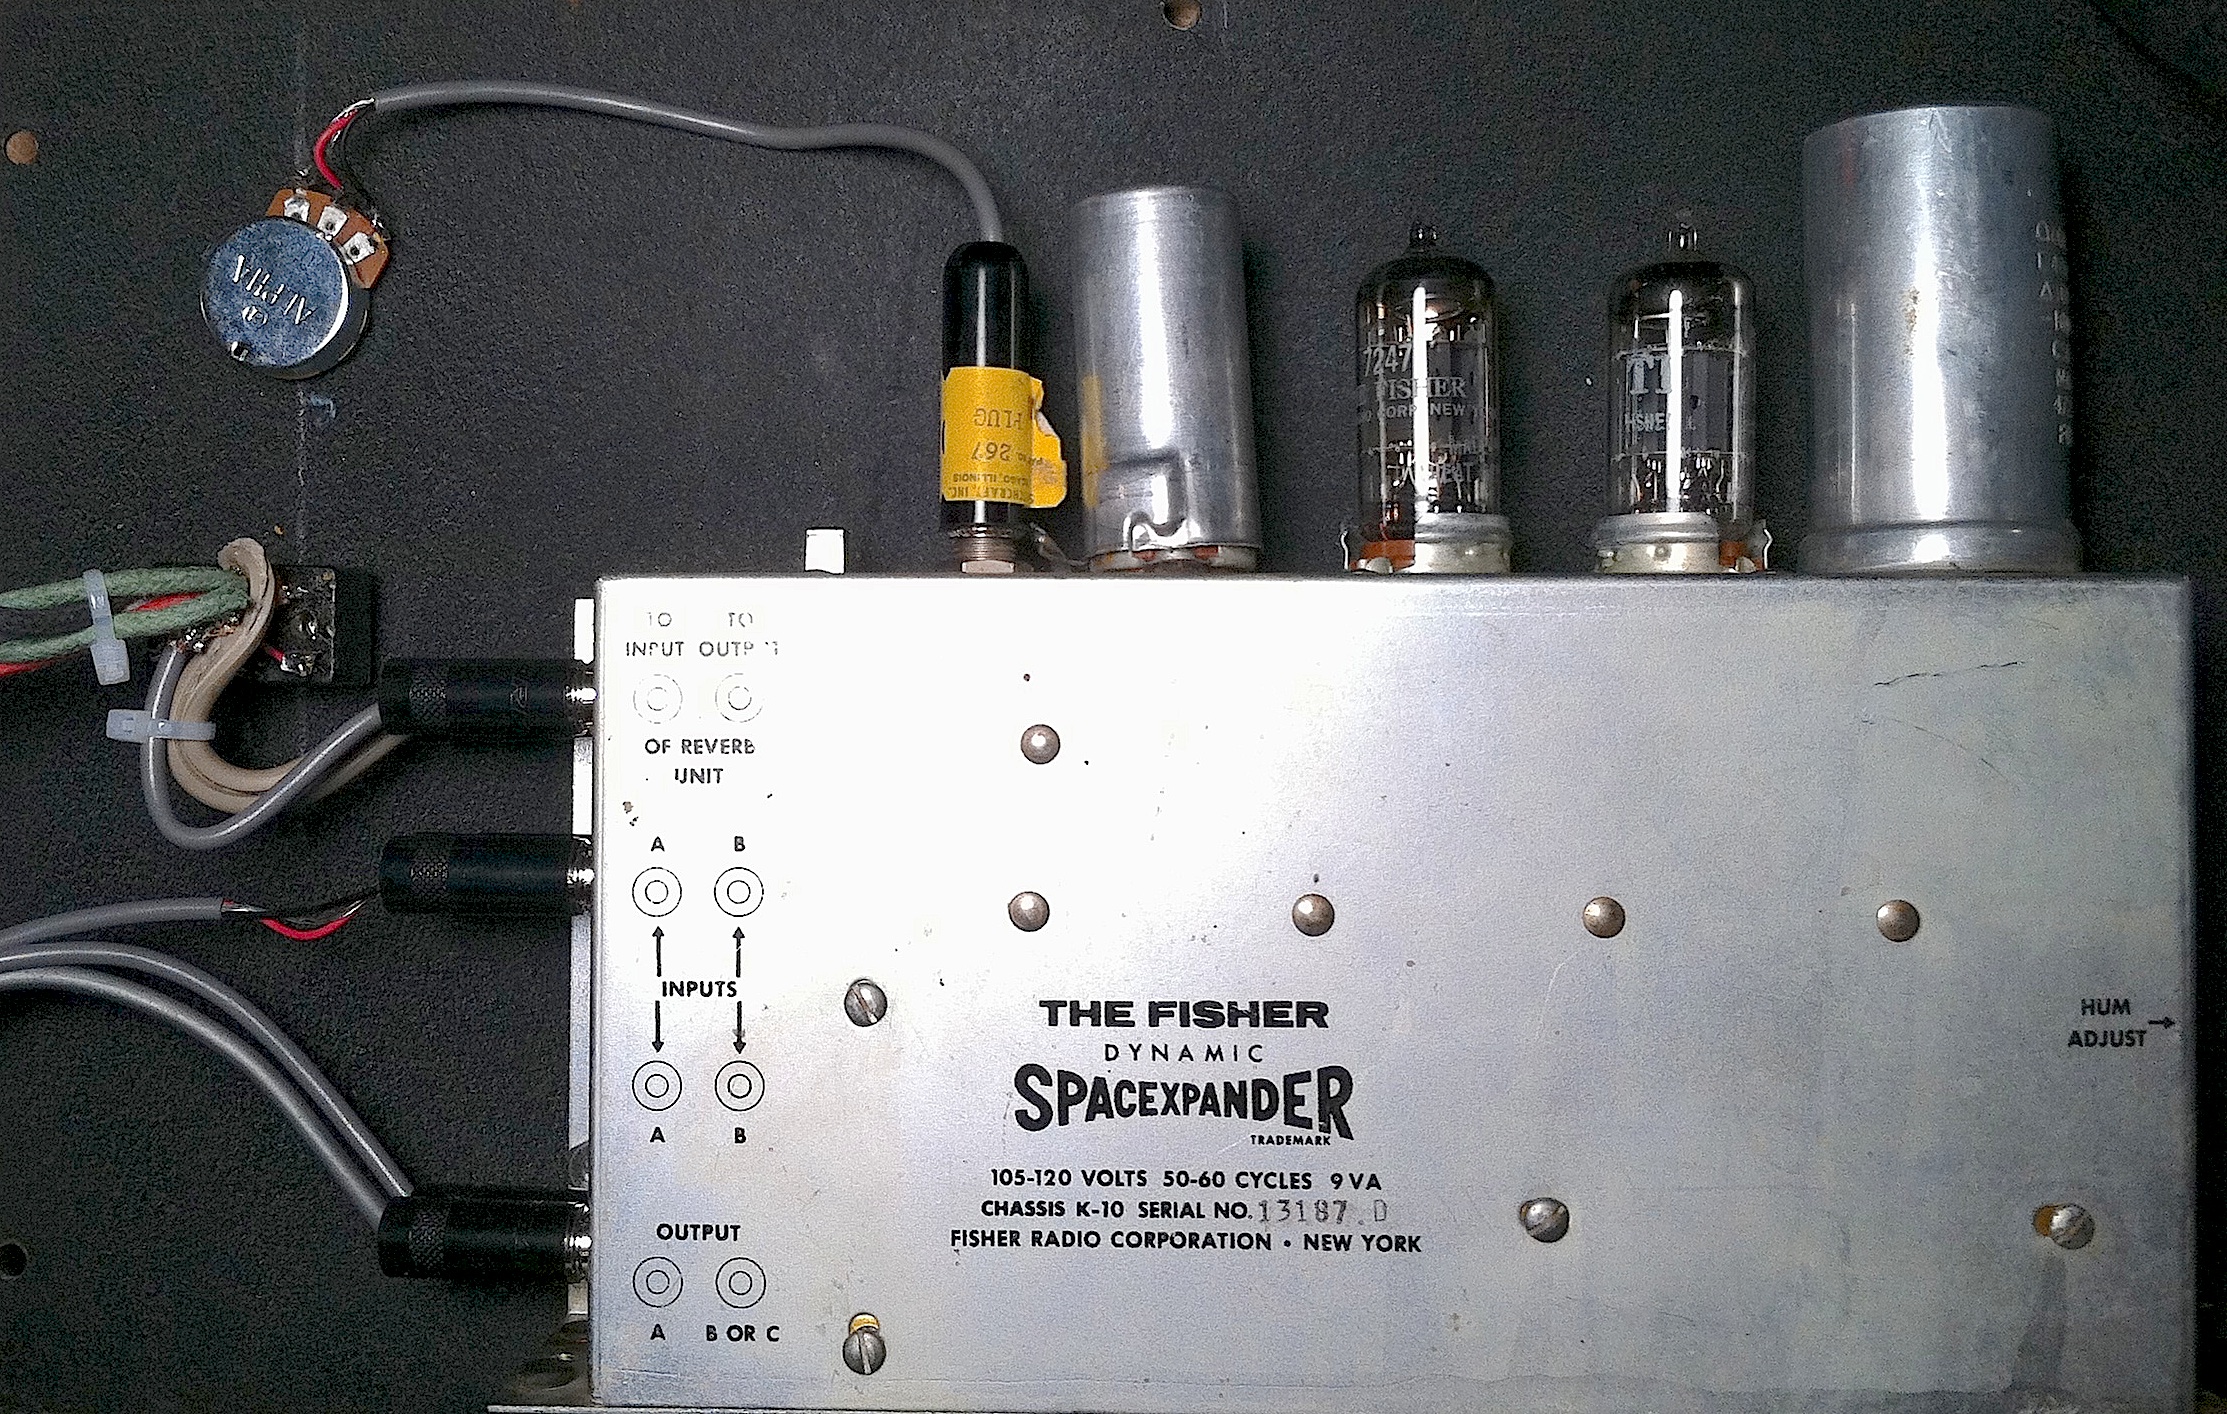 The Fisher is an old home HiFi reverb system with unbalanced -10 input and outputs; I need +4 balanced. But I did not want to modify the Fisher unit in anyway (other than adding a grounded AC lead), since they are highly sought-after and i might want to sell it someday. So i rigged it up inside this old salvaged DIY ham-receiver case with one of those MCM electronics balancing amps, and two inexpensive Jensen MOD series 9″ reverb chambers with medium-impedance inputs (around 300 ohms, I believe). One tank is short decay, the other is long decay. I realize that the 17″ larger tanks do sound better, but since this box was destined for my tiny home-studio, size is a real issue; I needed everything to fit inside the 14×8″ steel box. I’ve already enjoyed the benefits of being able to select two different tanks; on tracks that feature two electric guitar parts I am easily able to situate each in its own ‘space.’
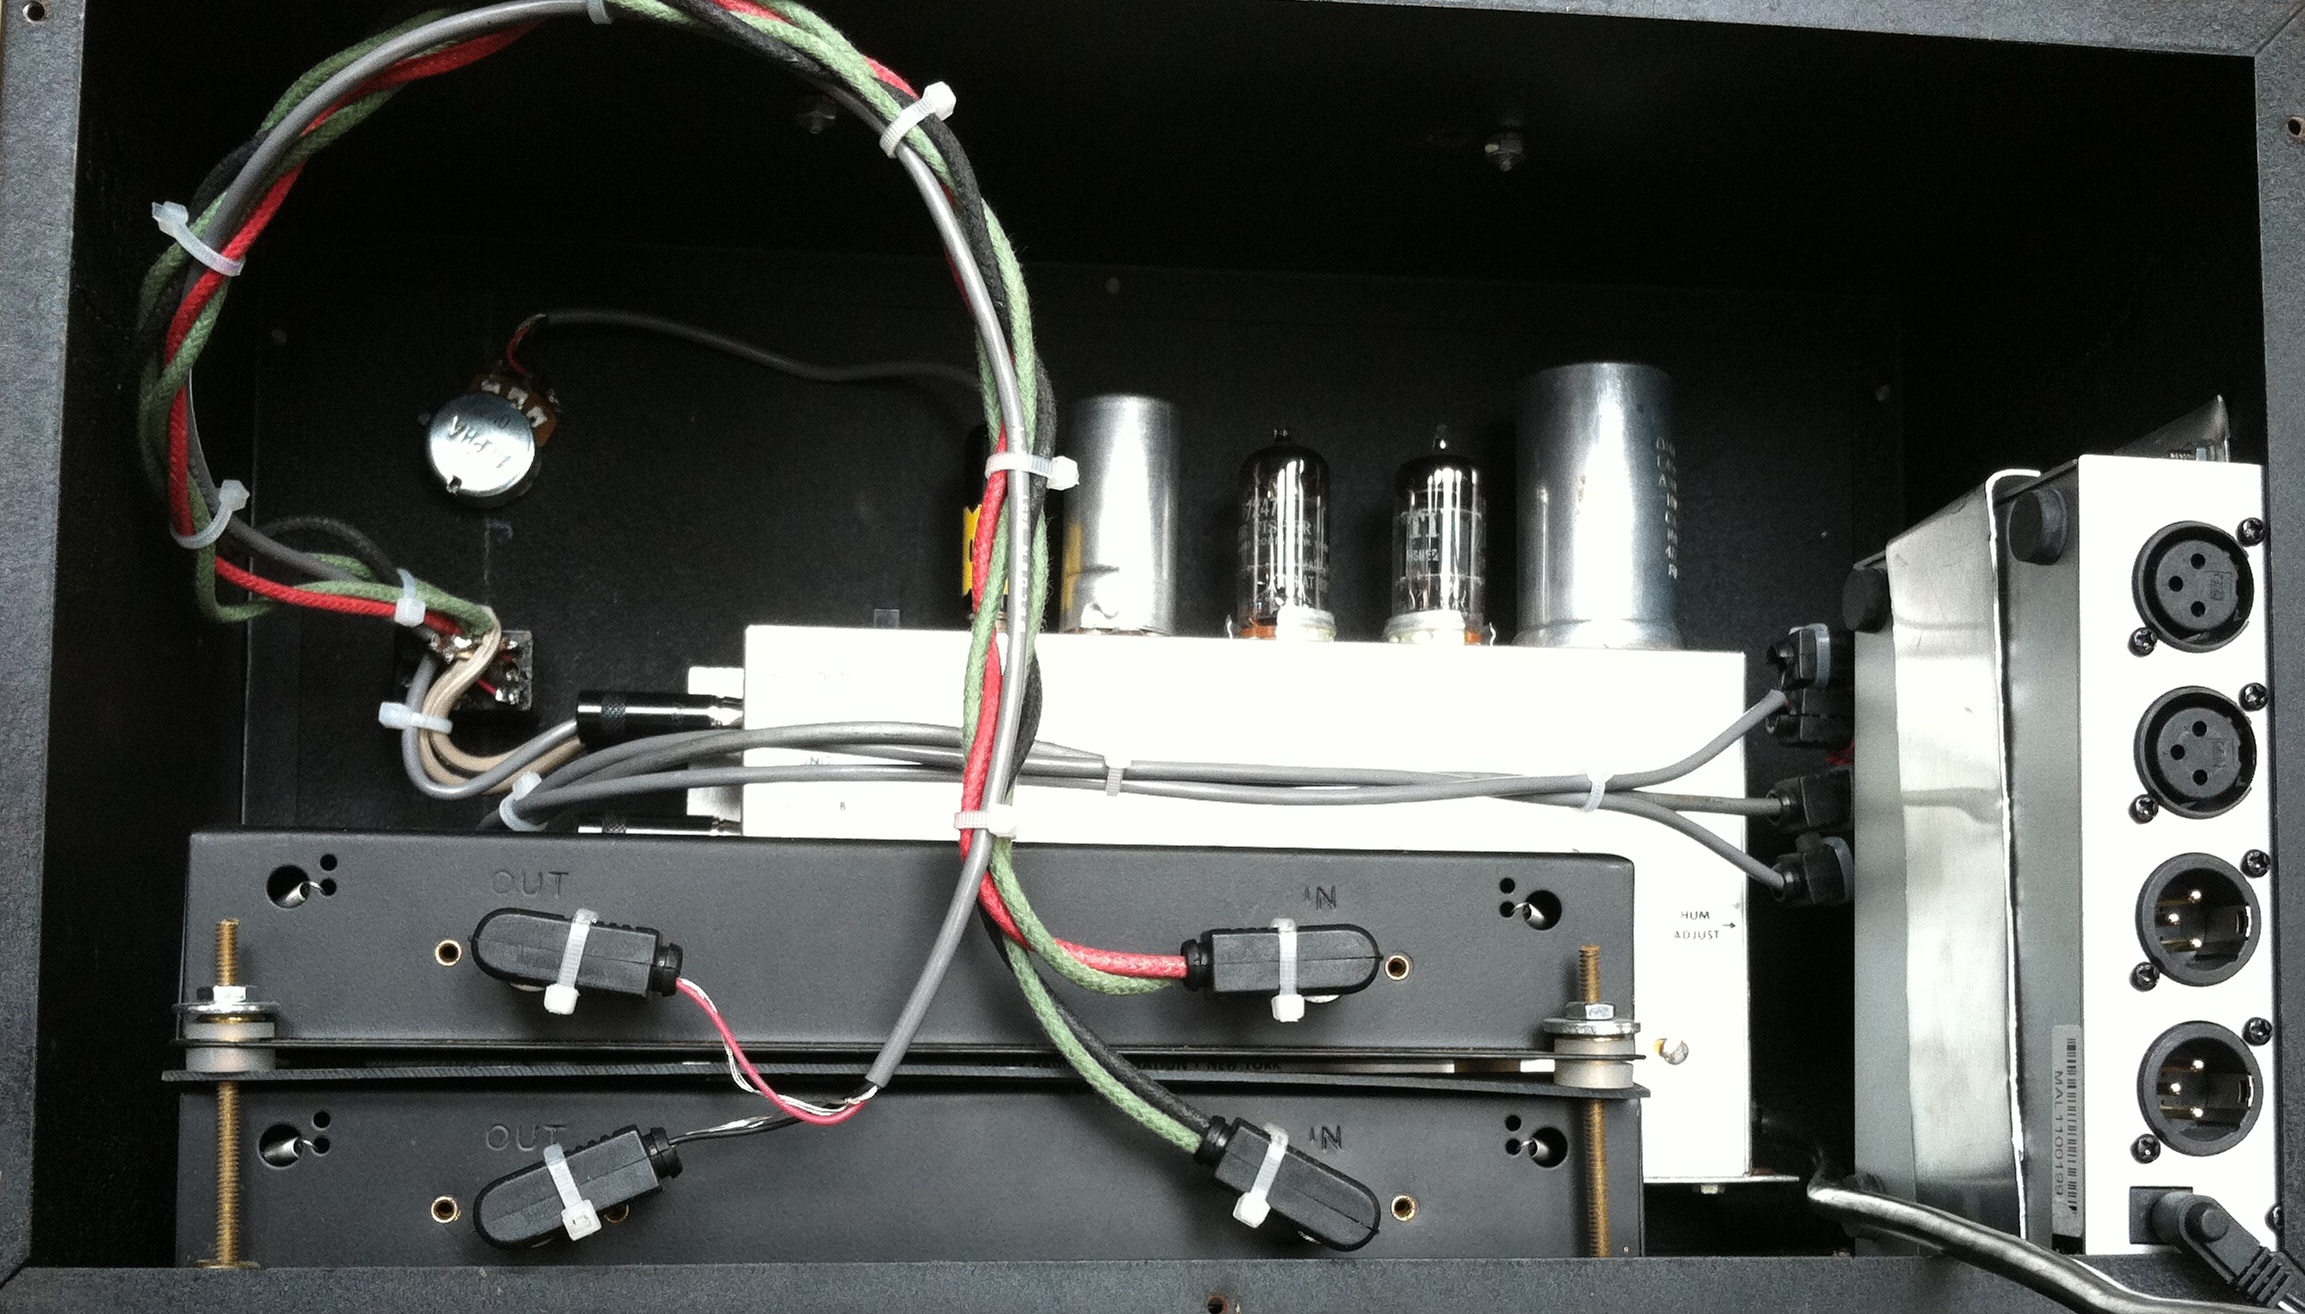 Here’s a rear-view of the whole fandango. Balancing amp is on the right; note that it is stereo, and the unit is fully wired for stereo; that being said, the fisher only generates a mono reverb signal which is then blended into the stereo direct output path; since I am using the unit for mono guitar tracks, I just use one pair of the XLRs at the moment.
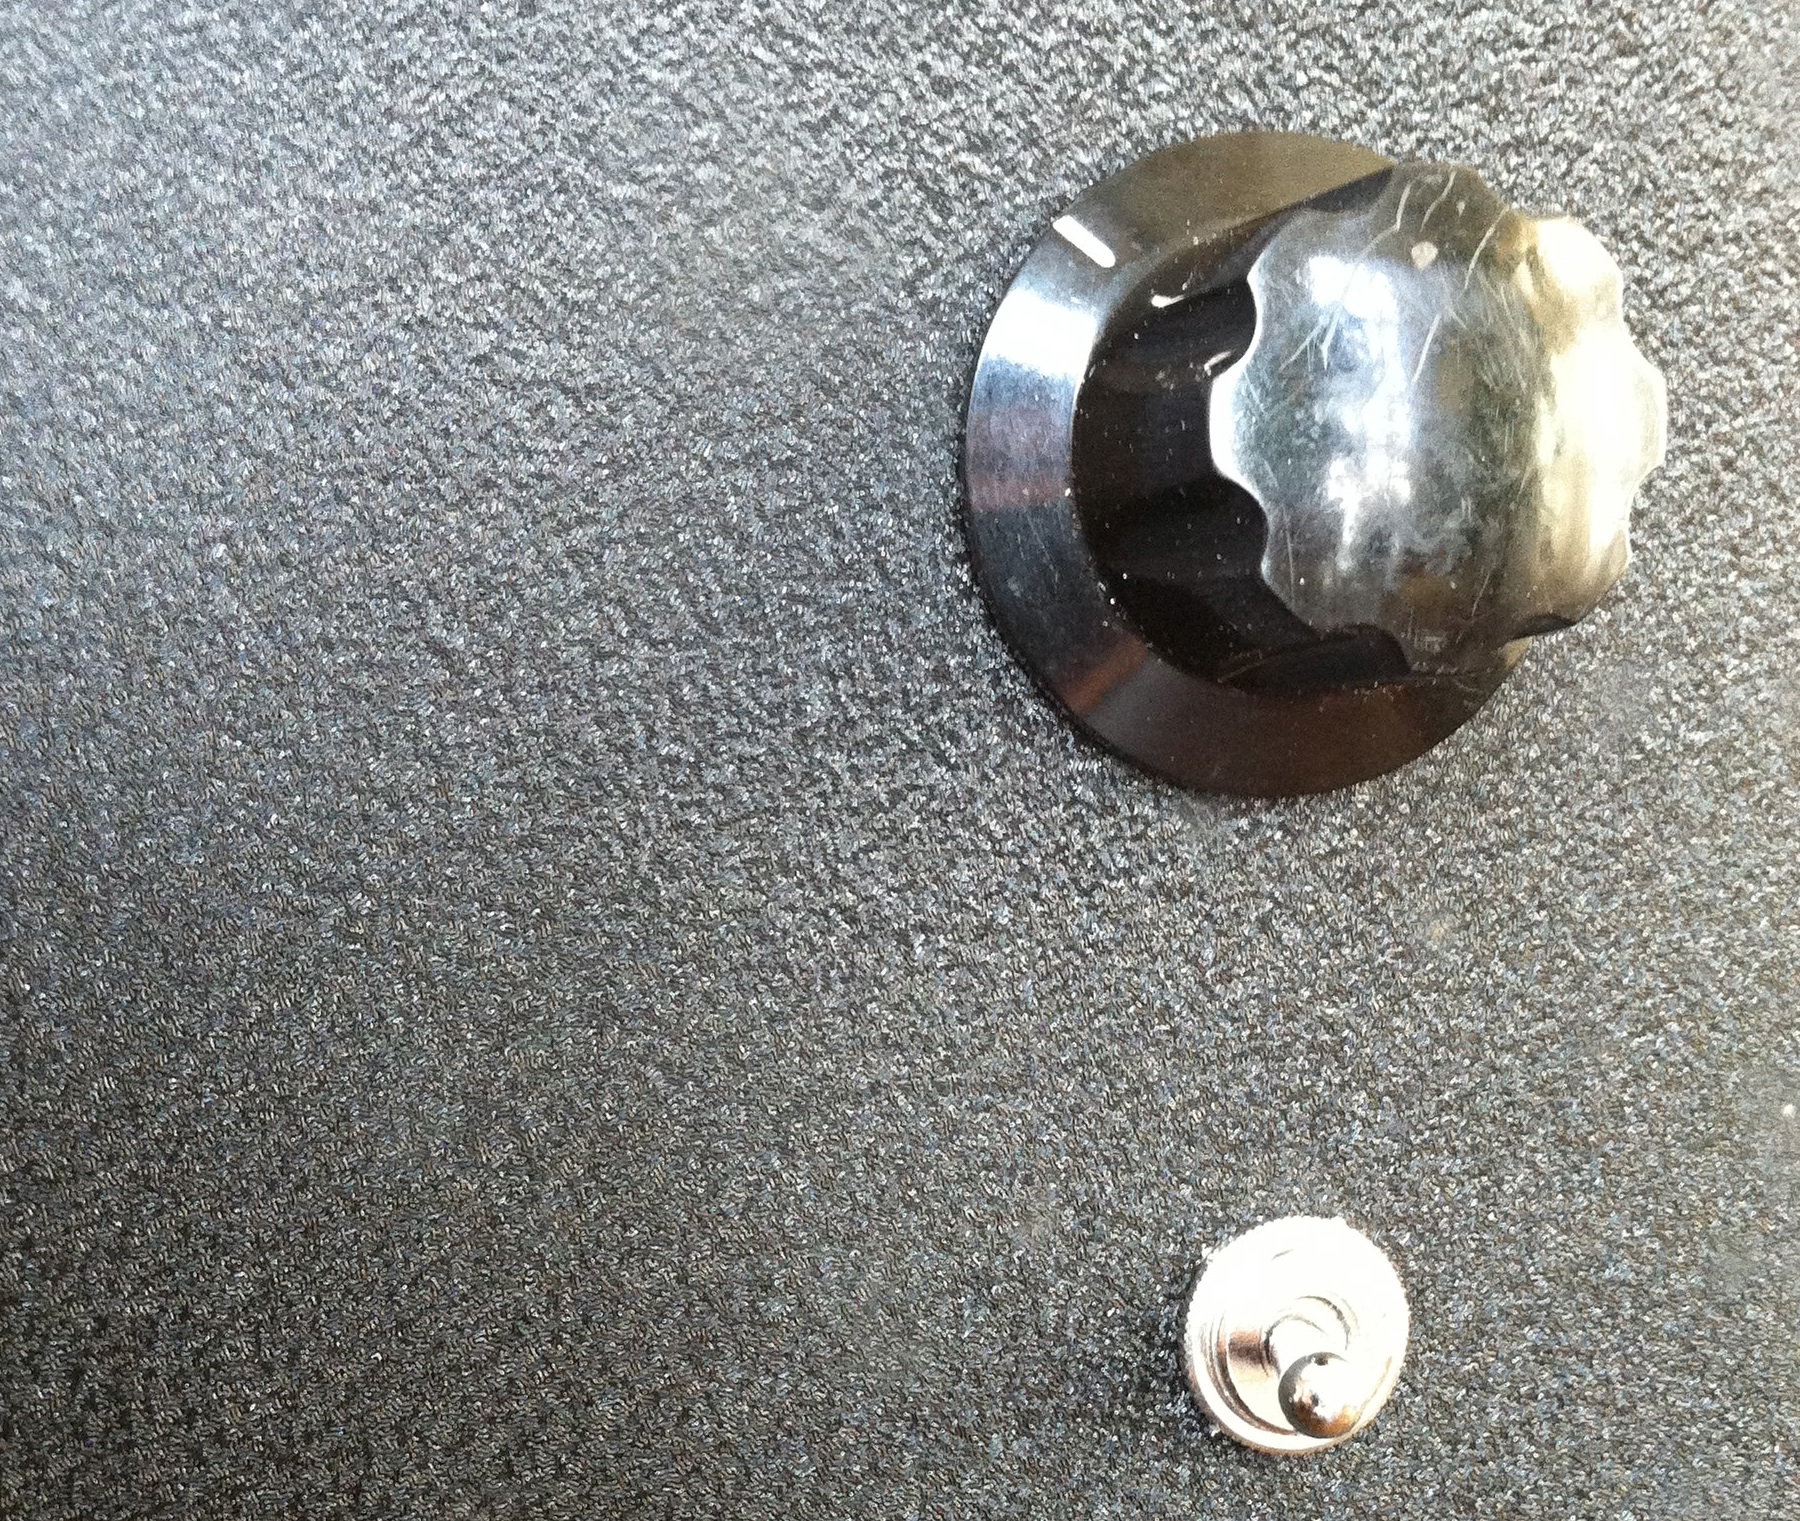 At left: the ‘blend’ knob, and below that a DPDT on/on switch that selects one tank versus the other.
Someone very helpfully scanned and uploaded the manual and schematic for this device; click here to download the PDF directly from them. There are not too many surprises in the schematic, other than that the first reverb recovery stage has a 330k plate-load resistor; this is the highest value that I have ever seen, and it failed almost immediately. Twice. I eventually put a 2-watt CC in place of the original 1/2 watt, and changed the adjacent coupling cap as well. I had to replace pretty much all the B+ resistors in the unit (and several coupling and bypass caps) in order to get rid of some nasty intermittent noises; now the unit is working fine and it sounds really good! A word of advice if you get one of these things: run the input hot, and back off on the return level. It takes A LOT of signal before it distorts or smacks the tank, and you will be rewarded with a much-improved signal-to-noise ratio. The MCM balancing amp has handy gain-trims that make it easy to achieve overall unity gain on the direct signal while accomplishing this goal.
Click here for some previous tube-reverb system action on PS dot com
1970: The Sound Of Money
(update at close of article)
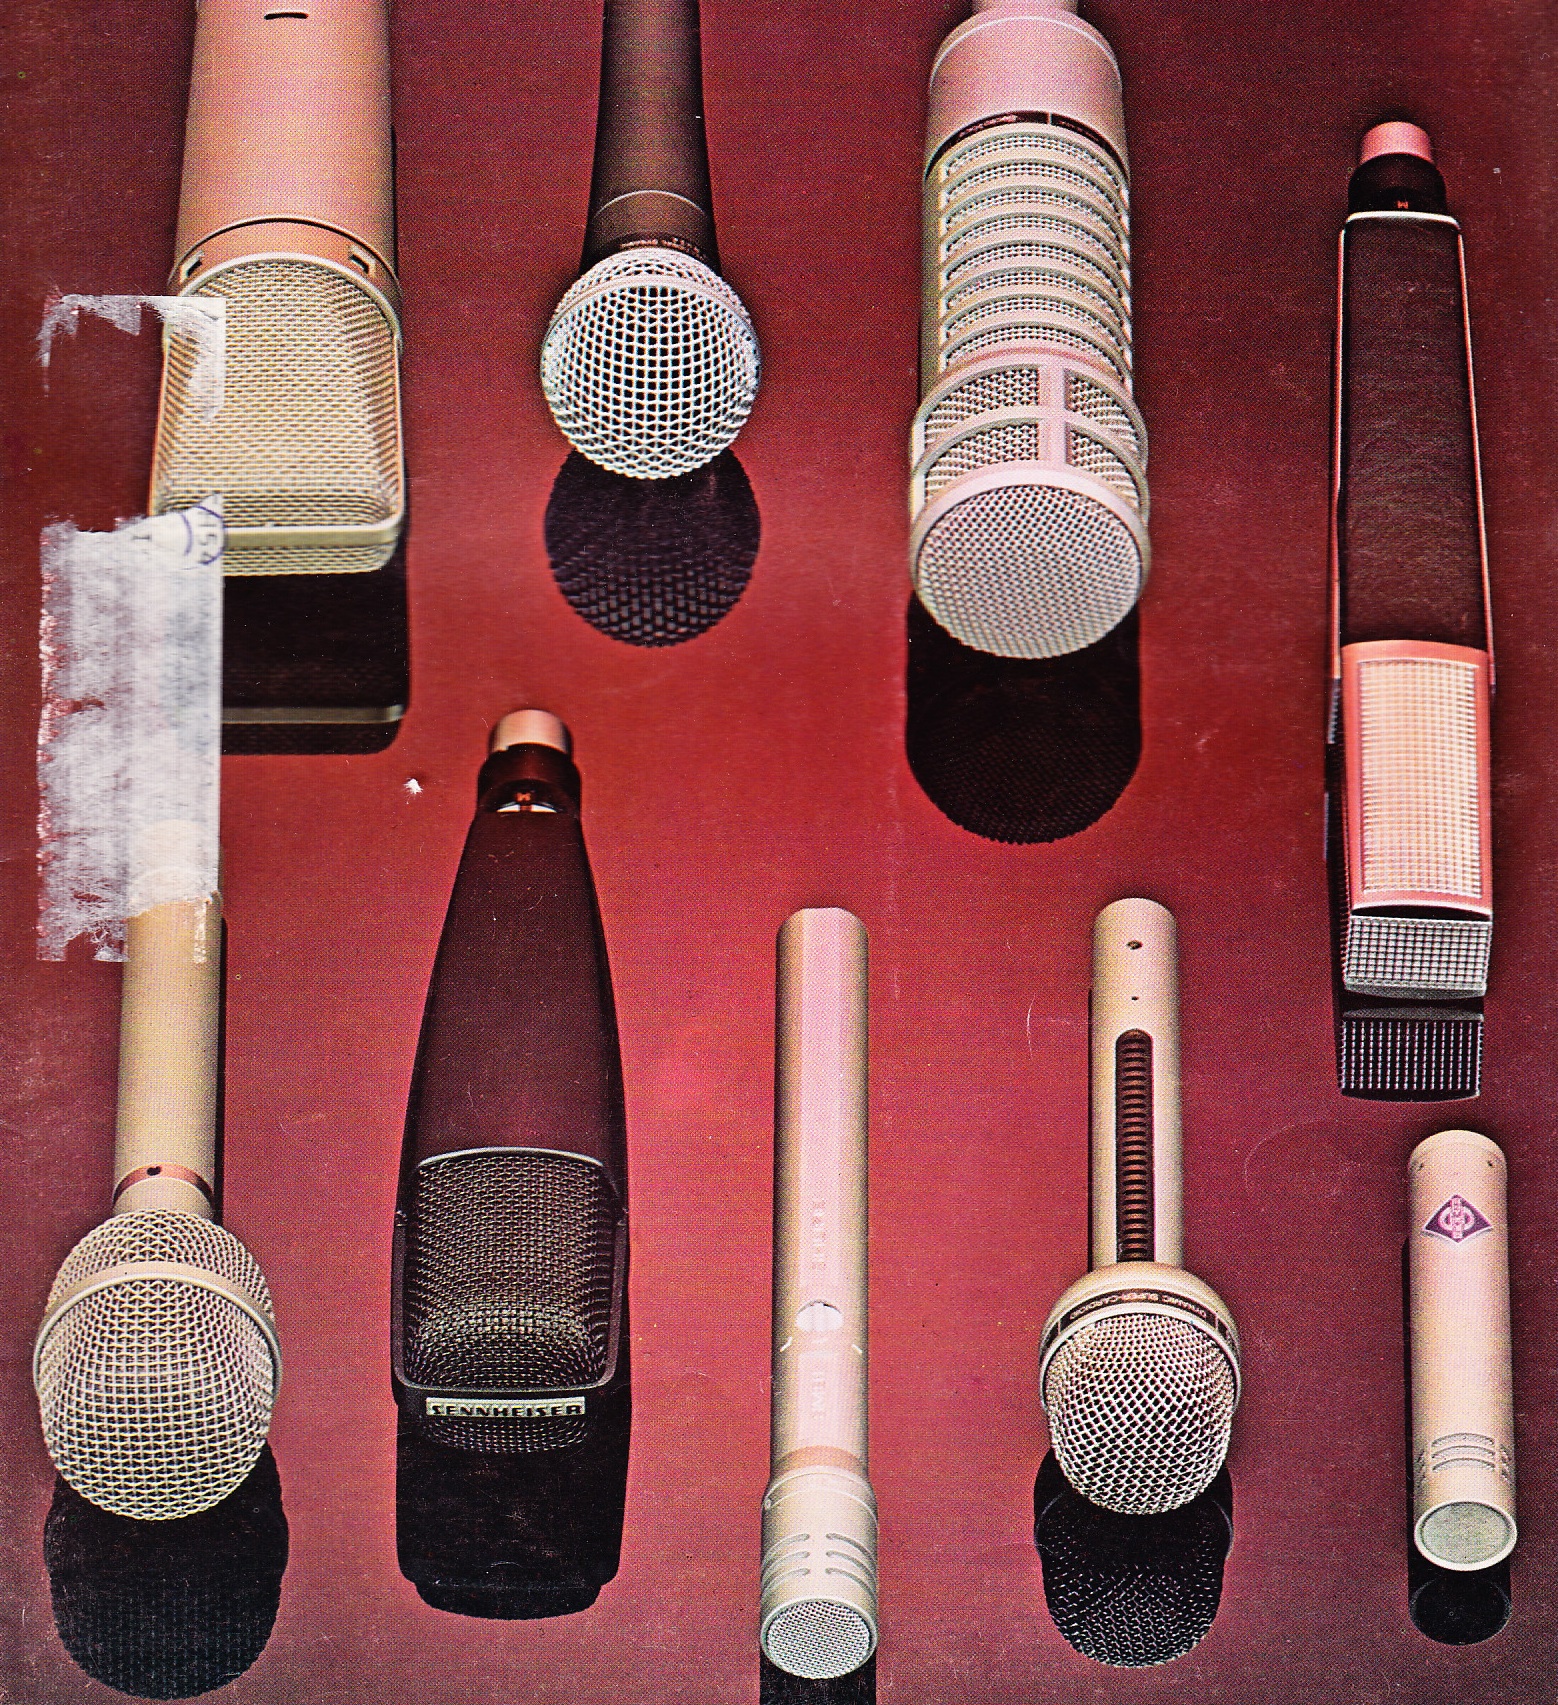
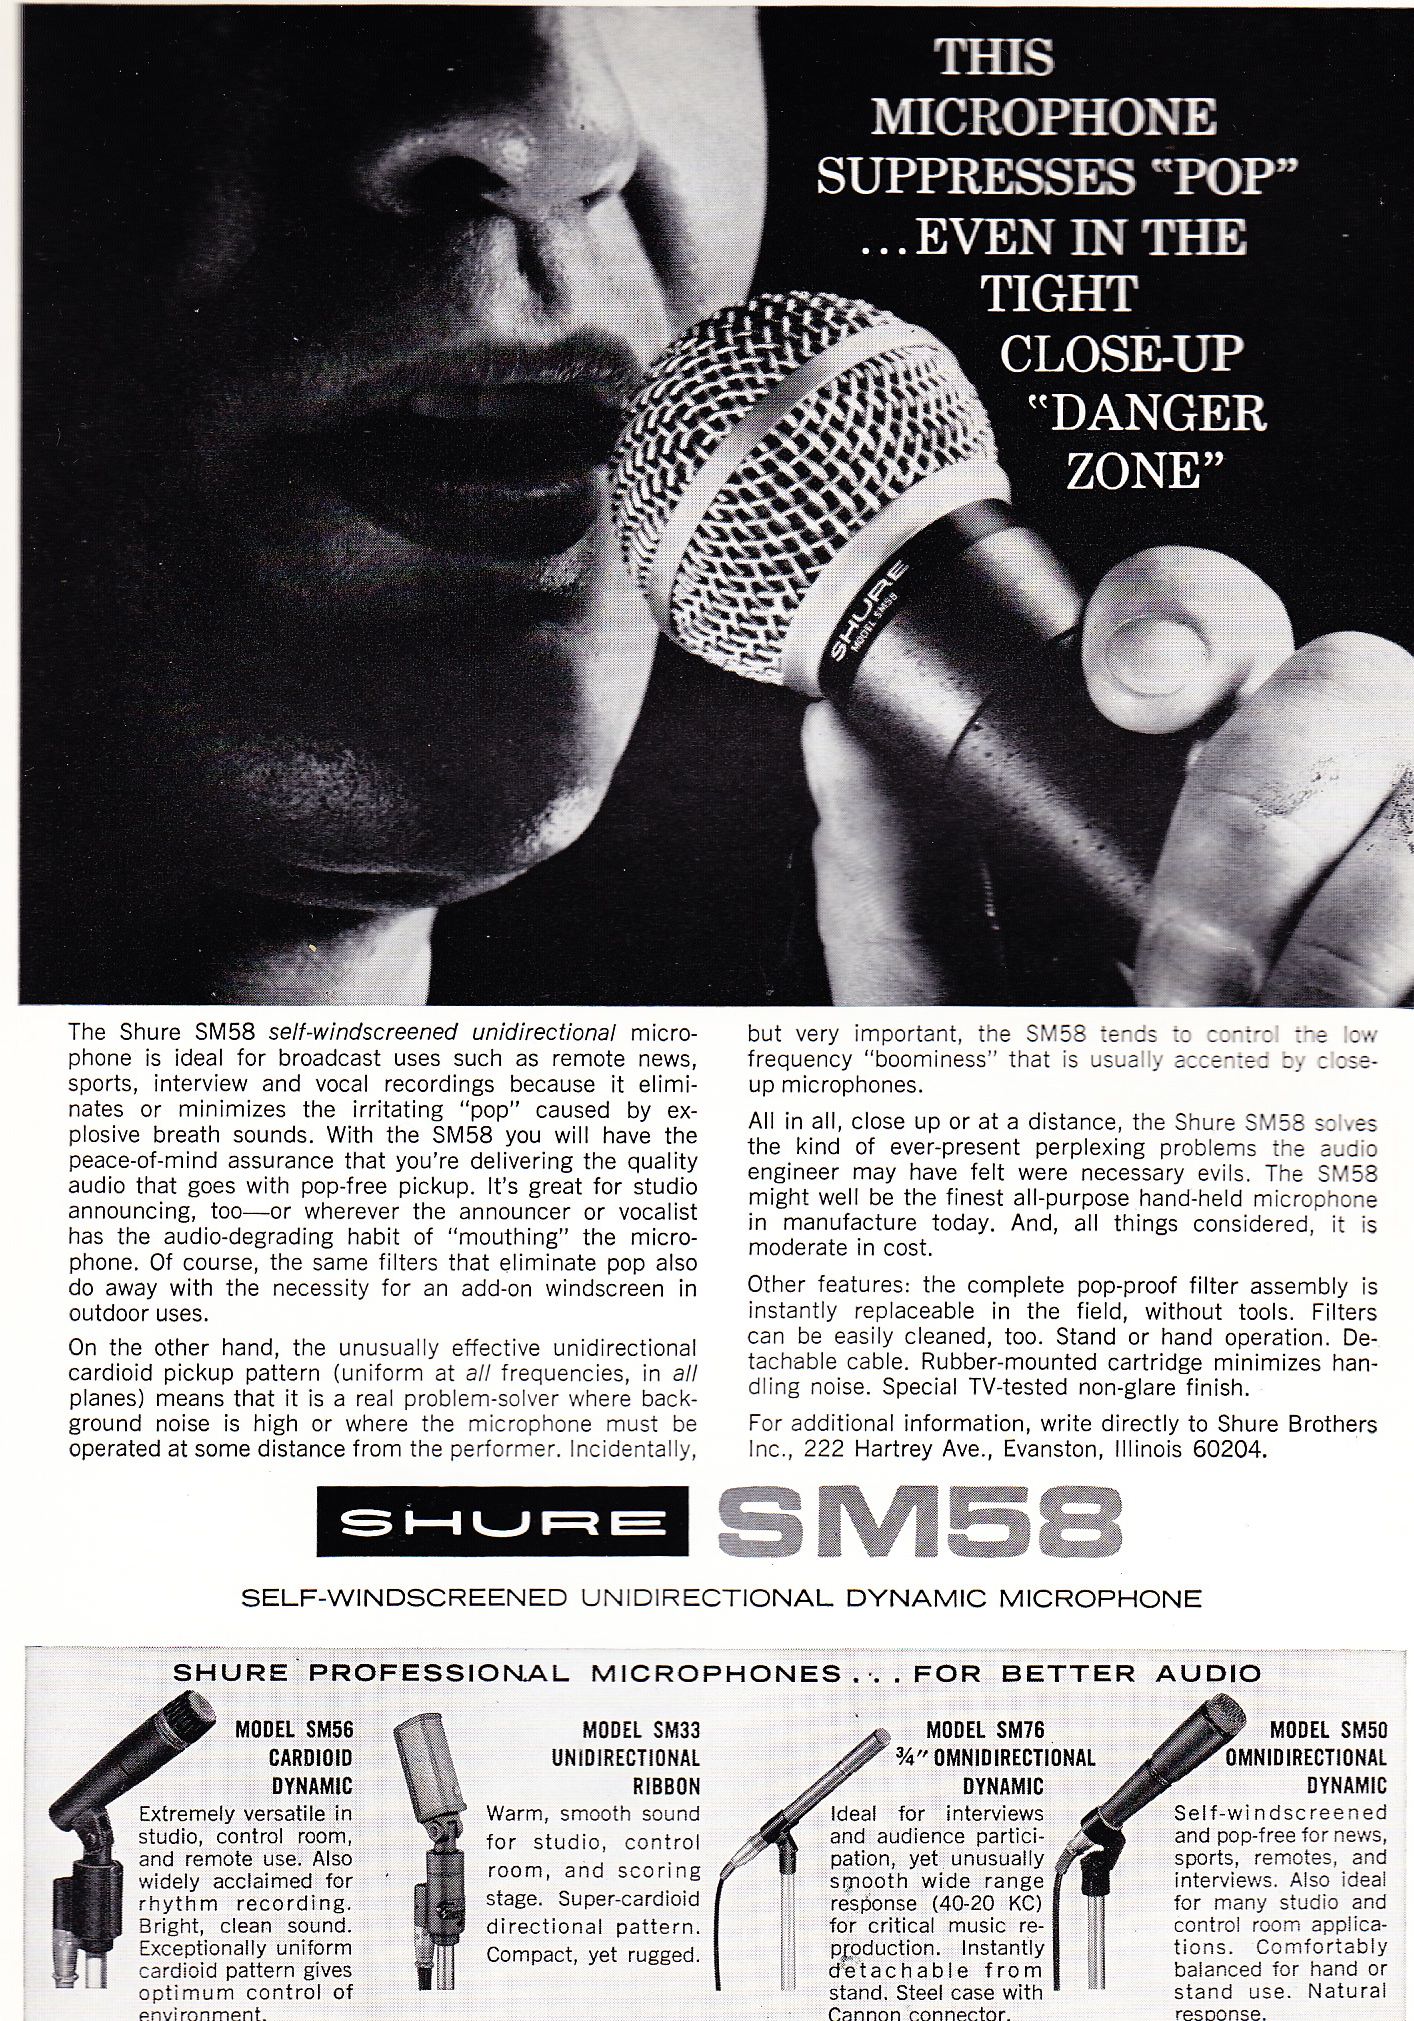
I was flipping thru a pile of old DB magazines and the above image caught my eye. Let’s see here… clockwise from top left we see a U87, an SM58, RE20, MD441, KM8(x), RE16, SM81, MD421, and then… wtf is that thing? In this collection of classic 70s mics, I recognized, and in fact often-use, all except that last little fella. On the table-of-contents page, I was told that this is an Audio Technica 813. Well, if at least SOMEONE, sometime, thought that it could stand in that lineup, I had to learn more…
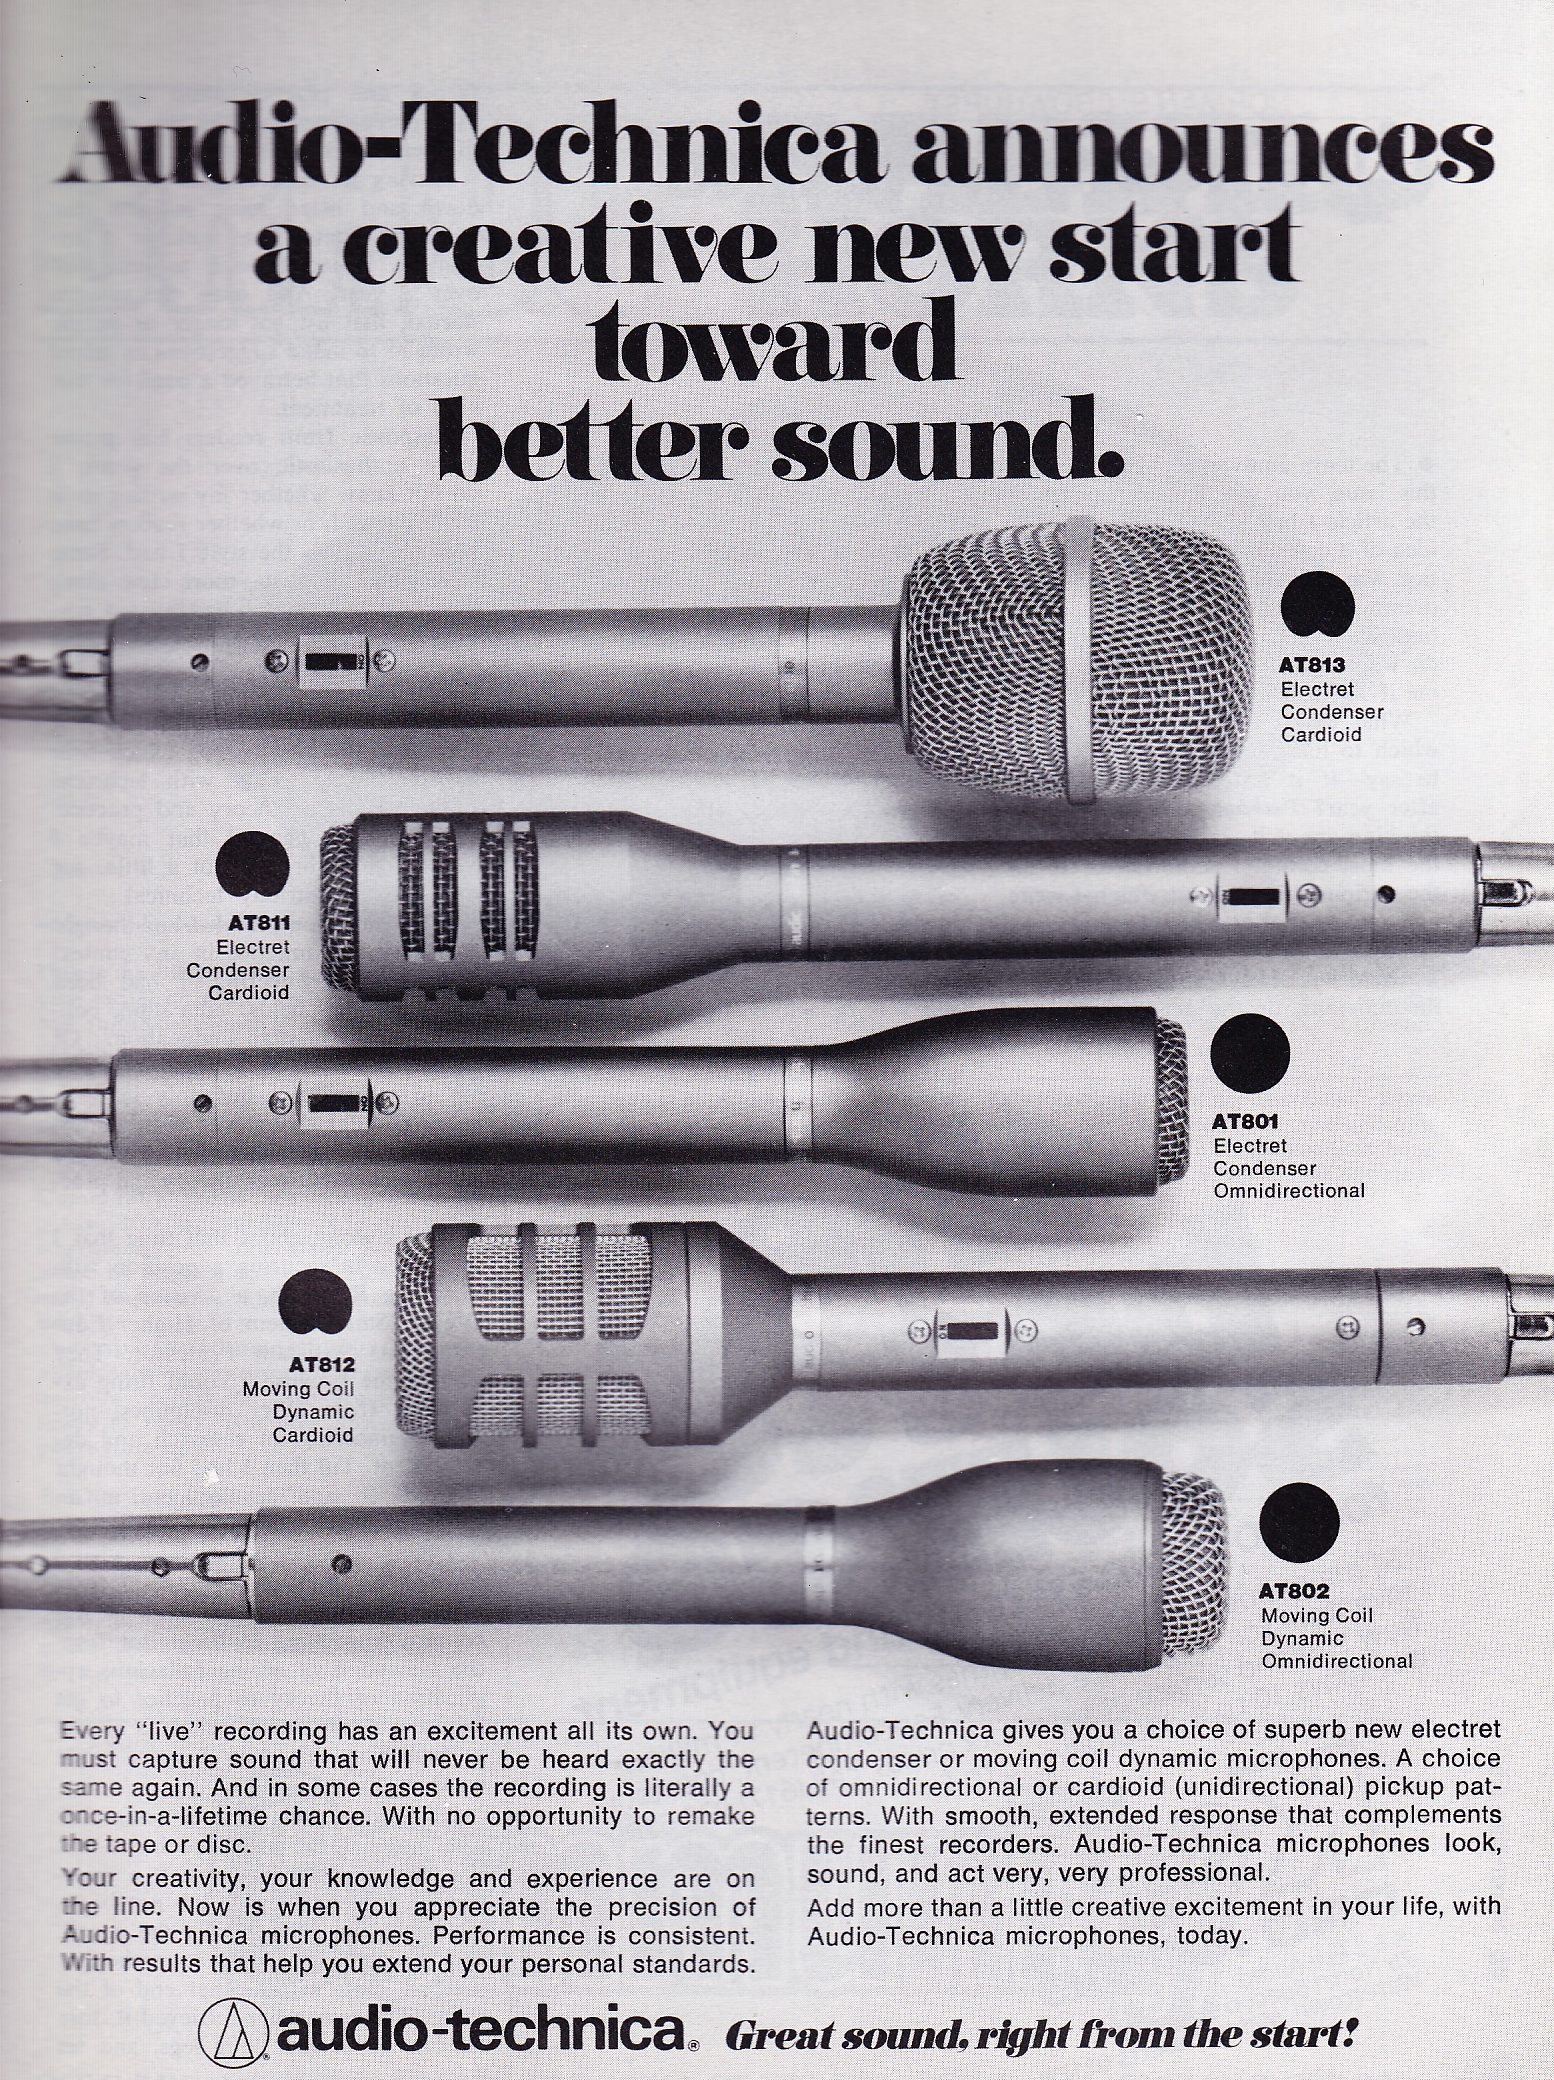 Above: a 1977 advert introducing the AT 813. From the body copy, it seems like the mic was at least initially aimed at live-concert tapers and other semi-pro and amateur recordists (E.G., “(these mics) look, sound, and act very professional.” The use of the term ‘professional’ in advertising almost always indicates the contrary). The 813 is, like the much-more famous Shure SM81, an electret-condensor microphone. Electrets differ from other condensor mics in that the backplate is semi-permenantly charged rather than polarized via some external DC source (for instance, phantom power). Electrets are generally cheaper than ‘true’ condensors and therefore tend to get a bad rap, but hey I think we all recognize that SM81 aren’t all that bad… so they do deserve a look.
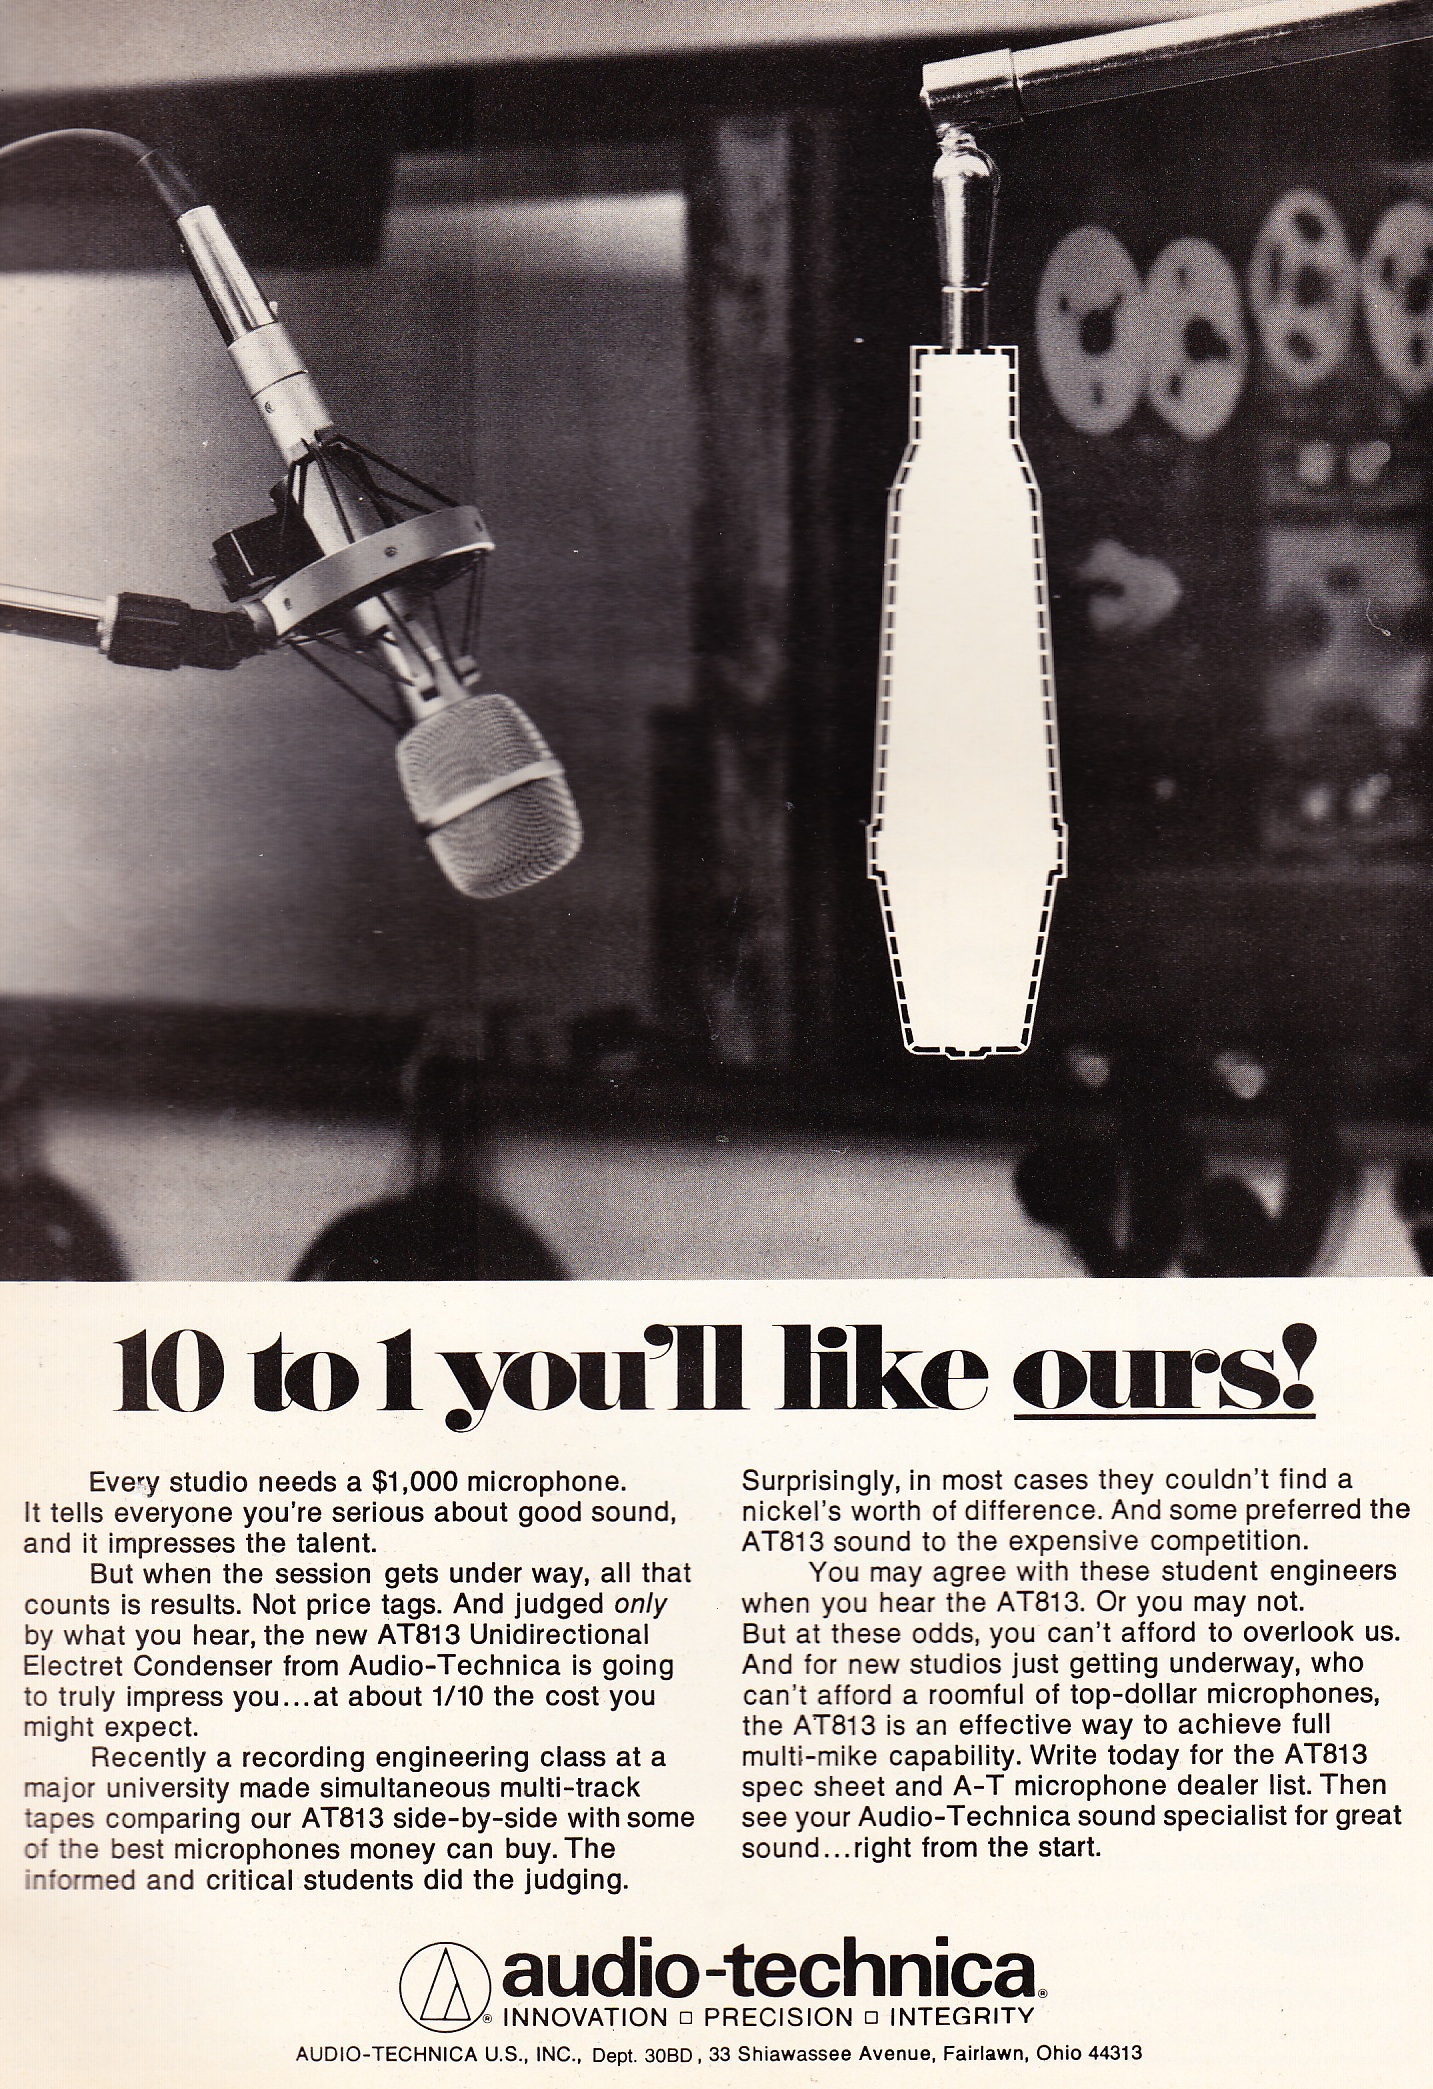 …But maybe not this look. Fast-forward to 1980, and the above-depicted ad SUGGESTS that the AT813 is ‘within a nickel’s worth’ of a Neumann U87. This… I found a little hard to believe. So what did I do? Well, I bought an original circa-’77 AT813 and made a side-by-side comparison with a similar-vintage U87. I made a quick recording using both mics and now you can judge for yrself.
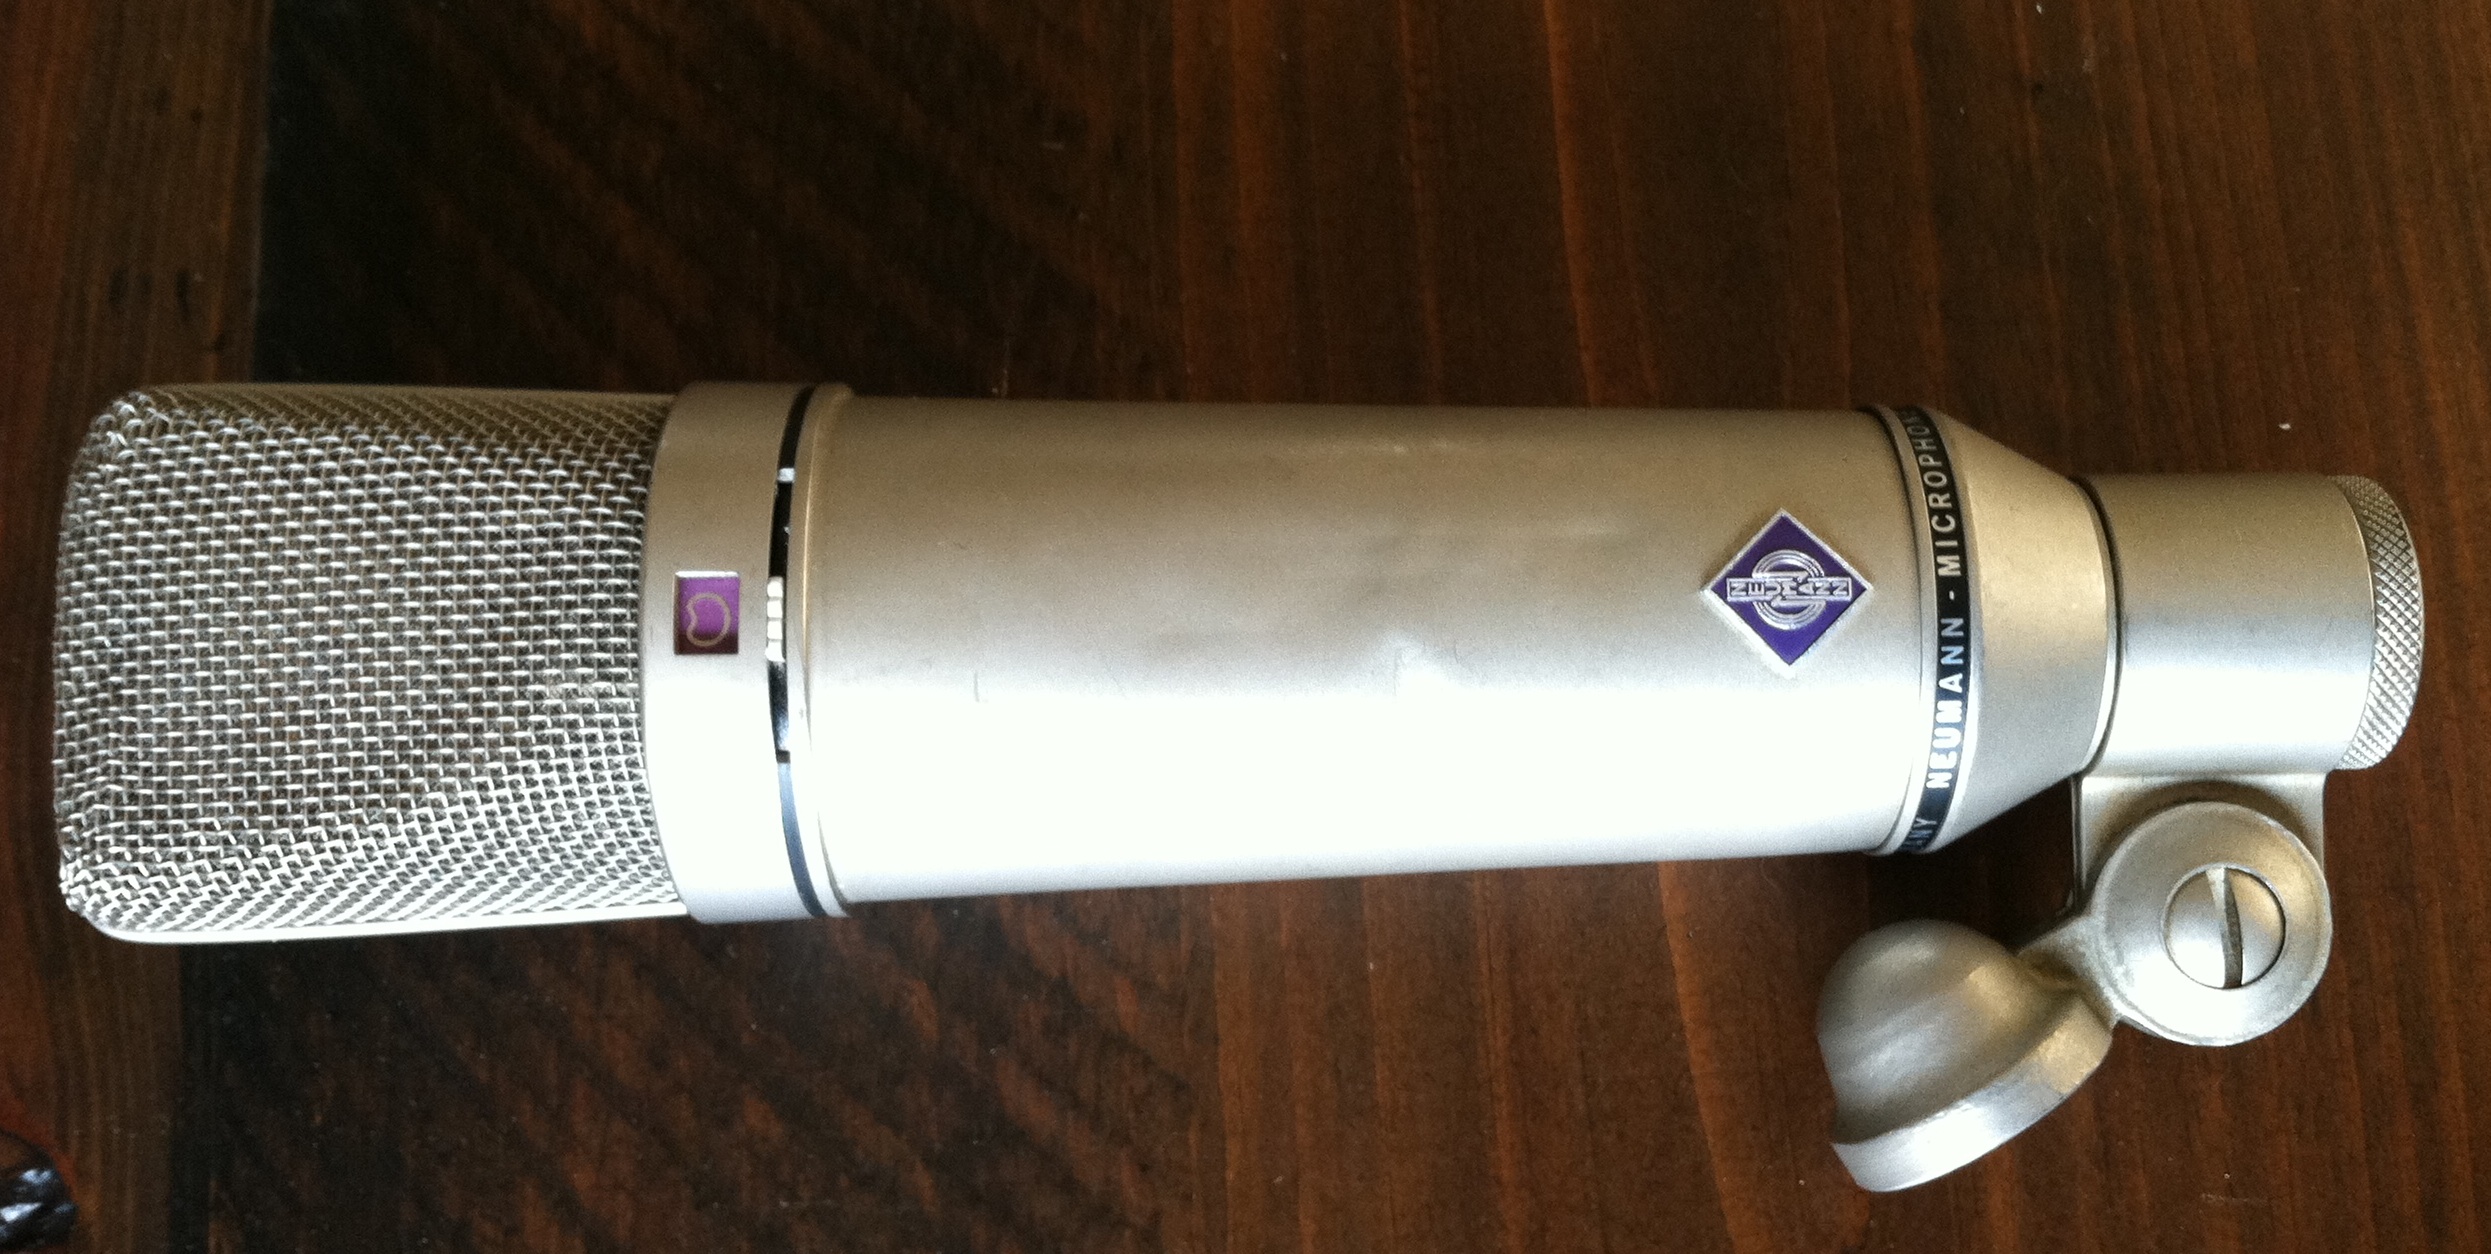 Above: my much-loved and much-used mid-seventies U87. This is original version of this classic mic, and it actually can run on either AA batteries or phantom power (I use phantom power). This gets used on pretty much every session; they are not inexpensive mics but worth every penny. It’s actually my go-to mic for acoustic steel-string guitar, and I use it on certain vocalists as well.
 …And above, my new (to me, that is) circa 77 AT813. The 813 also runs on a AA battery, a single battery, and the battery serves merely to power the onboard preamp (remember, this is an electret-condensor so the capsule requires no external polarization). Now, there is a later version of the 813 called the 813a which operates on either the AA or phantom power; I did not have that option here. (The 813A version apparently has much improved dynamic range when operating from phantom btw)
 Above, the test-setup. You are going to hear a single finger-picked performance of my wonderful new Gibson J45. Let me digress for a moment here (I imagine that at least some of y’all are gtr plyrs) to report that Gibson’s quality has come a long, long way. Ten years ago I had an informal sponsorship with Gibson; they loaned me guitars for touring and even gave me a new Firebird V, which I still have… in my closet. The guitars just weren’t that good. Fast-forward to 2012, several of my clients at GCR have new Gibsons acoustics, and I was pretty impressed with them. So I got this new J45, and it sure wasn’t cheap, but good lord does it sound+play great. The fit and finish are up there with the best handmade ’boutique’ acoustics that I have seen, and for a lot less money. Definitely worth a look.
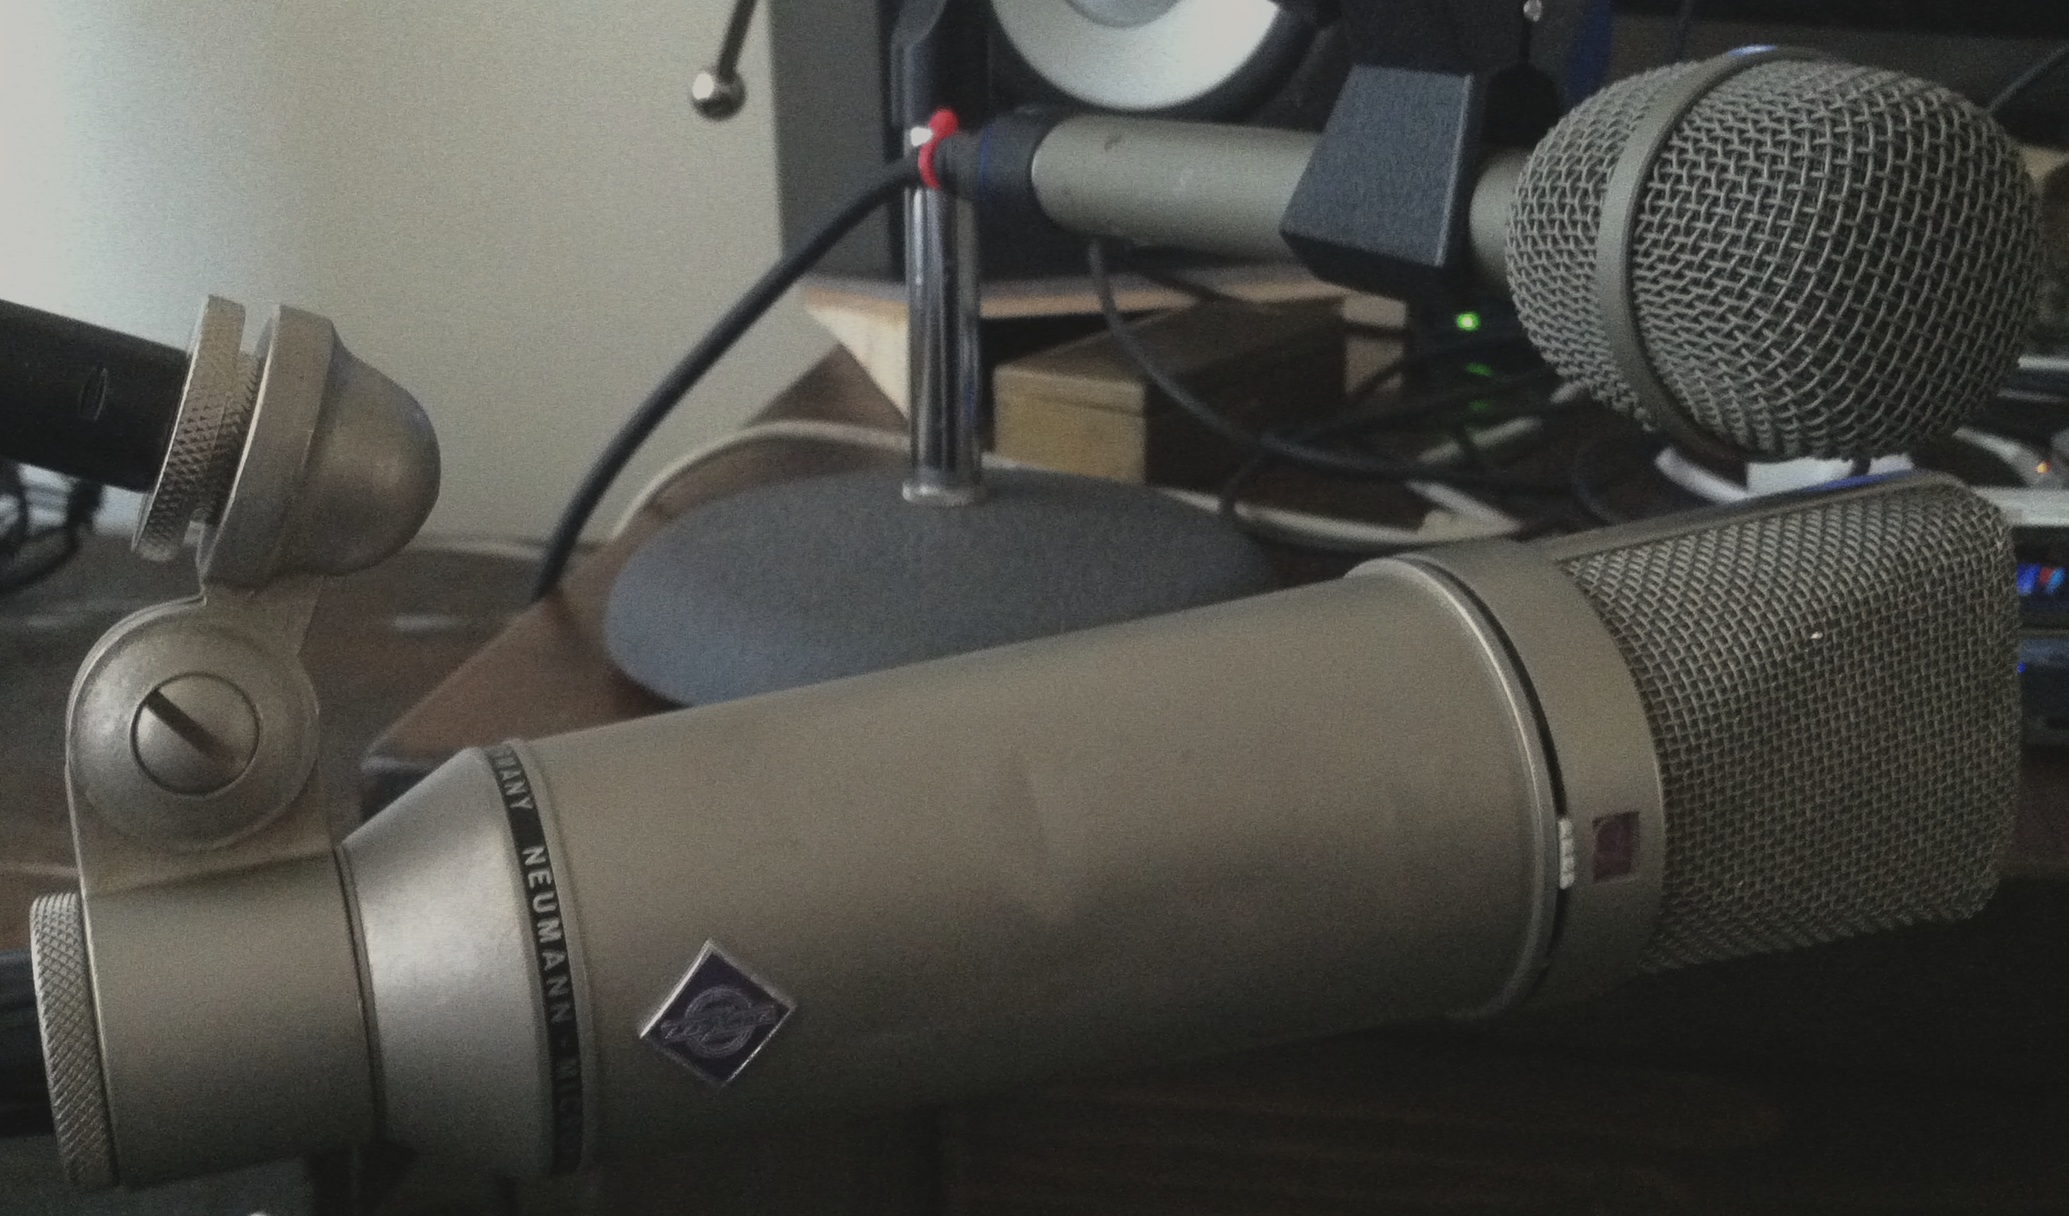 Above: you can see the capsule spacing for the recording here. This recording was made in my lil home composing studio, an 8×12 plaster room that sounds like… an 8×12 plaster room. You have been warned. Without further ado, here is the Audio Technica 813! The budget mic that challenged a Neumann!
LISTEN: AT_813
…and here is the identical performance via the U87:
LISTEN: U87
You are hearing no EQ, no compression, and both audio clips have been normalized so that they peak at -0.1db. So it’s pretty apples-to-apples. My $0.02? They don’t sound very similar. The U87 sounds much ‘prettier’ and there is less boxiness in the midrange. The bass seems to extend deeper. The highs are pretty comparable in terms of frequency extension. The biggest point in the U87’s favor, though, is the noise floor. The mic preamps (MBox2, baby!) were at approx the same level, but the U87 track has considerably less noise. I left a very long tail on the end of the passage so that you can compare the noise floor.
Now, in the 813s favor… the recording does not sound bad. Not at all, aside from the noisiness at the fade out (which, for most music sources, would actually not be as much of an issue… we are talkin solo- fingerpicked guitar here, it’s pretty quiet). Considering that these mics can be had for $50 on eBay, it’s certainly not a bad deal. At some point I will probably A/B this 813 with an SM81 and a few of the other SDCs around the studio; that would certainly be a more fair comparison.
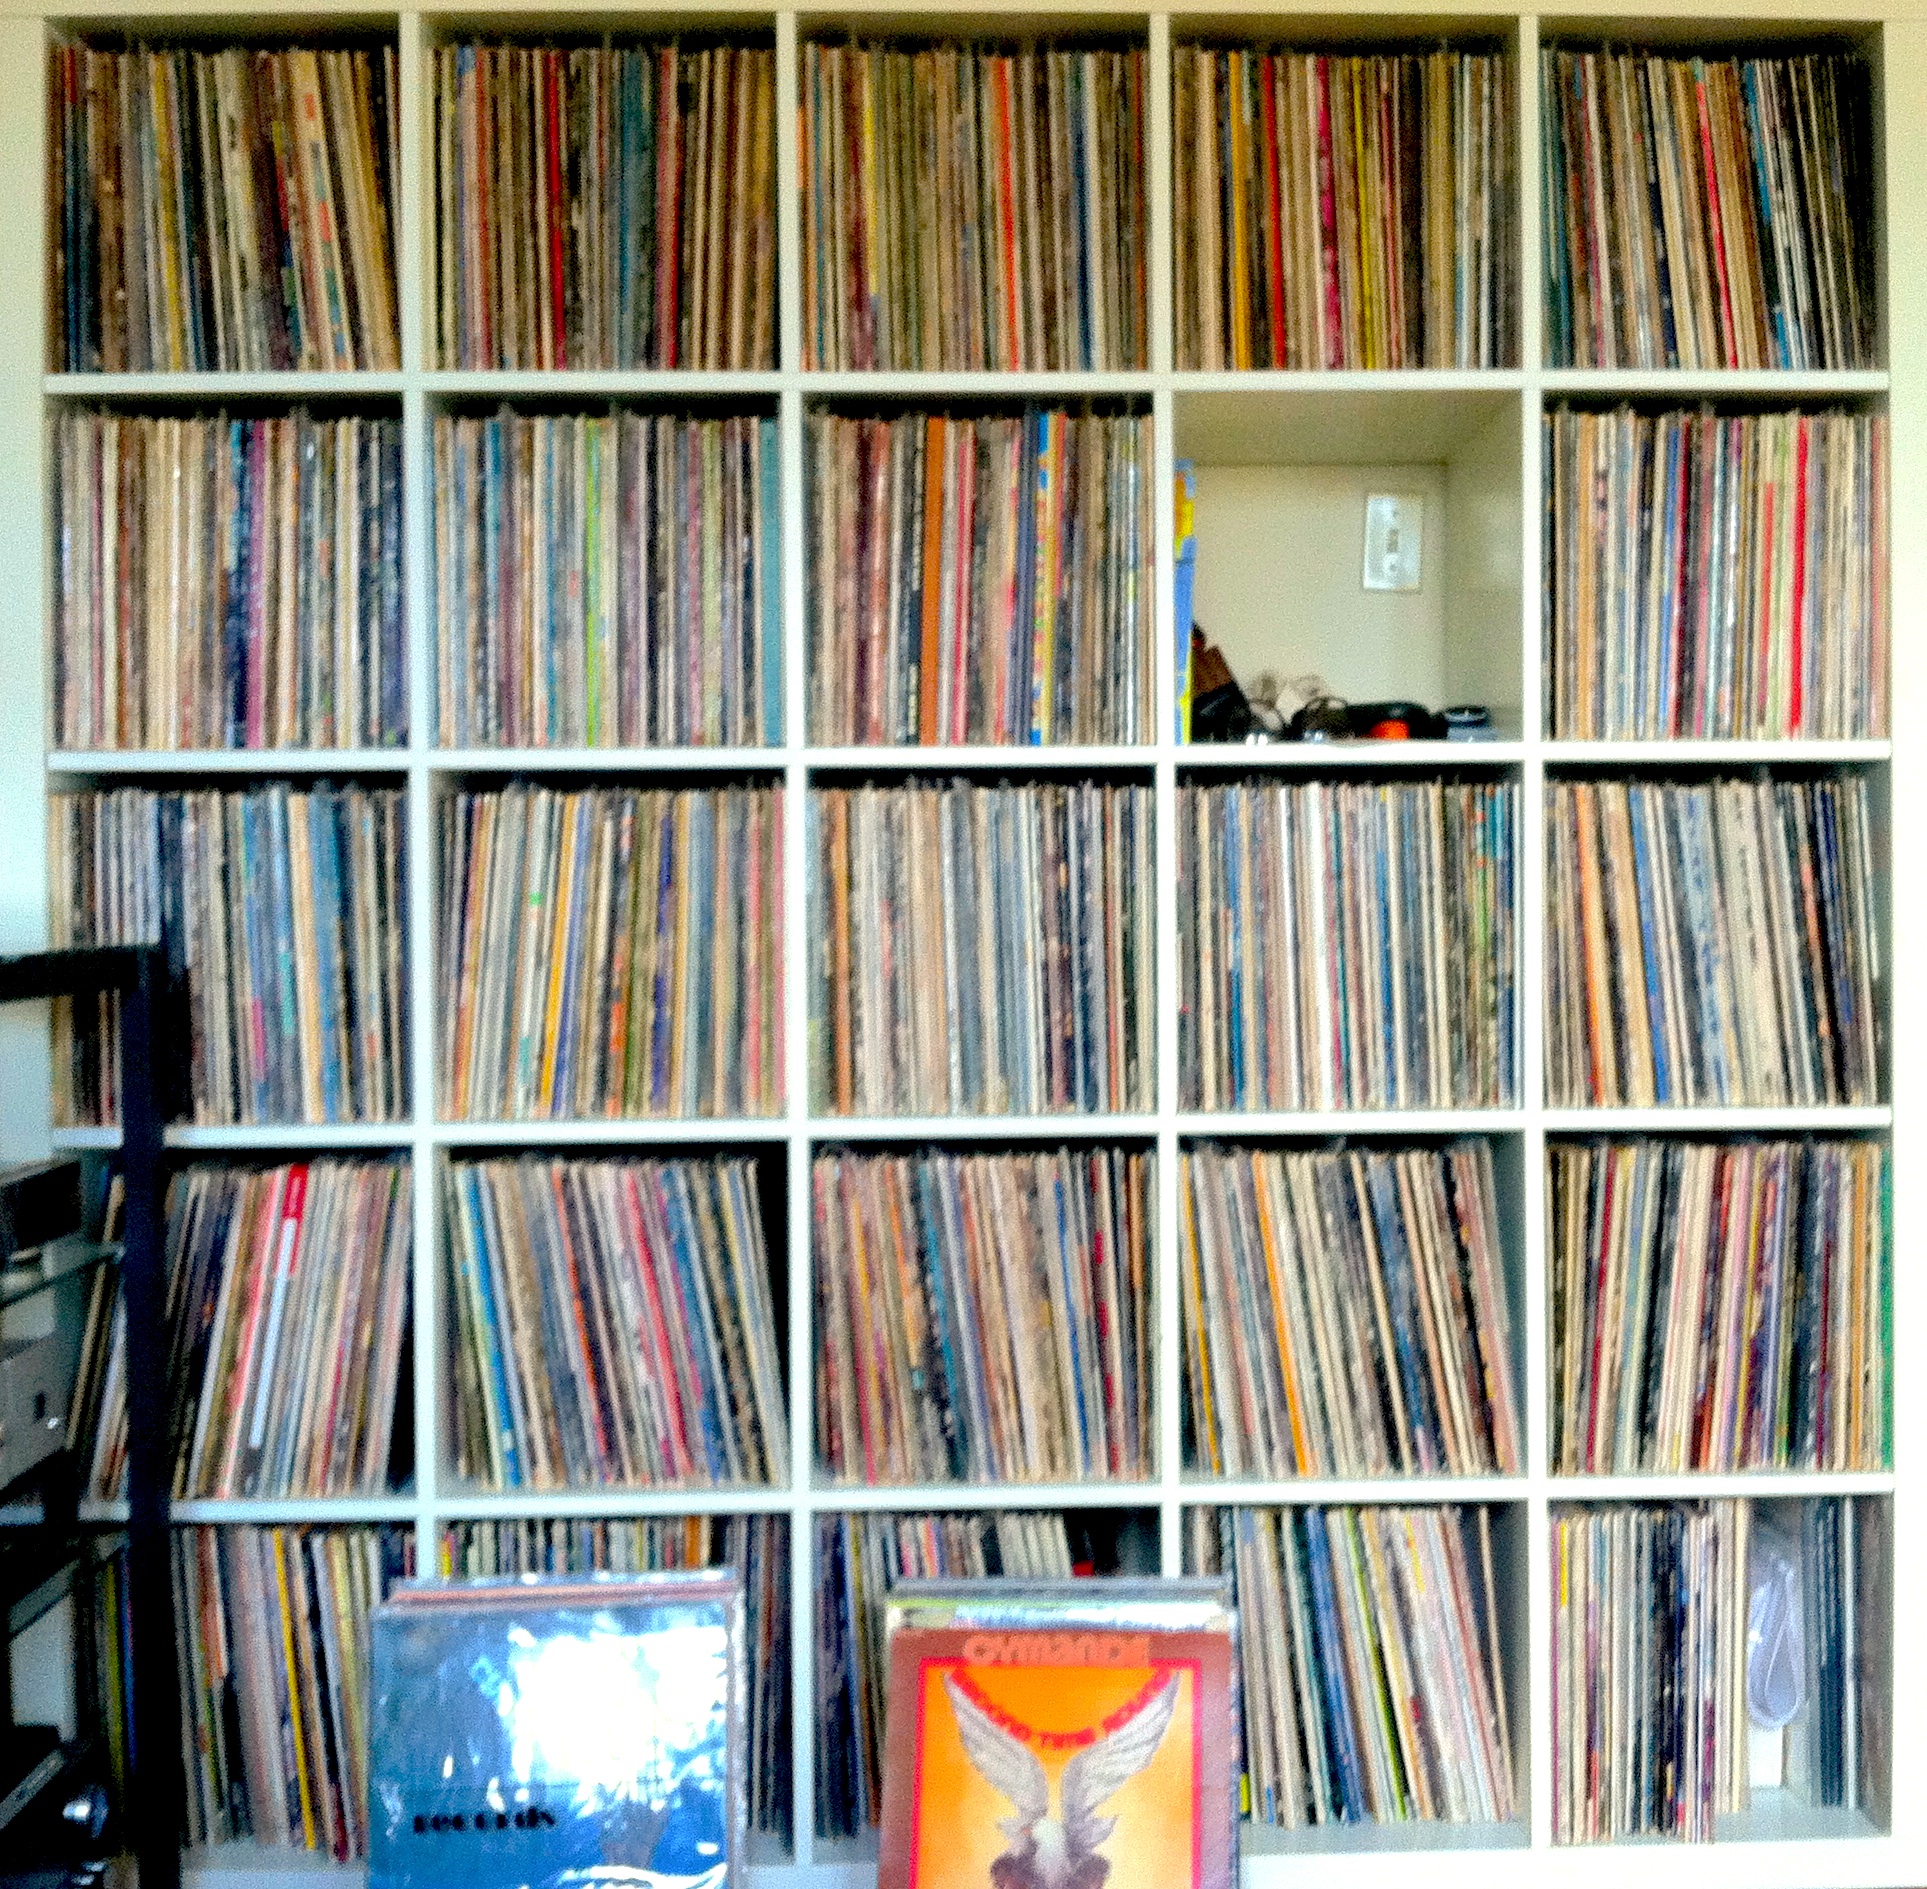 Above: part of my LP collection/pile.
So what’s the point. I read about a cheap, forgotten condensor-mic in an ancient magazine, bought one, and voila! it’s not as good as other mics that I already own. As I hope y’all have surmised by now, the endless, compulsive digging and searching thru old audio gear and its related literature is not part of some nostalgia trip for me; nor am I one who believes that ‘vintage is better’ when it comes to audio hardware. The fact is, I wasn’t even alive when most of this stuff was made, and the two pieces of audio equipment that I use the most are Pro Tools and my late-model monitor speakers. But as someone who’s livelihood depends on putting sounds together, making sounds, and constantly trying to make the sounds fresher+bolder, I need to draw inspiration and techniques from somewhere. The present moment is full of wonders and technology often creates fantastic new tools that speed workflow and improve quality (Cleartune, anyone?), but the past is a treasure trove as well. And as a source of ideas + tools, the past does have one distinct advantage, vis-a-vis creating work that stands out. There is only one present, and we all live here, but there are an unlimited number of pasts. Pick a past that no one else is mining and you’ve got a pretty unique toolbox. Which brings me back to the LPs depicted above. Musicians tend to chuckle when I mention a bunch of songs that no one in the room has ever heard of, as I am known for being somewhat of an obscurist when it comes to rock music. But make no mistake: I like the Stones and U2 and Nirvana and (etc etc) as much as anyone else. I just don’t think that there is any point whatsoever in drawing inspiration or any kind of sonic blueprint from that material. It is just way, way, way too overdone. It’s been picked at and re-examined from every possible angle. Which is why I spend hundreds of hours per year looking through tens of thousands of dusty old LPs: just to find the ones that no one remembers. To a working producer like myself, those are the records of value. They are not necessarily better or worse. But they do offer many more possibilities in terms of being a springboard into uncharted territory.
*************
*******
***
PS: thought I should mention, while on the subject of ye olde Audio Technica: if you have not used their old ATM25 dynamic mics you are missing out… they recently re-issued these things for $280, and I have not heard the re-issue, so i can’t comment there… but the original ATM-25s, which I first used almost 20 years ago and I still use today… are pretty unbelievable, esp. for rock bass-guitar speaker cabs and as an inside-kick mic. Better than a 421 or 441 IMO. I picked up an ATM25 for around $100 a coupla years ago; they sold a ton of these things so if yr patient you can prolly find a deal.
update
An interesting comment was inadvertently inserted in a spot that no one would likely find it; I reproduce here for easier access.
“These early At mics were conceived by some ex Electrovoice engineers and salespeople.
Very well targeted and designed.
Regarding the AT813, AT831A and the ATM31 (same mic, different paint) had nearly identical on axis (cardioid) and especially off axis response to the U87. The U87 tended to get very omni at high frequencies so it sounded crisper off axis which is where some of the sound comes from in many cases, lending to it’s unique sound.
I sold many of them over the years and most people were very happy with the result. Remember this was long before cheap Chinese condensers. We also marketed a private label variation which was called a “C87″.”
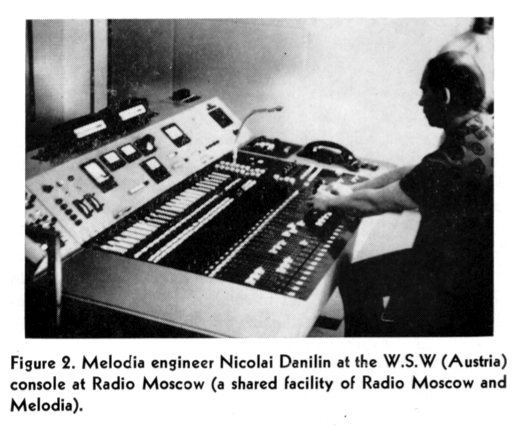 From DB magazine, Nov 1969: John Woram visits a few Russian recording studios, Moogs in tow.
DOWNLOAD: db_Mag-6911-To_Russia_with_Worham
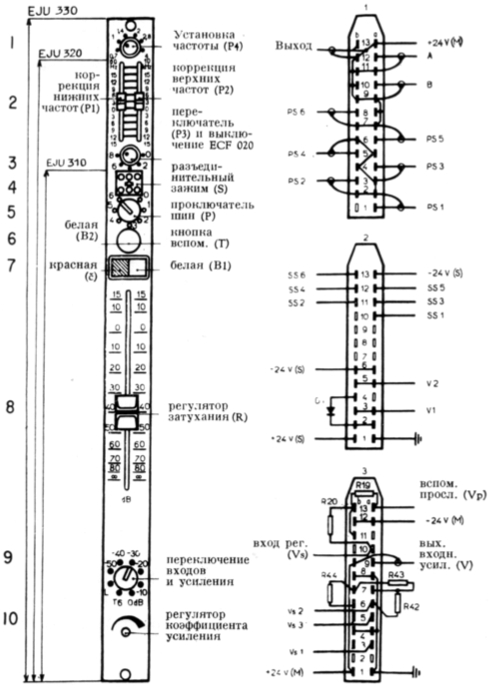 Thanks to TF for the scan. Much much more from ye olde DB mag to come soon…
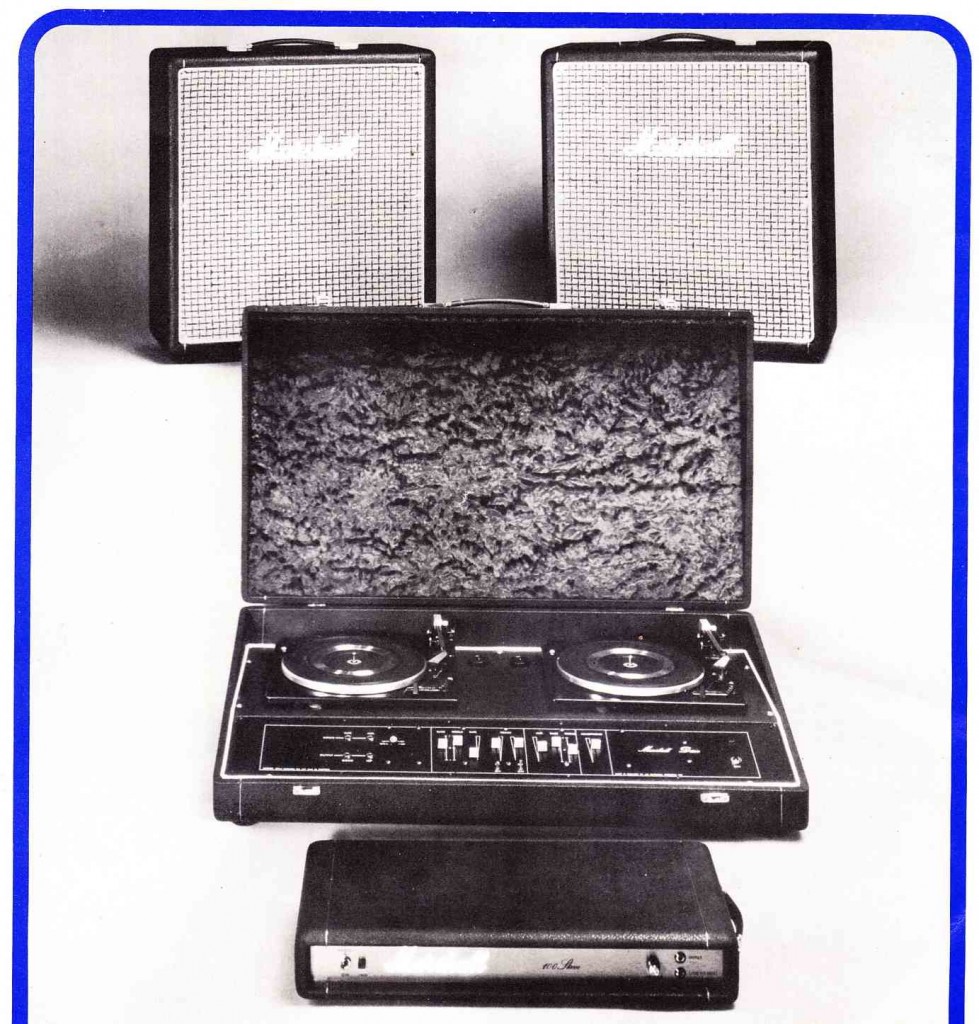 Tonight: I will again be joining JBW aka Sway behind the decks at Firehouse 12 in New Haven Connecticut. We’ll be on from 9PM until One. Gonna try out a new concept for this set: early electronics+process music along with the obscure rock non-hits. It’ll be… something.
Pioneer SR101 ‘Reverbe’ Unit
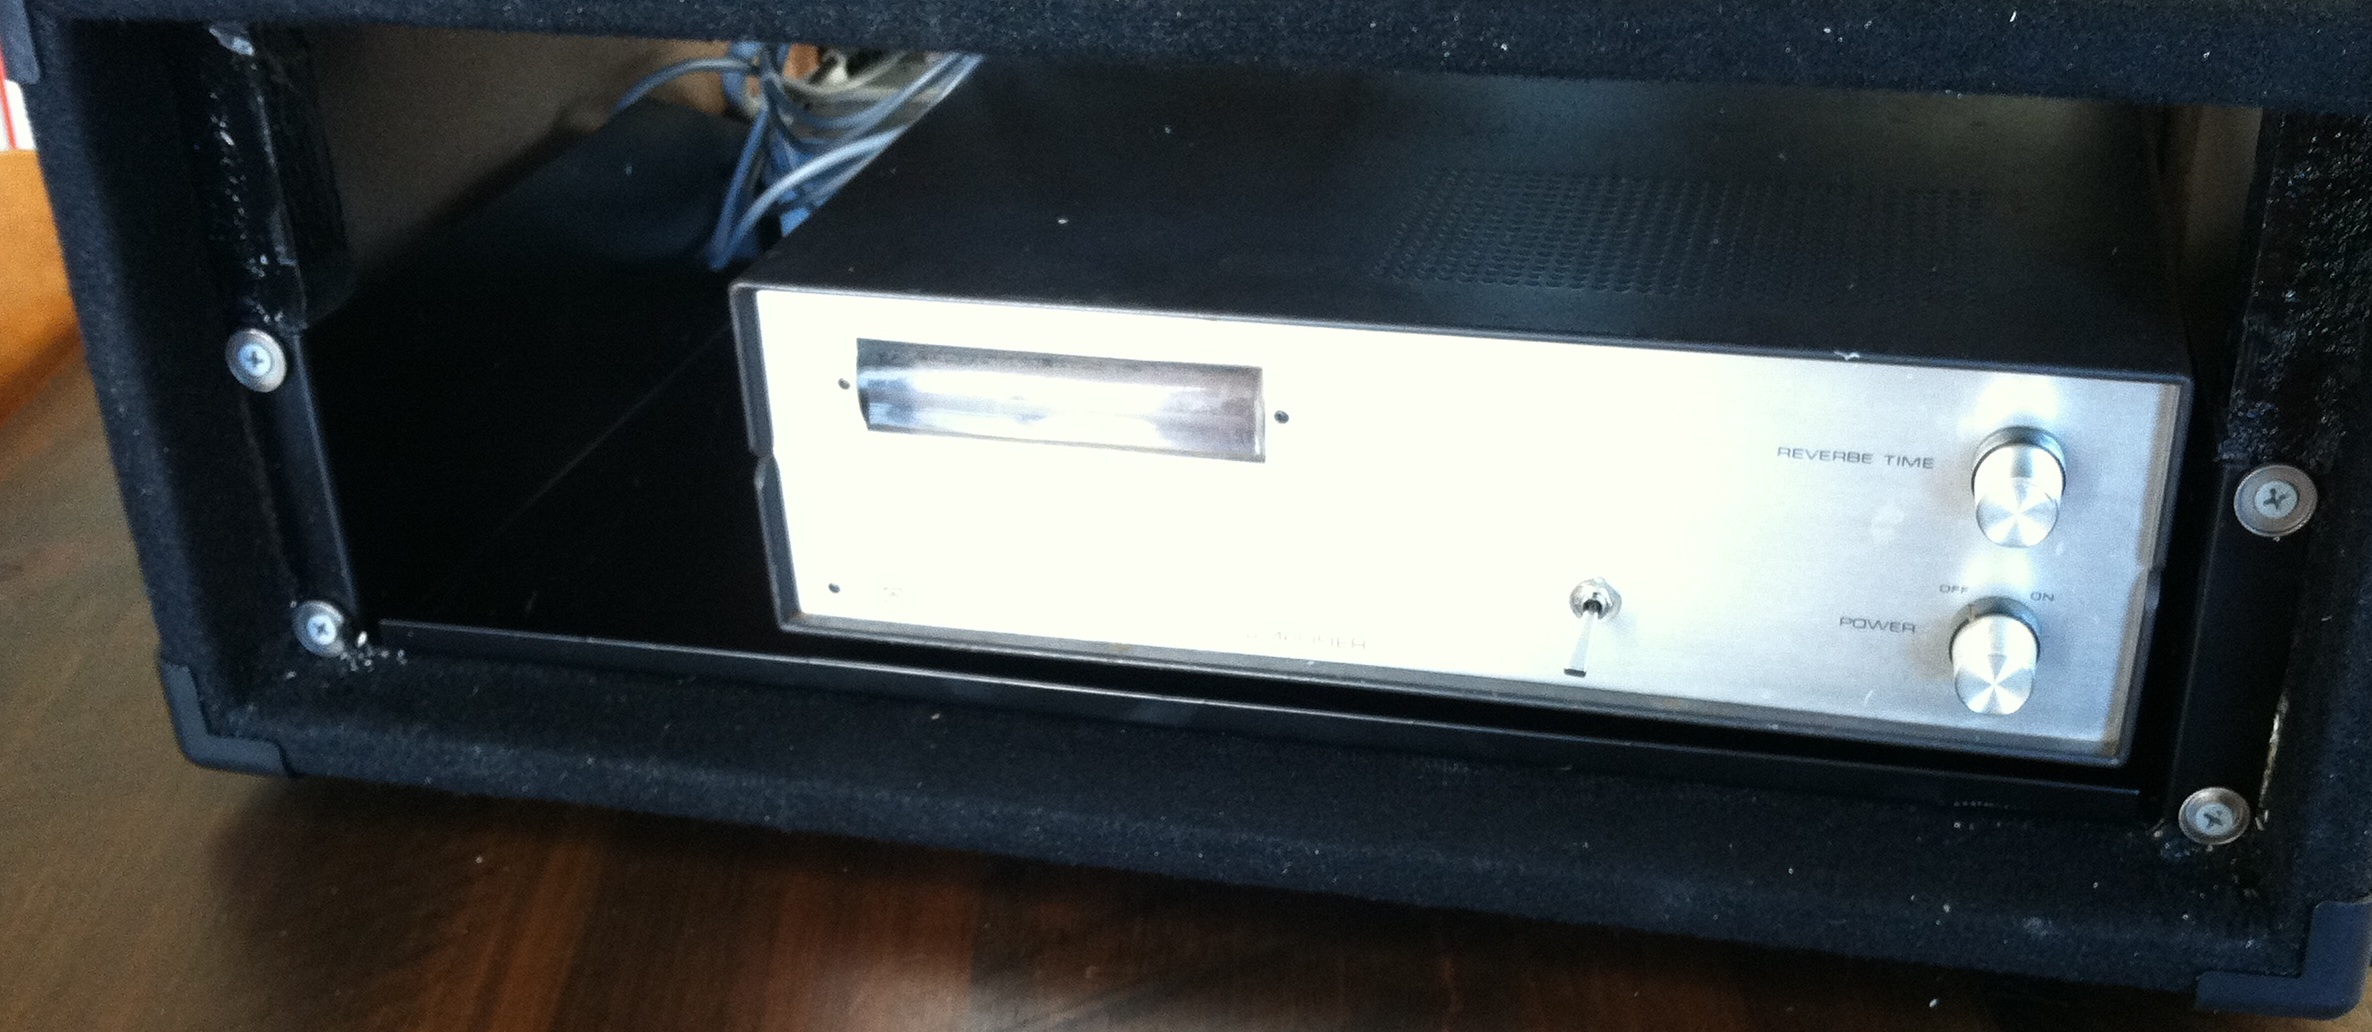 I picked up the above-depicted Pioneer SR-101 all-tube Stereo Reverb unit for a few dollars at the final flea of ’12. It worked after some minor repairs and I am happy to report that it’s actually a pretty fine lil box. I made a few modifications and added some hardware to adapt it to studio use. I’ll describe the whole fandango here in case any of y’all are thinking of going down the hardware-analog-reverb path. There are plenty of these things on eBay, often closing in the $50 – $200 range. Even if you have to spend a lil time or money on some repairs, it could still be a lot cheaper than the roughly comparable Orban 111B or the Sound Workshop 242, both of which we also have + love at Gold Coast Recorders.
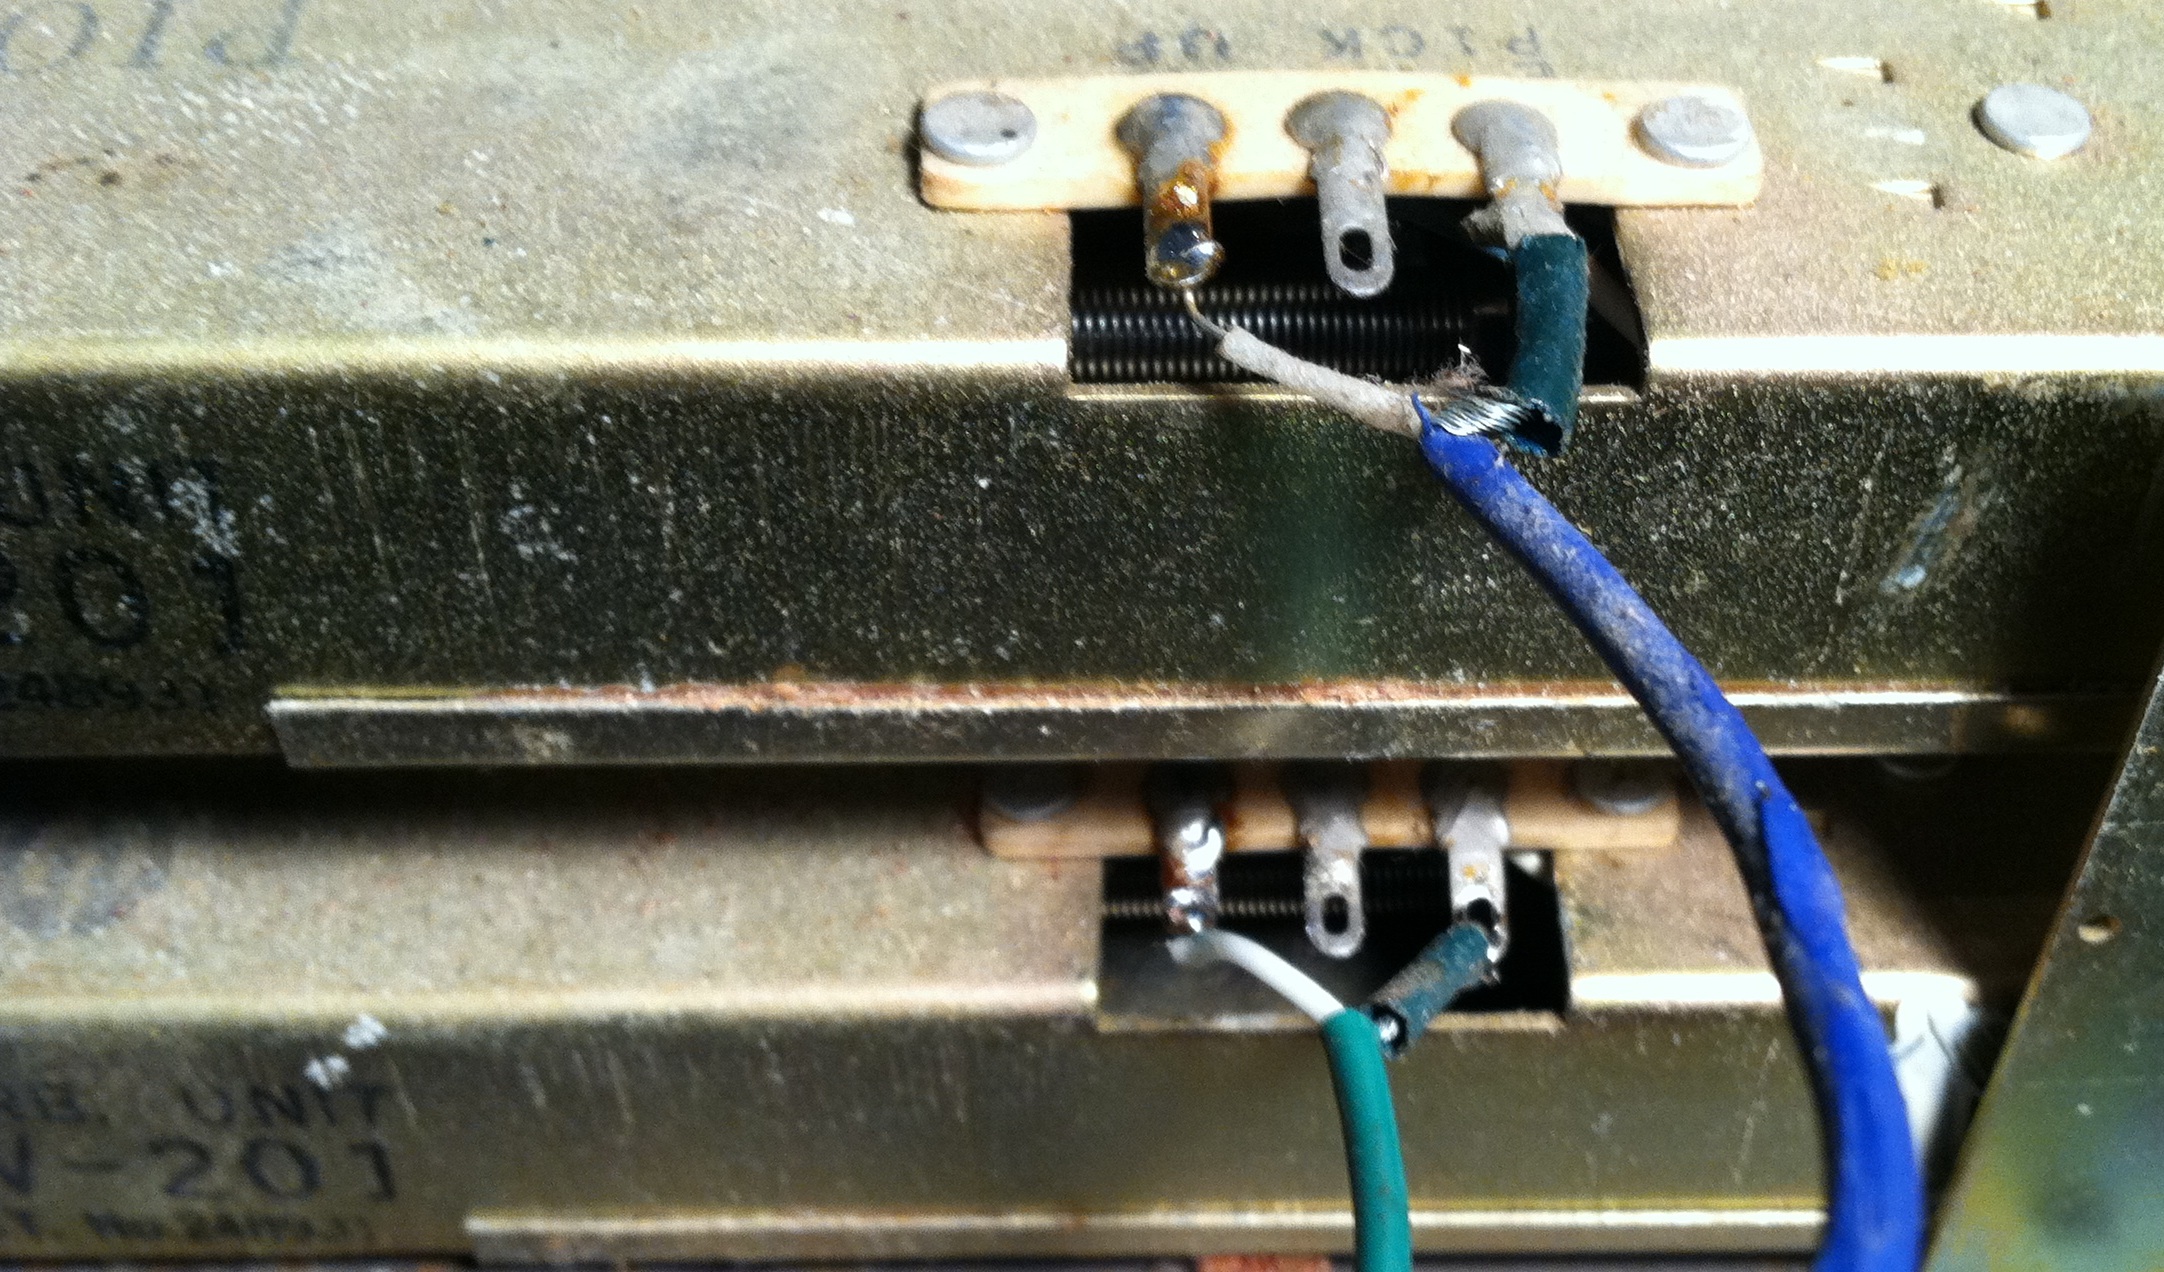 Above: the ‘pickup,’ AKA ‘output’ side of the twin tanks. Unlike the Fisher Space Expander (which I also just picked up… deets on that one soon…), the Pioneer is a true stereo machine. Each input feeds its own physical reverb tank. This is a big, big benefit over the mono-summing of the Fisher. My SR101 unit was passing direct signal, but not reverb, on one side; the culprit was actual just the output lead of the tank (above), which was over-heated during manufacture and had a signal-leak-to-ground on the coaxial cable. A quick snip-n-solder and we’ve got SOUND.
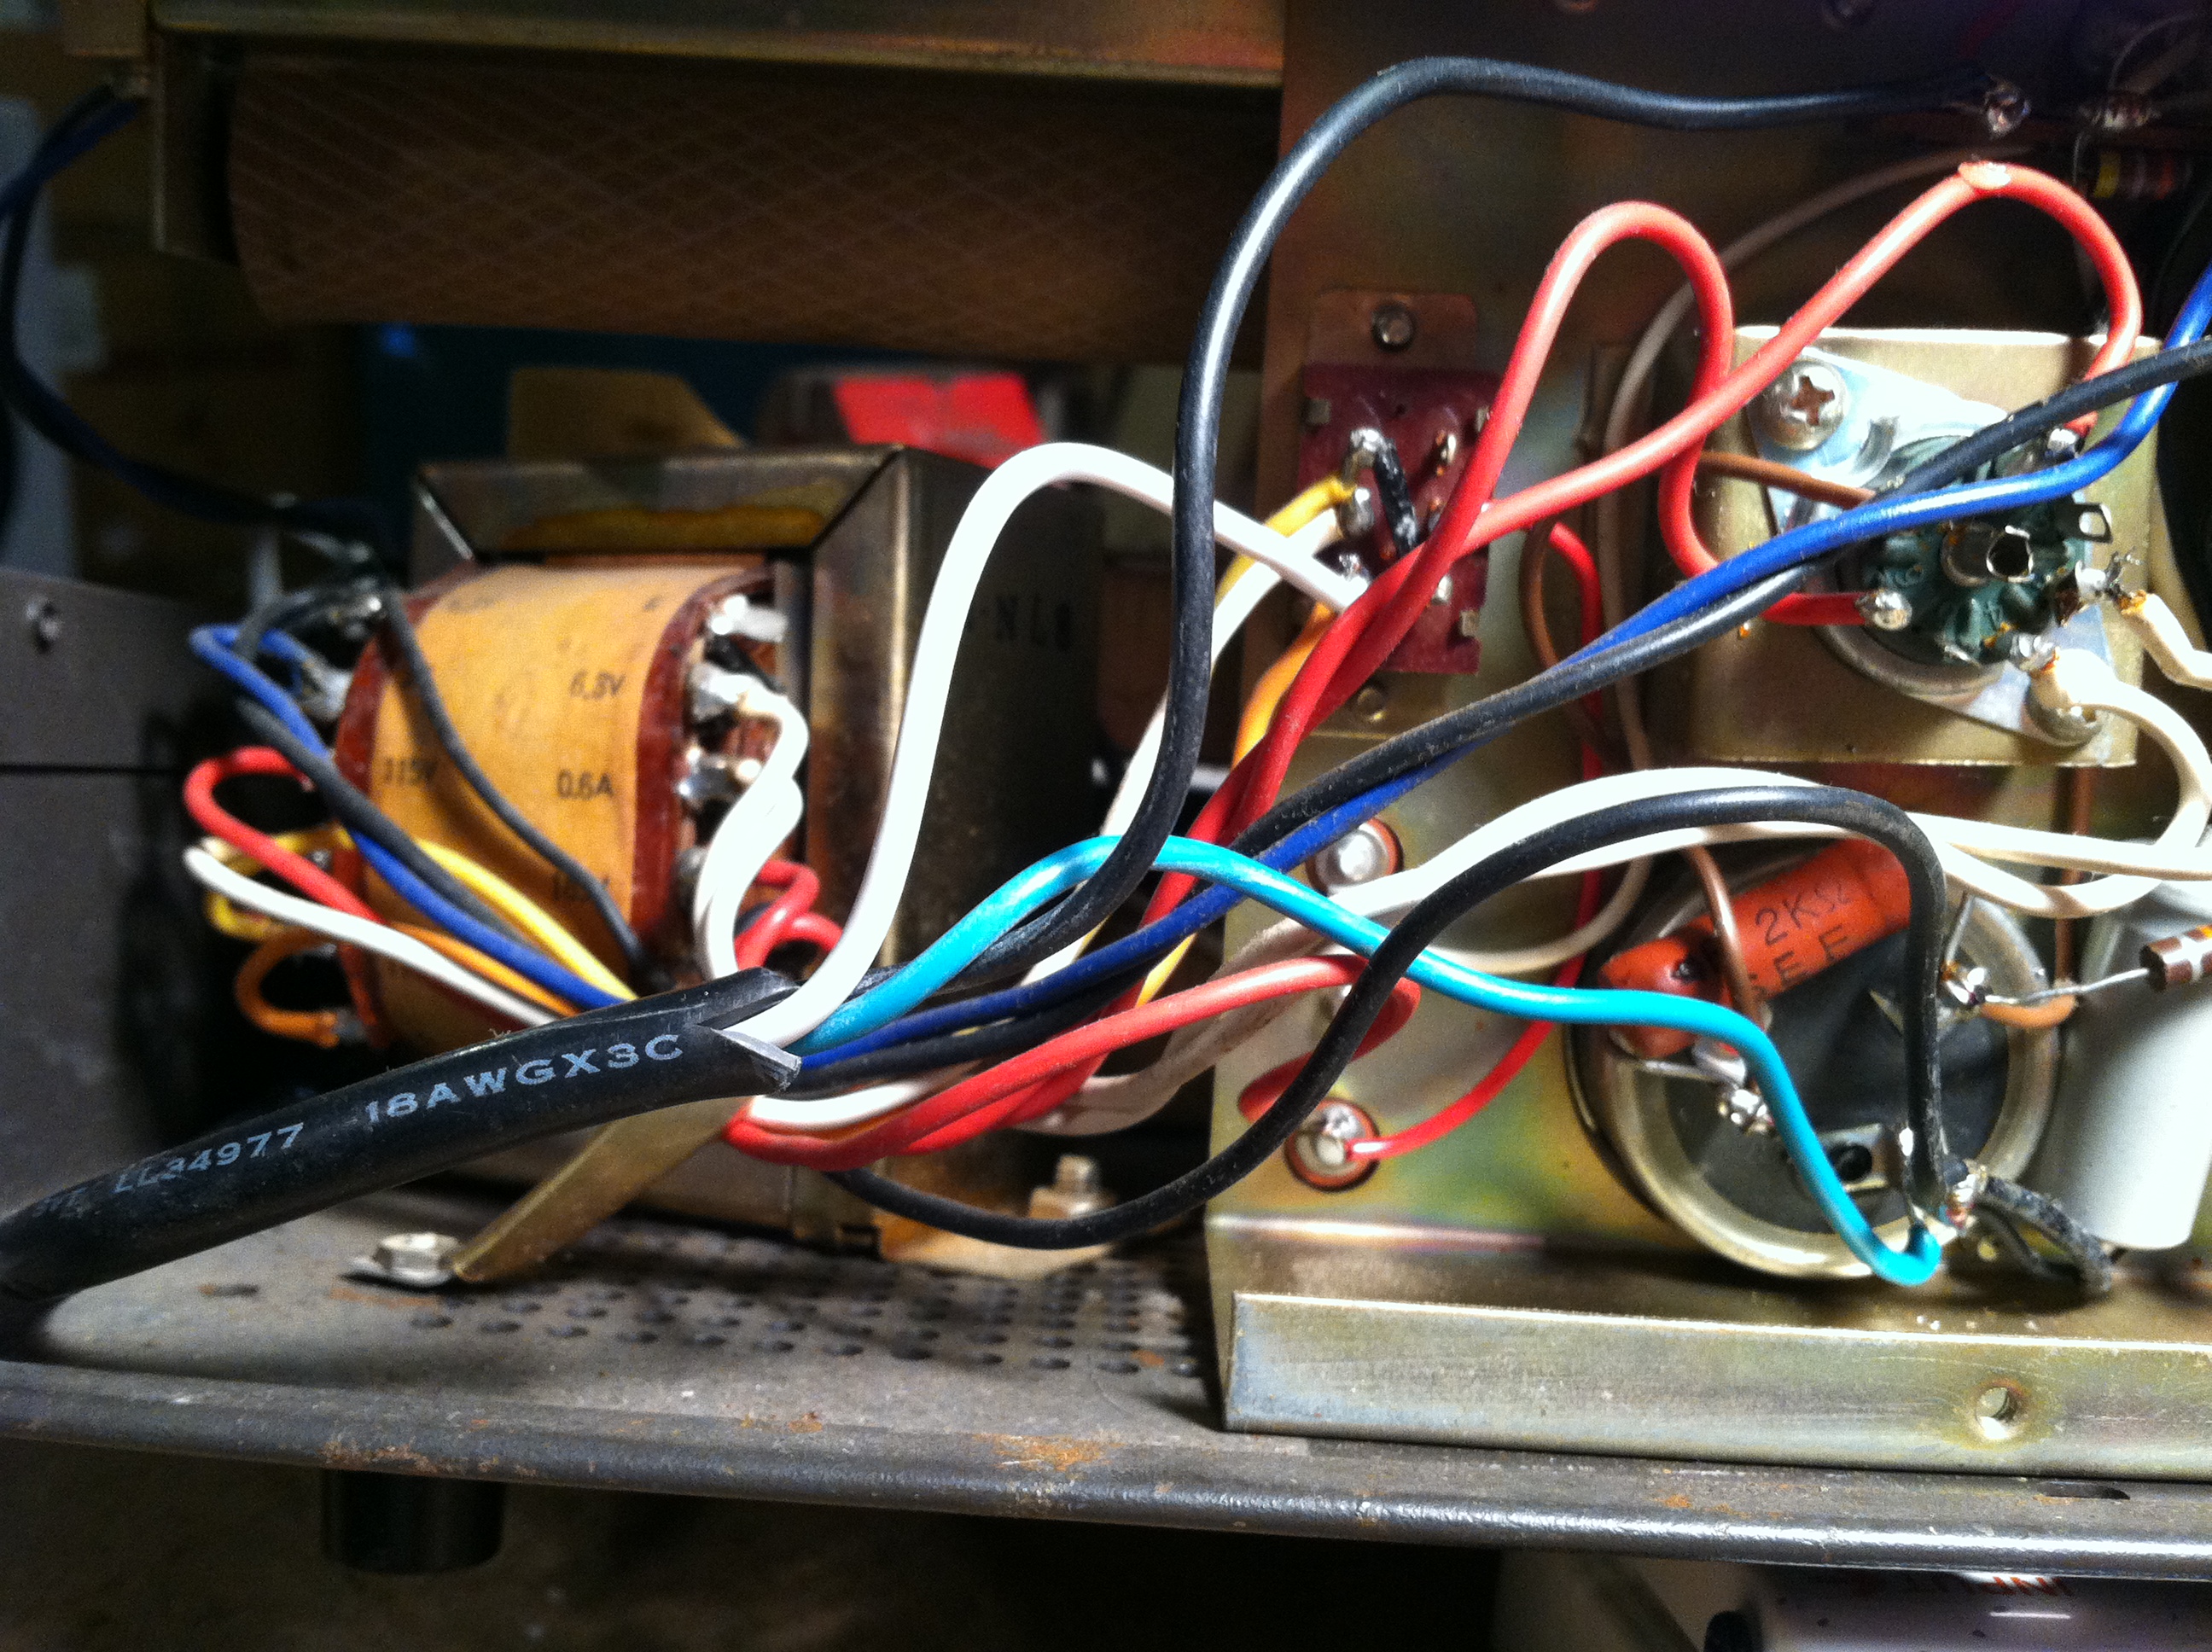 Because this is 60’s piece, the AC mains are not grounded. So I hacked up a nice long IEC cable and added that. Above: I connected the ground (green) wire to the common lug of the multi-cap cap. Seemed to be the most convenient option… The only other repair was of a more mechanical nature. The tanks are suspended from steel risers via small springs, with foam rubber pressed between the tanks+chassis. 45 years of tiiiiiiiiiiiime marching-on had turned much of the foam suspension into sticky goo; I replaced the rotted foam with some generic foam road-case-material.
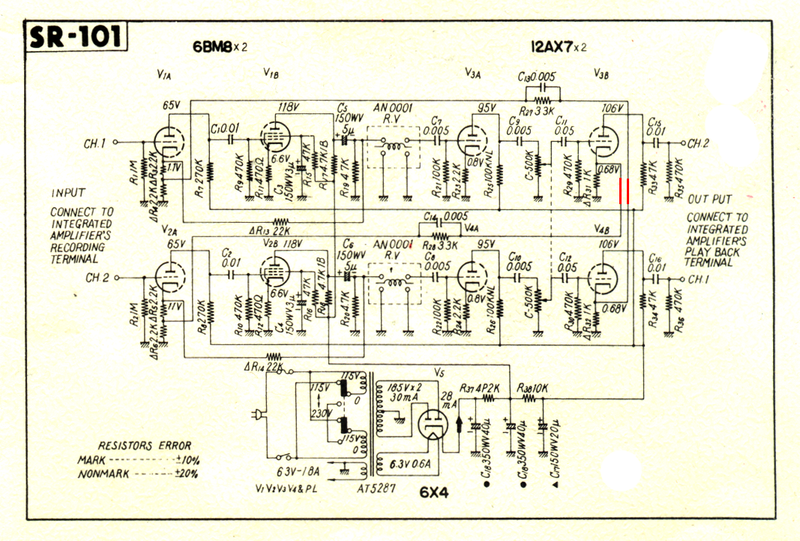 Above: the schematic of the SR-101, courtesy of this handy web forum. Notice the two red wires: the fellow who originally posted this schem was kind enough to highlight them. Here’s why. When I originally got the unit, it was a little tricky to troubleshoot; the left input came out of the left dry output, but the left channel reverb emerged from the right out. WTF? Turns out that this was a gimmick that Pioneer used in order to ‘widen’ the stereo effect. And it does work, but that would just be confusing as hell in the studio. So I re-reversed (versed?) the direct-signal wires and then reversed the leads going to the RCA output jacks.
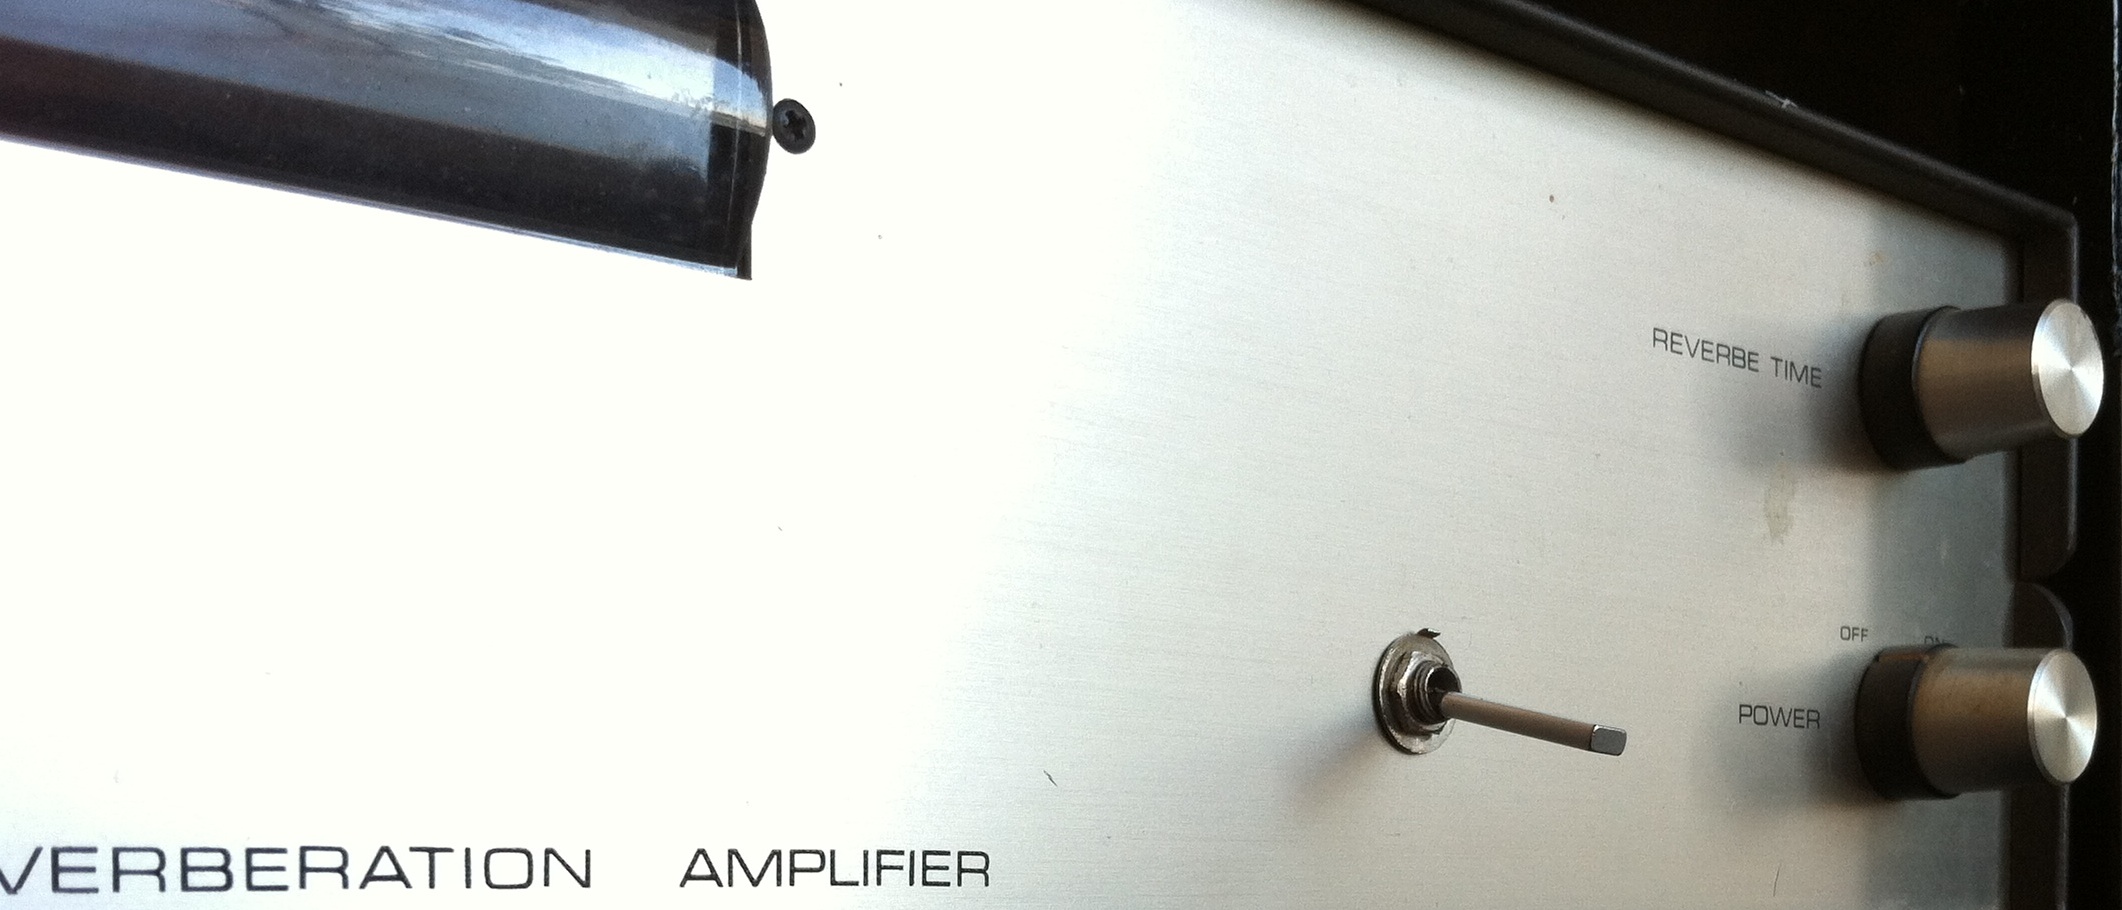 While I was at it, I drilled a hole in the front panel and added a DPDT on-on switch that cuts the direct signal fully out-of the signal path. So now the left channel input and its associated reverb both emerge from the left output, as one would expect, and vice-versa for the right channel. PLUS, now I can flick the switch up and get reverb-only in the outputs. Easy enough…
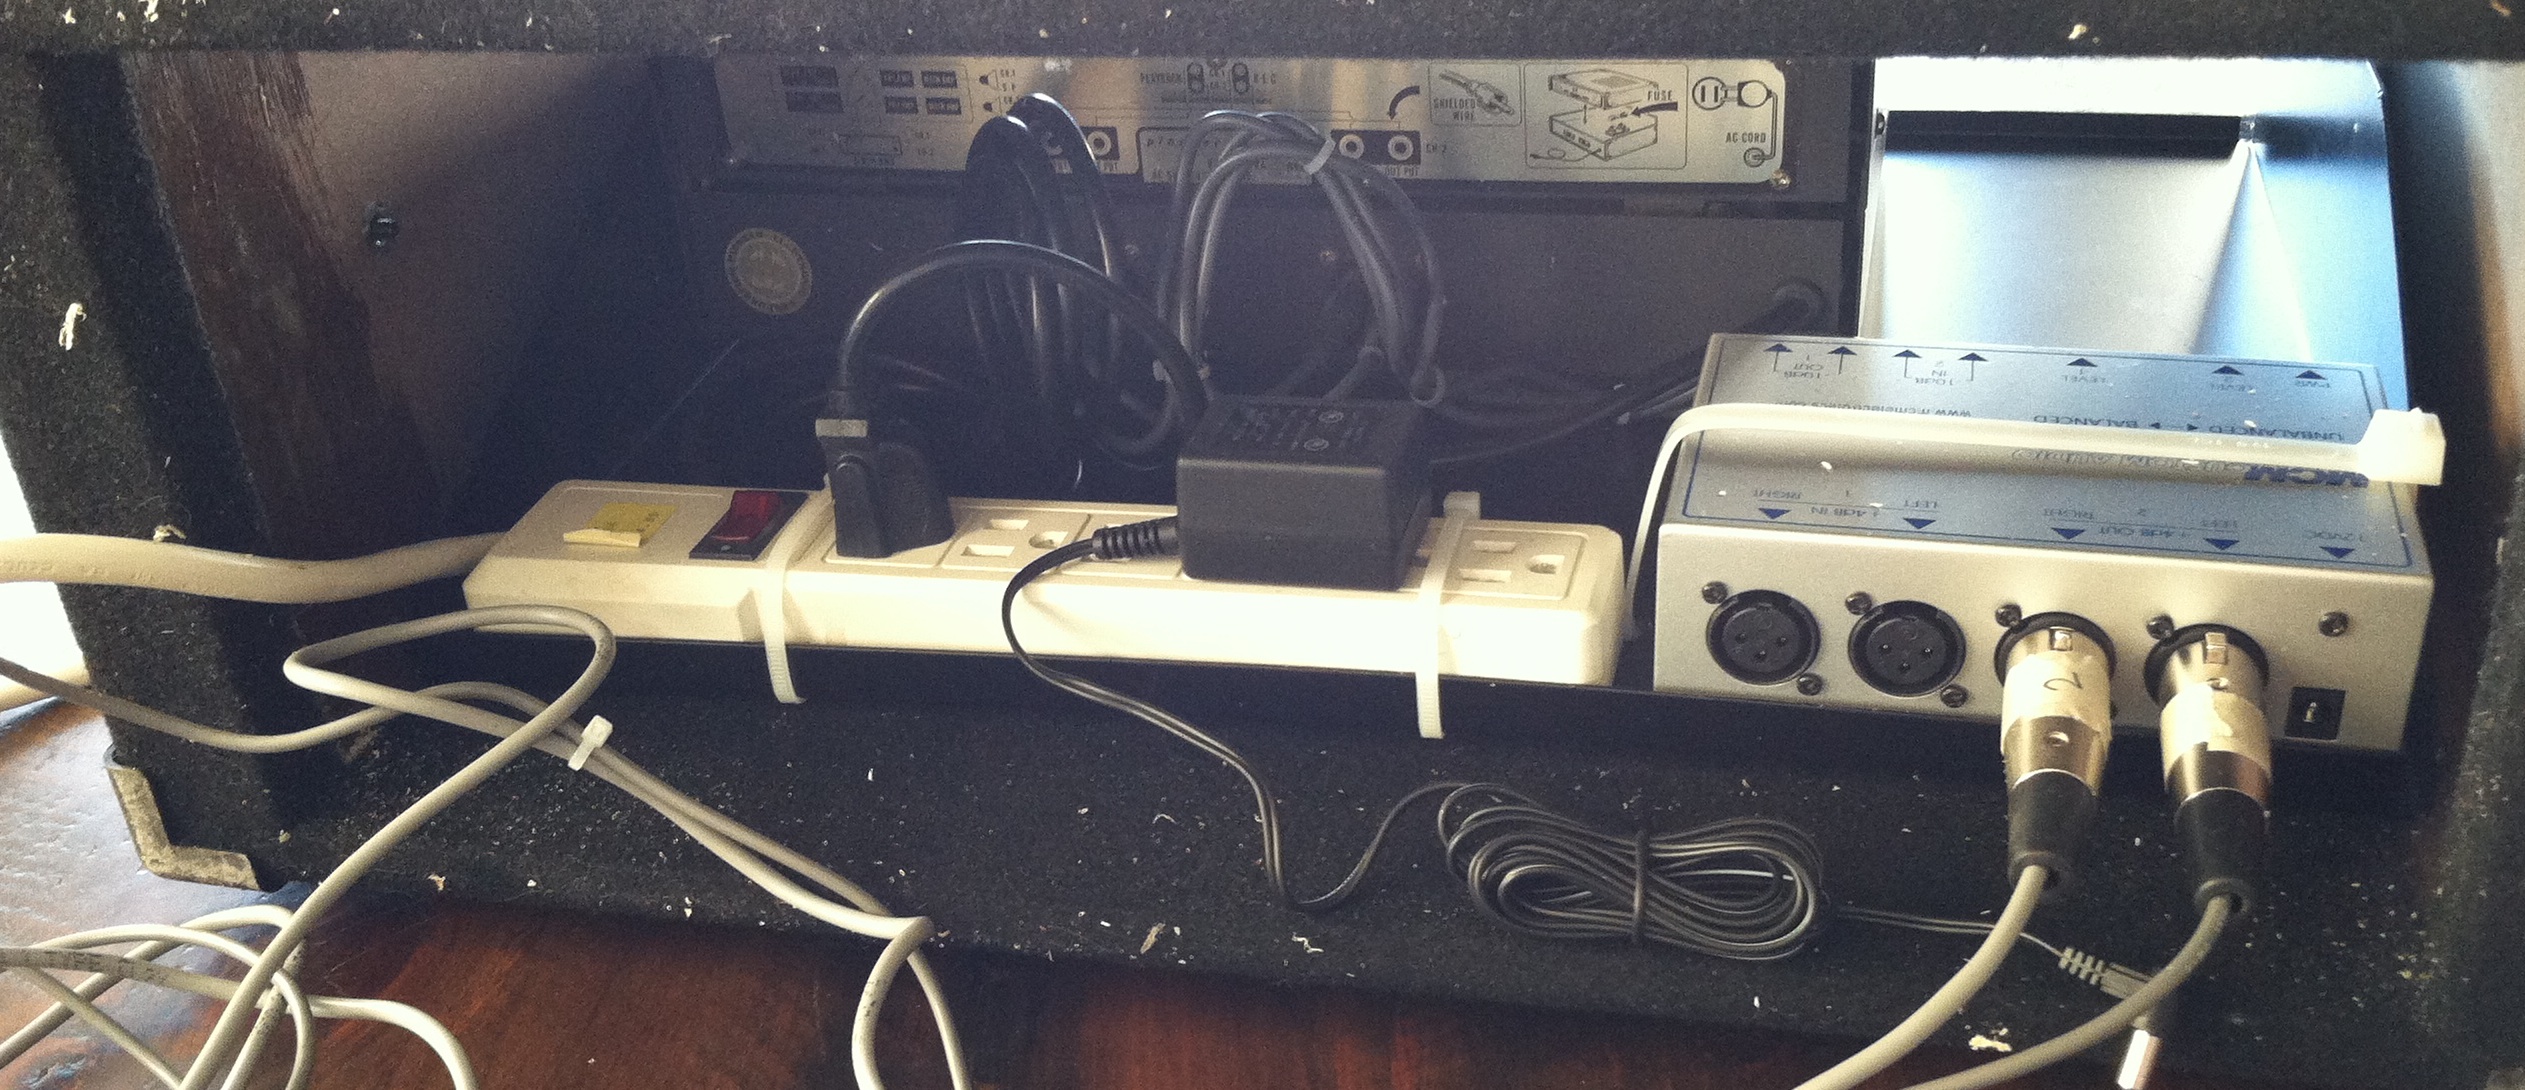 Above: the rear of the rack-case. That lil silver box on the right is a bi-directional stereo balancing amp designed to interface consumer audio gear with studio (or broadcast) audio systems. Basically, it takes a stereo balanced +4 input signal and drops it to -10 unbalanced output, and simultaneously takes a -10 stereo input signal and boosts it to a +4 balanced output. I own many of these sorta things, but the unit above is notable in that it is really, really, really fukkin cheap. These things are generally in the $70 – $200 price range, but my fav purveyor of dirt-cheap electronic crap MCM electronics has em now for $39. There are often sales too; I think I paid $35 for this one and $30 for the last one I bought. Both worked fine BTW. Anyway, I wouldn’t recommend that you mix a record thru the thing, but I can’t imagine it doing any harm to the signal coming from a 45-year-old box of tubes and springs and carbon-comp resistors.
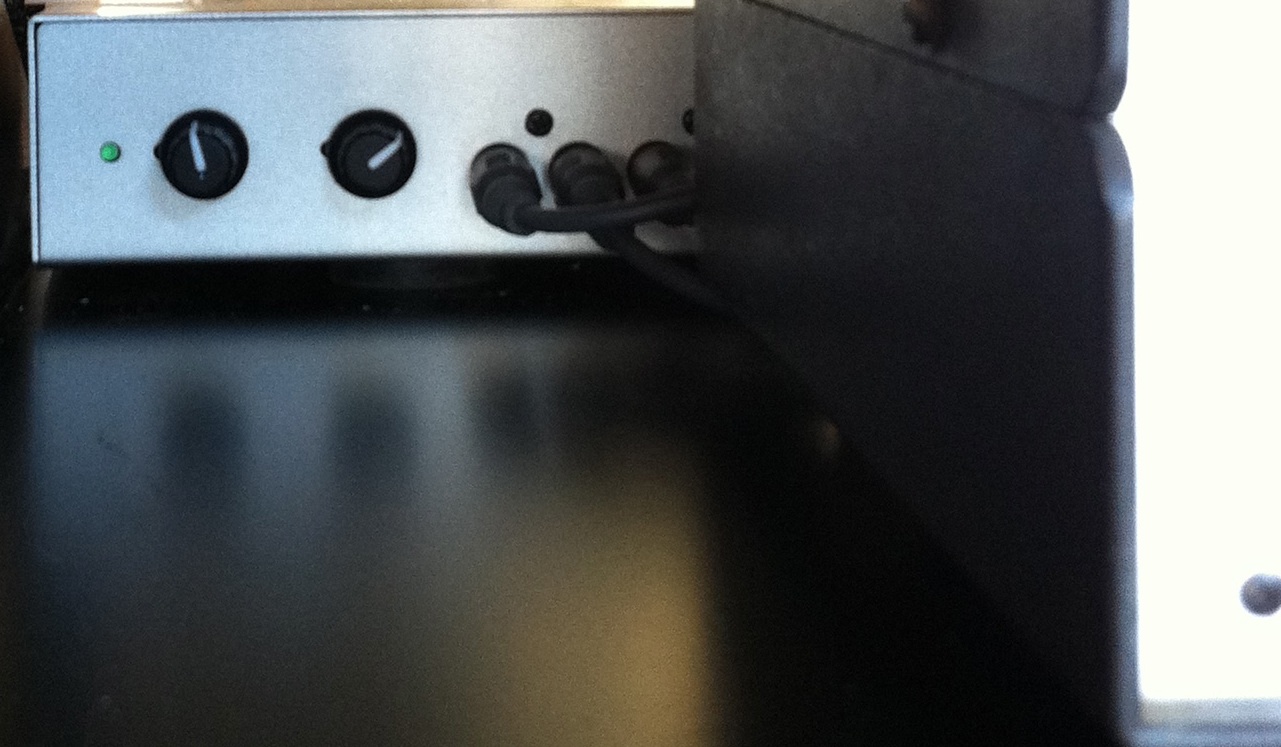 Above: the front of the balancing amp as seen from front of the rack-case. The knobs set the send and return levels to and from the SR-101. This is super-handy in terms of setting the right nominal level to ensure a good signal-to-noise ratio without creaming the tanks too hard (wow that sounds gross). Unlike the reverb tank in a fender guitar amp, for instance, the SR-101 hits the tanks with power amp tubes (around 2 watts, as opposed to maybe 100 milliwatts in a fender). So it is possible to get a pretty good signal level out of them without too much objectionable noise in the tank return circuit, provided that you hit the tank input hard enough. I might be repeating myself now, sorry, it’s late…
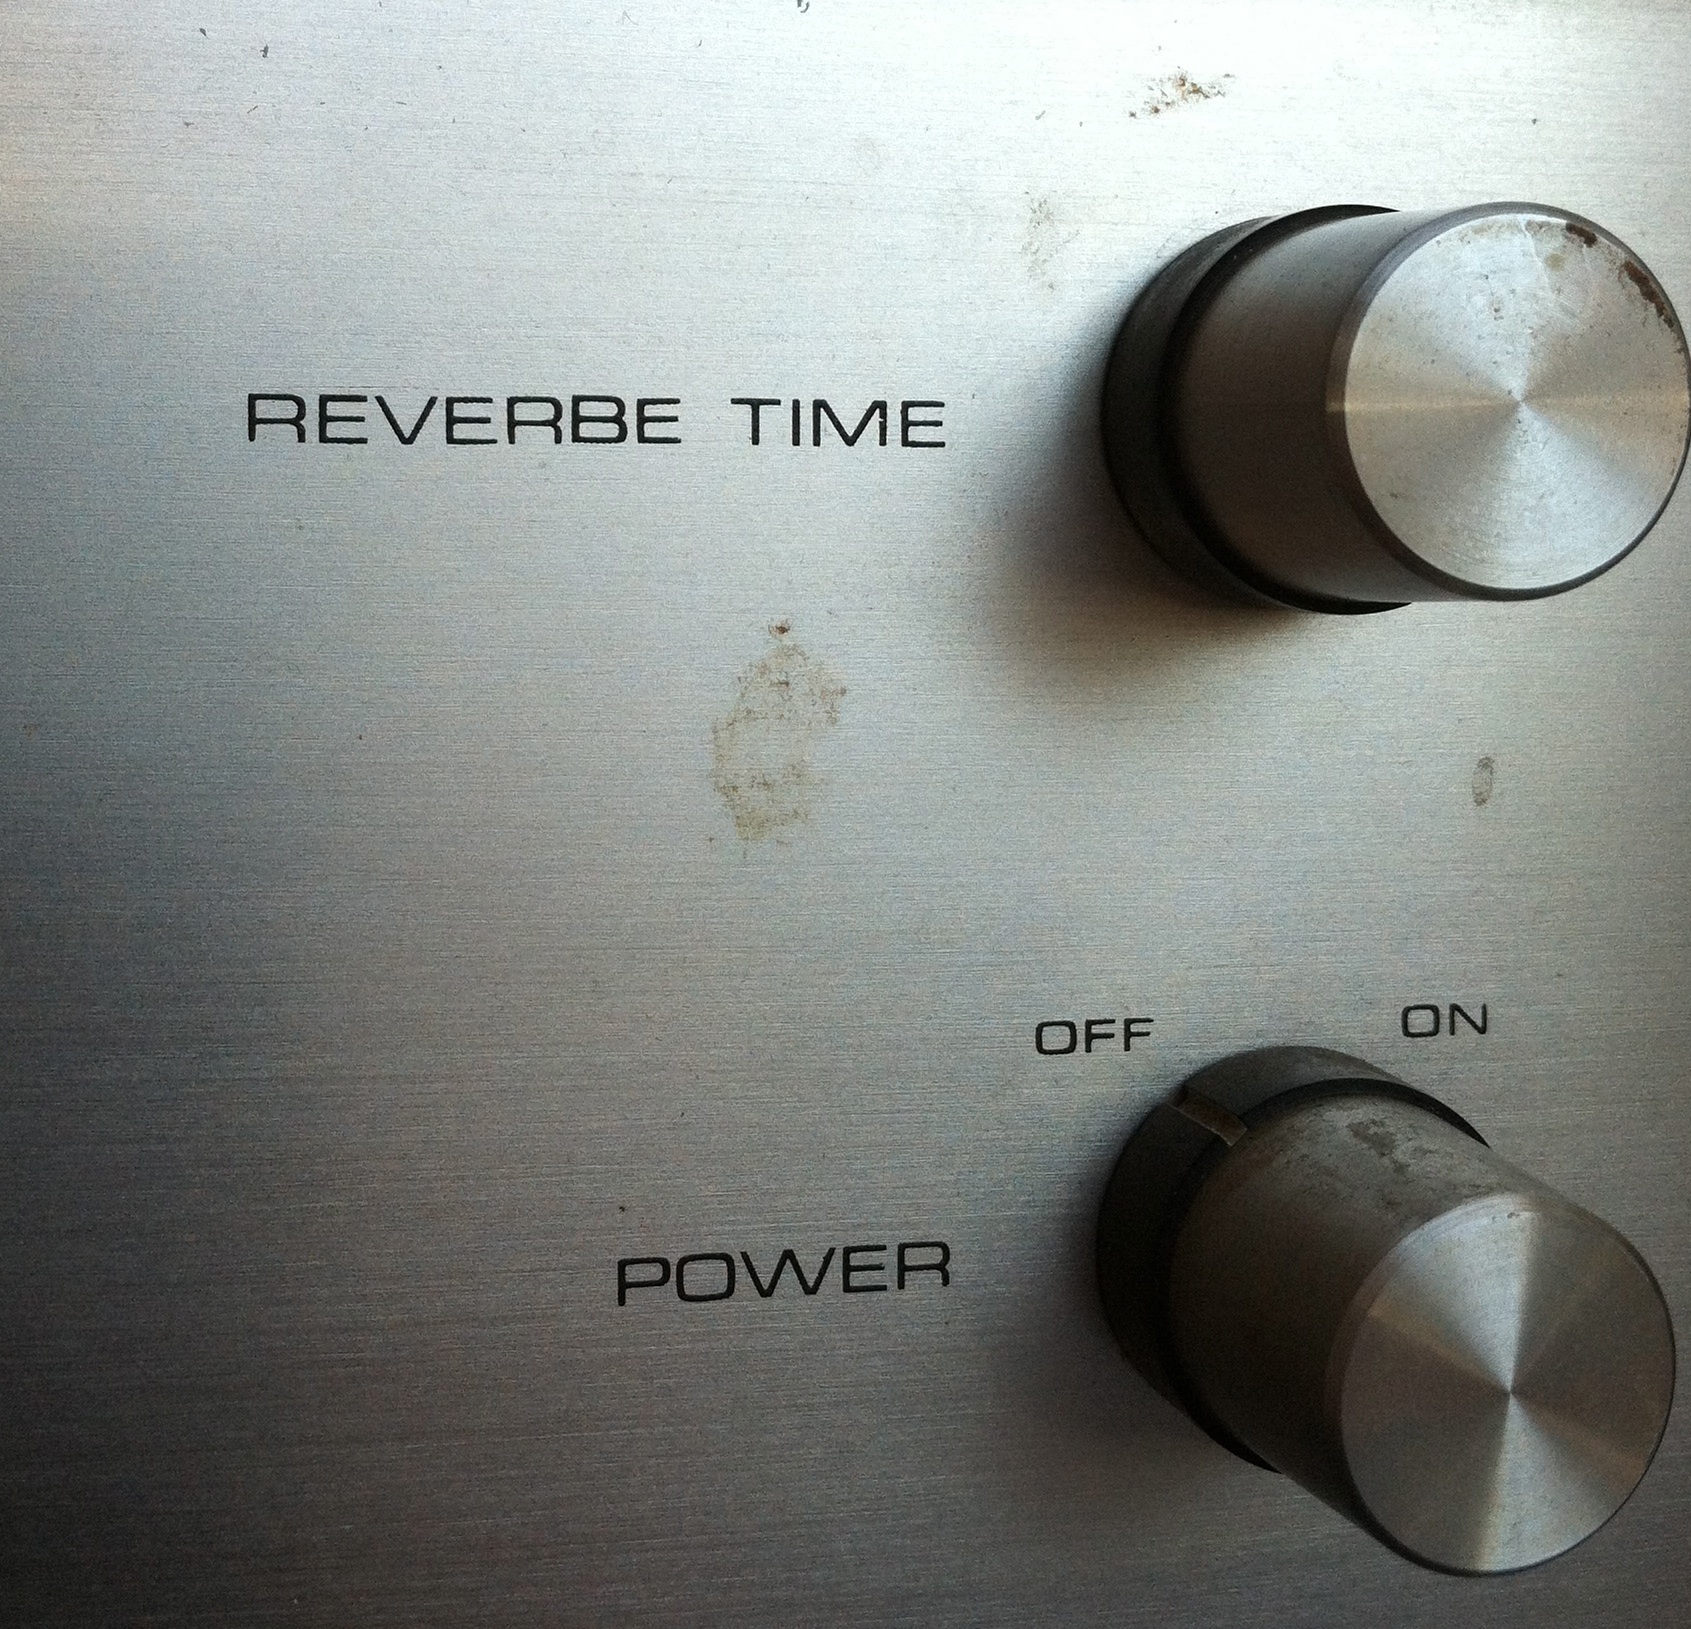 And above: the sole audio control on the unit, charmingly labeled ‘REVERBE TIME’ Yes Reverbe. Love it. As the schematic reveals, this is simply a passive gain control in the tank pickup amps. So yeah it’s a one-sound box. But it’s a glorious sound. This dusty gem just got put in GCR today, so once I get a chance to try it on a mix I’ll post the results.

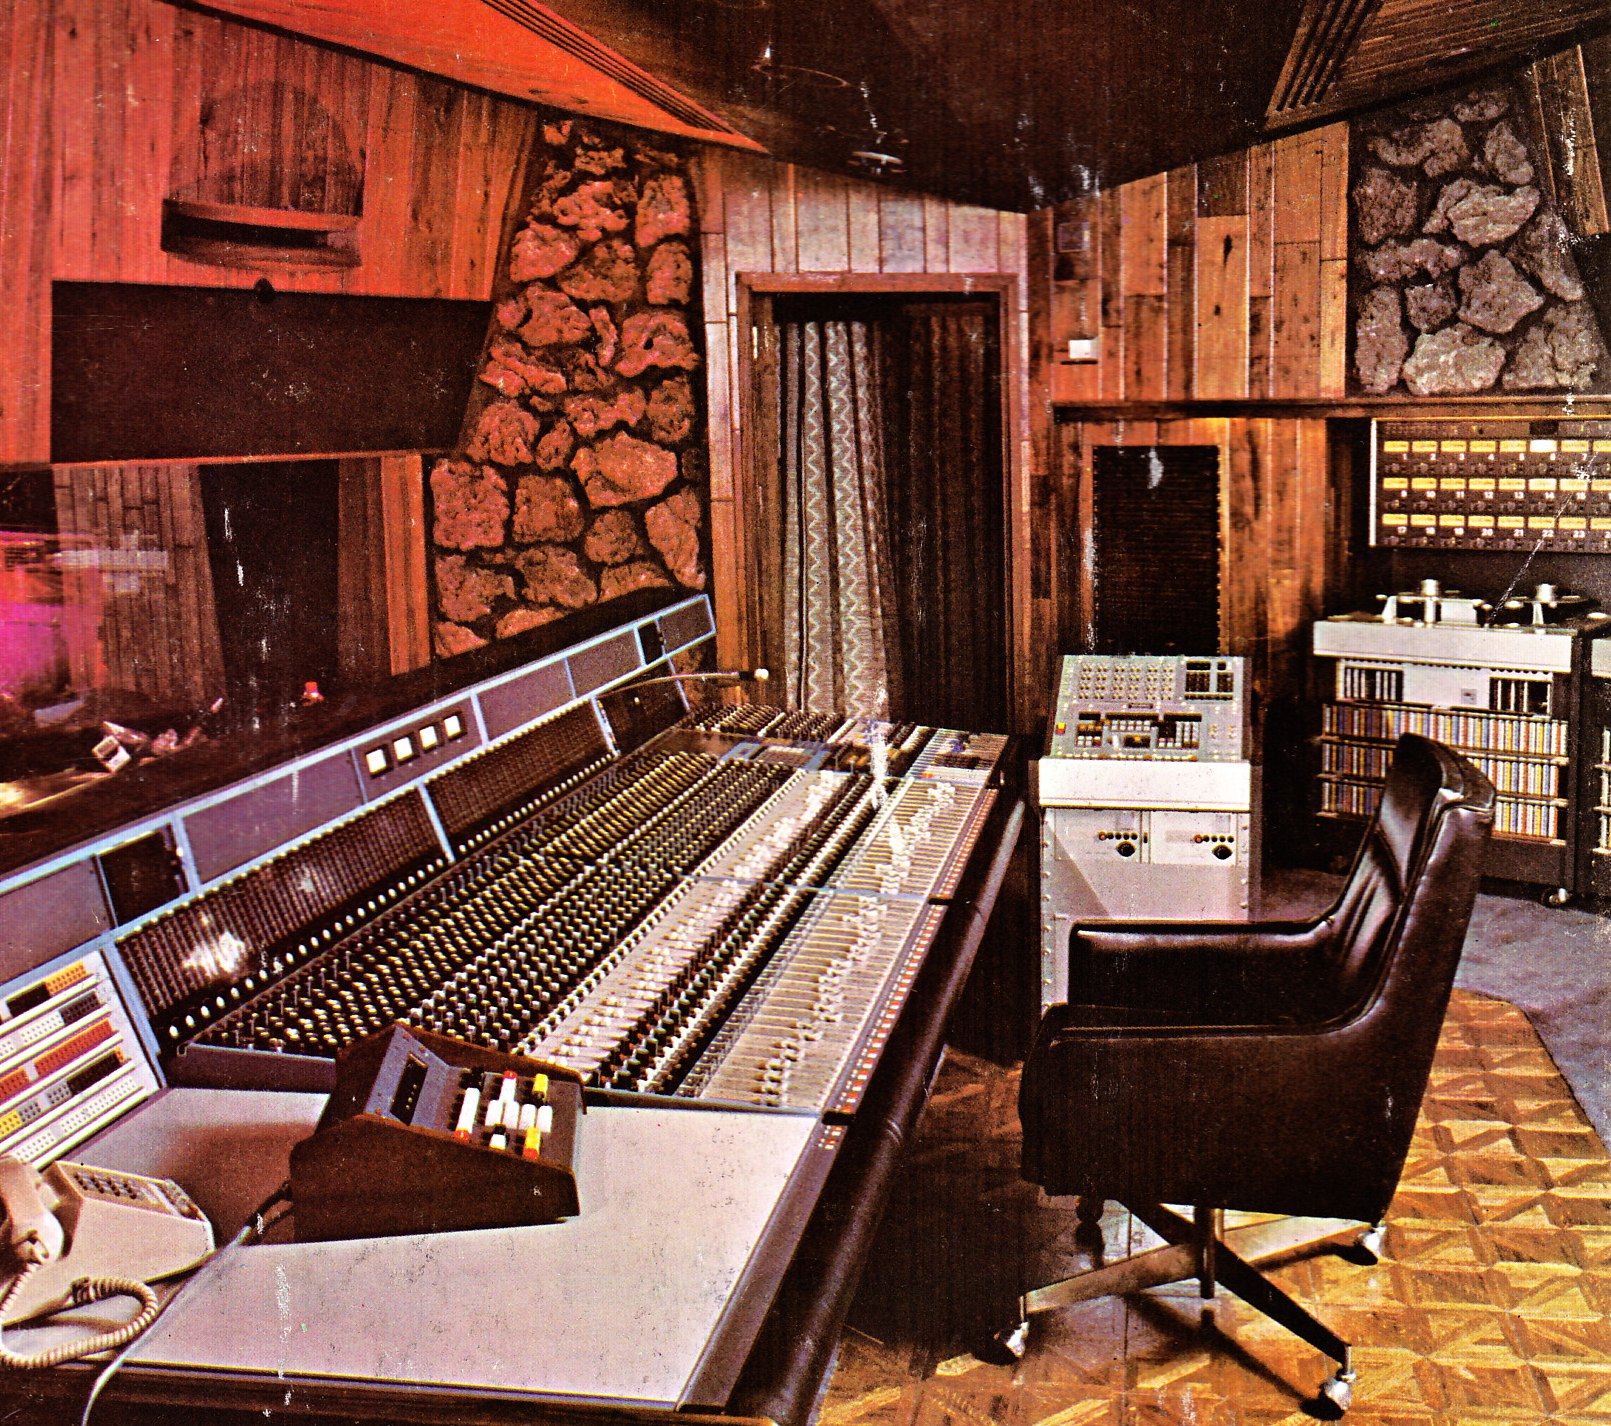 Fantasy Studio, San Francisco