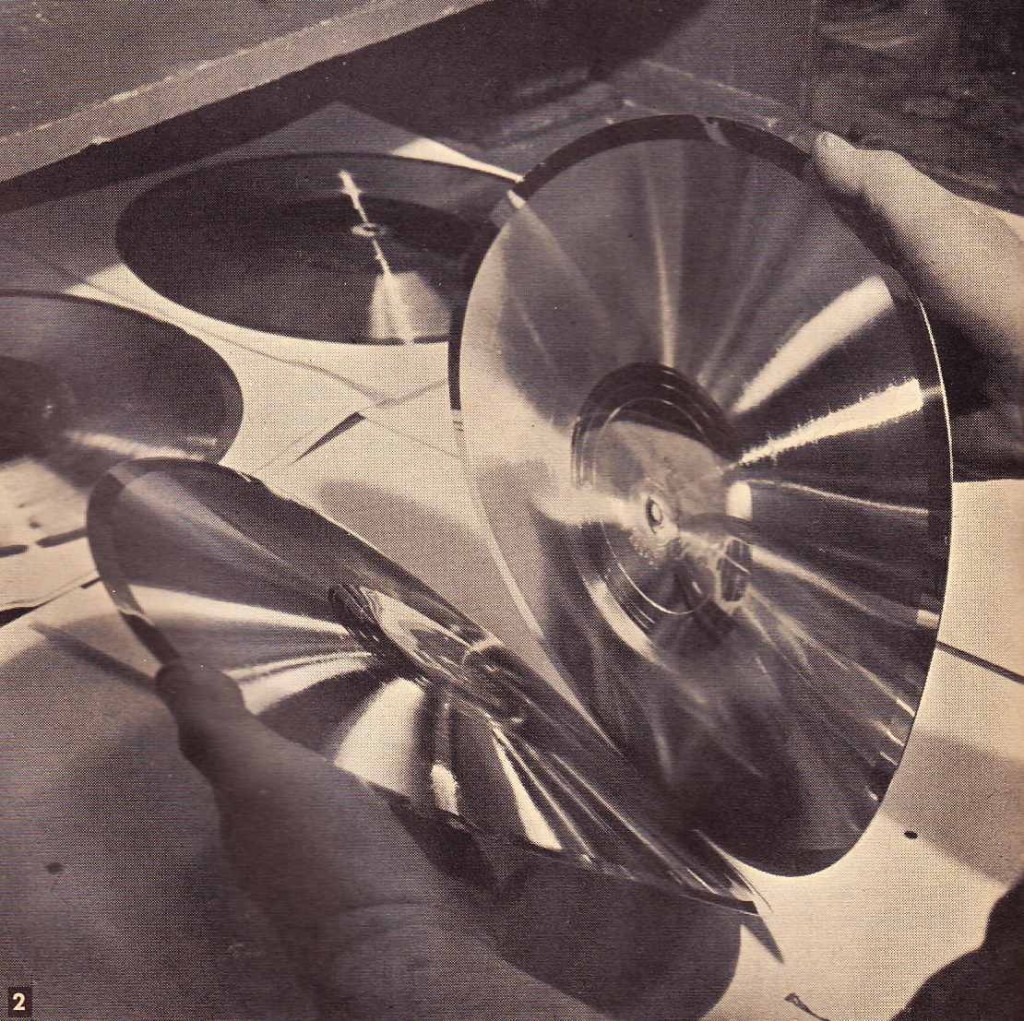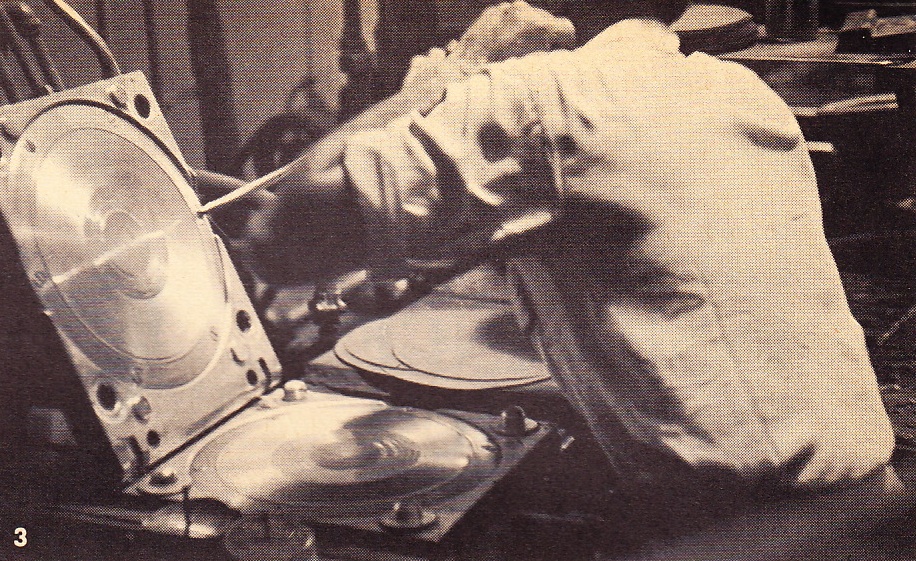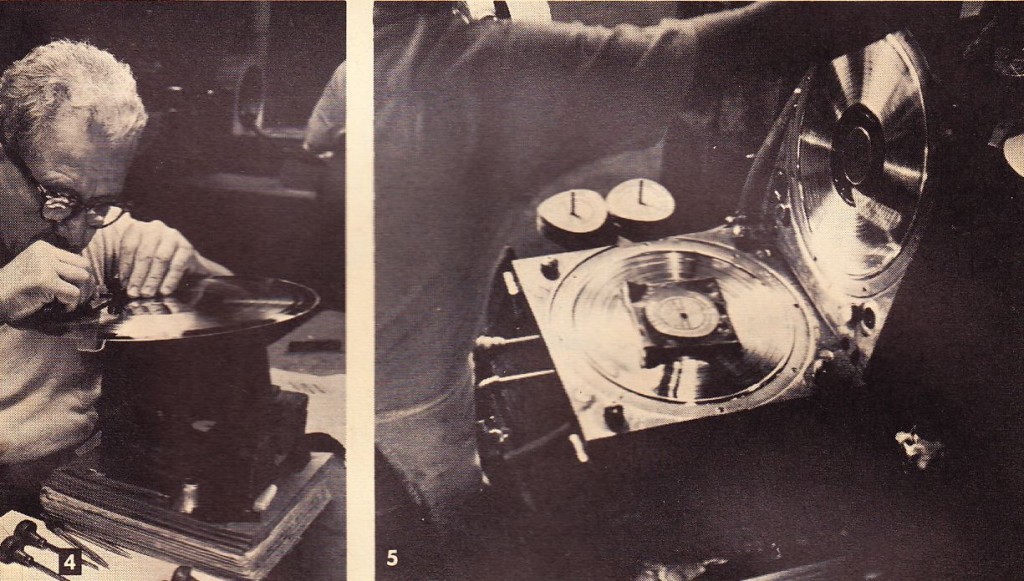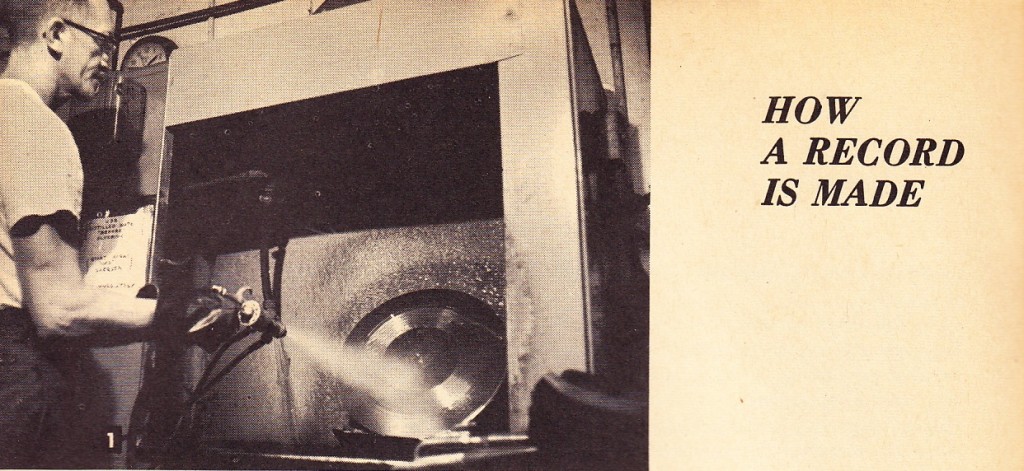
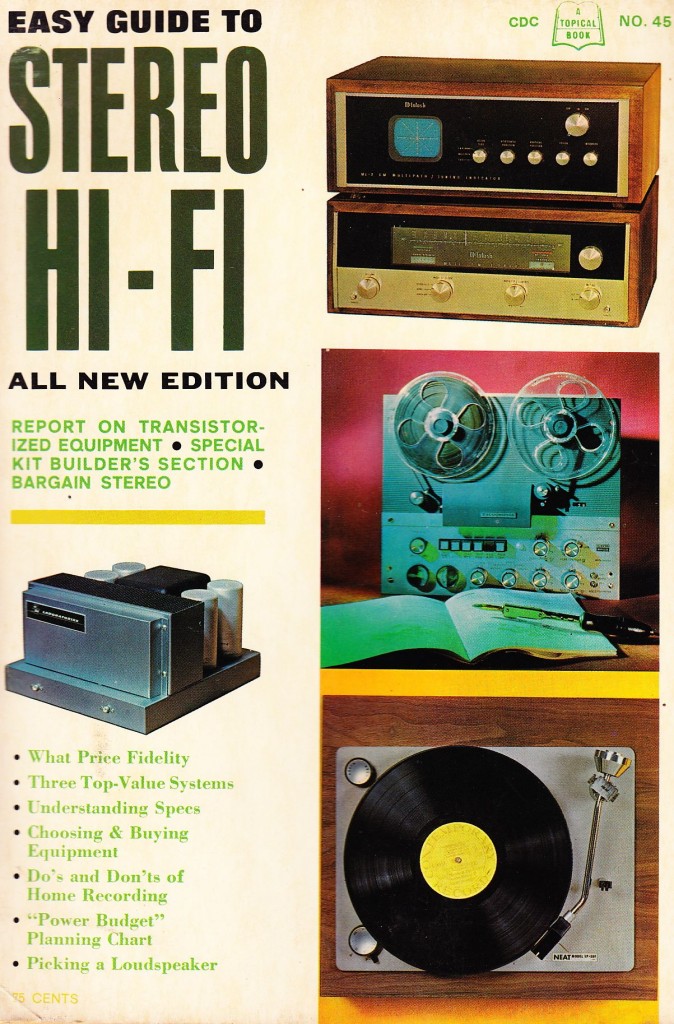
 Today: From “Easy Guide To Stereo HiFi,” 1964, ed. Robert Mayfield: a short pictorial on the subject of ‘How a record is made.’ Nothing too exciting here; I am reproducing this primarily because the plant shown in the article is none other than the Bridgeport, CT Columbia Records plant. As I’ve mentioned before, this building is still standing; it is now ‘loft condos.’ The BPT Columbia plant was, AFAIK, the first facility in the world to manufacture 33rpm LP records; SCULLY, America’s top manufacturer of LP cutting lathes, was located a dozen blocks away, along the same train tracks that today still serve commuters, dotted with idled freight cars resting on derelict short-ends of tracks strewn throughout the East End.
Hottt Pixxx (SFW)
 Download the twelve-page ‘guide to STEREO’ from the July 1971 issue of the International Magazine For Men:
DOWNLOAD:Penthouse_Stereo_71
Items of apparent concern to readers of this publication (see image above): Nuclear power; package size; dangerous-computers; hegemonic reproduction via linguistic conventions; sports cars; converting to Quad.
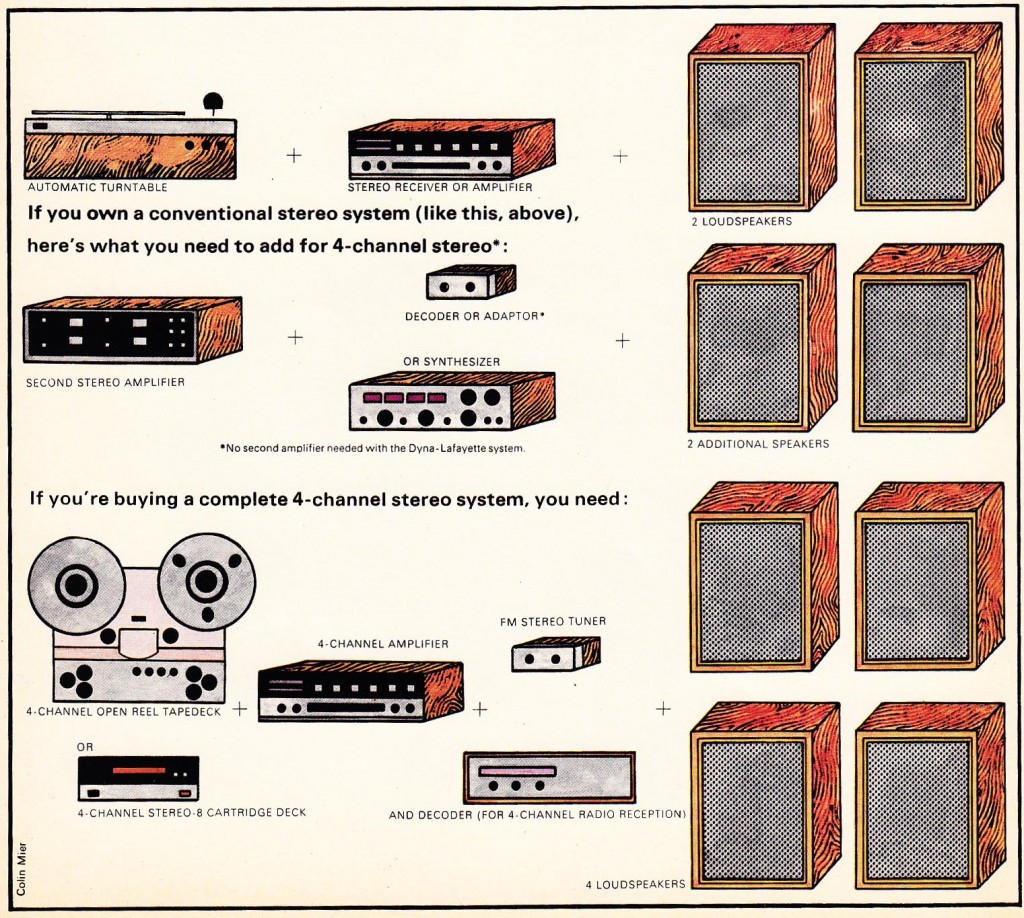 In addition, the advertising content of the magazine seems to reveal other hot-button -issues of the day:



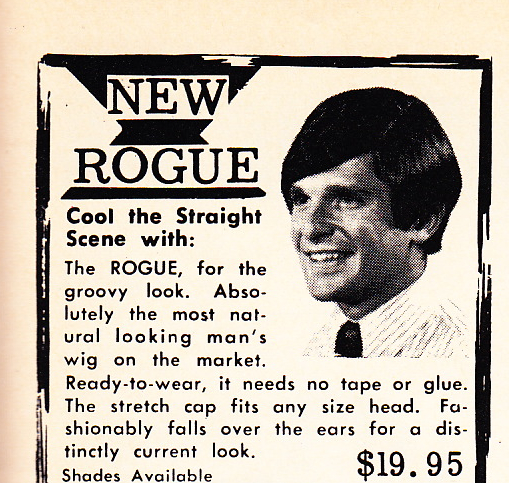
 Broadly stated, these issues could be cataloged as: ‘Too Soon’; ‘Getting Everything That You Have Coming To You’;’Being Impressive’; waterbeds, wigs, and Satan (sexy version).
I bought a beautiful NAD 7020 receiver and Optonica tape deck the other day from a home that I am pretty sure once belonged to Ron Burgundy. The receiver and tape deck were part of a very nice system, one of the better circa 1980’s hifis I have come across lately. The house was pretty much like a circa 1975 men’s magazine exploded inside a suburban raised ranch, spraying all the walls with sexy ‘art posters,’ mahogany paneling, and Rich Leather. Behind the bar (full bar in the enormous den, natch) was this single, solitary issue of Bob Guccis famous mag. You’ll have to take my word for this, but as my eyes fell upon this ‘book,’ the first thing that I thought was: I bet this is the ‘stereo issue.’ And guess what.
 One final note: from the ‘credit-where-credit’s-due’ dep’t: as the cover promises, no less than Charles Berlitz presents a straightforward explanation of how linguistic systems and conventions at work throughout the world serve to reproduce and reinforce male hegemony. The ideas in this two-page article are pretty much straight out of every semiotics, women’s studies, and queer studies class taught in the past 40 years and stand in complete opposition to the smug, complacent, and generally sexist discourse evident on the other 98 pages of this publication. Proving nothing other than the fact the 1970s were a crazy fucking decade.
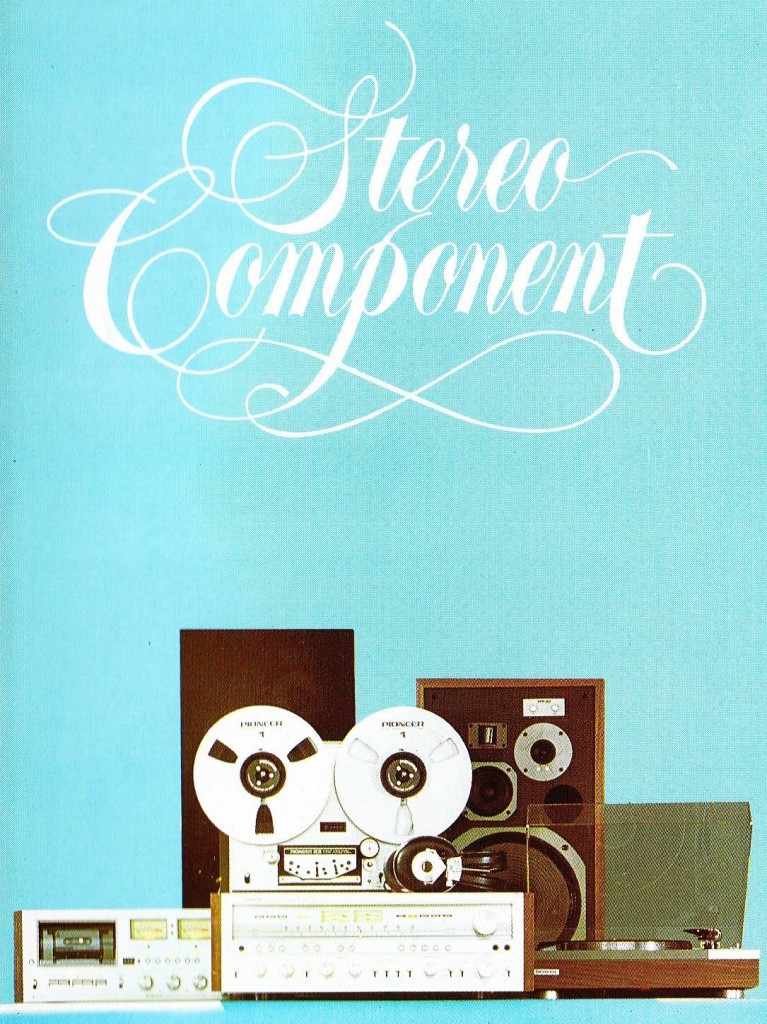 Pretty good one for y’all today. Click below to download the complete 32-panel 1977 PIONEER STEREO COMPONENTS Catalog No. 13:
DOWNLOAD: Pioneer_1977_Catalog
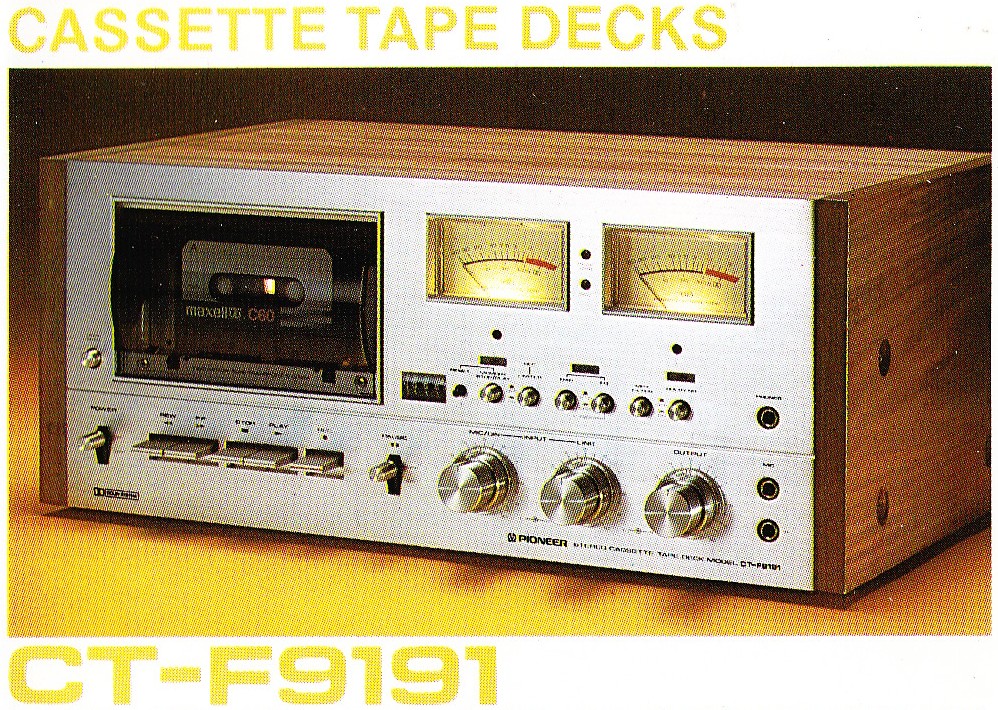
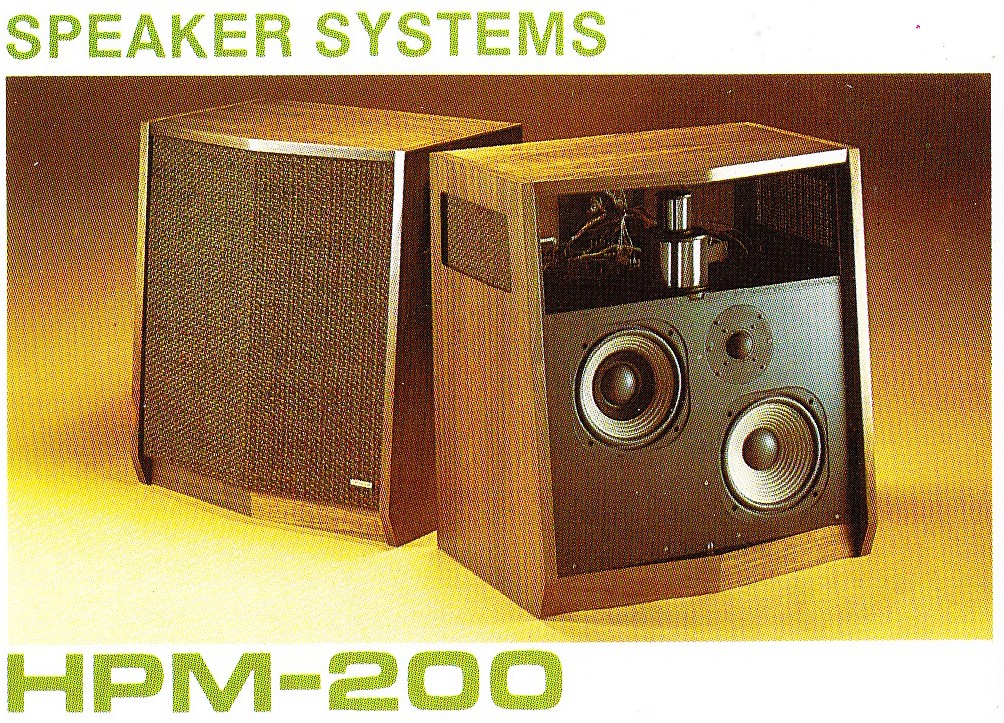
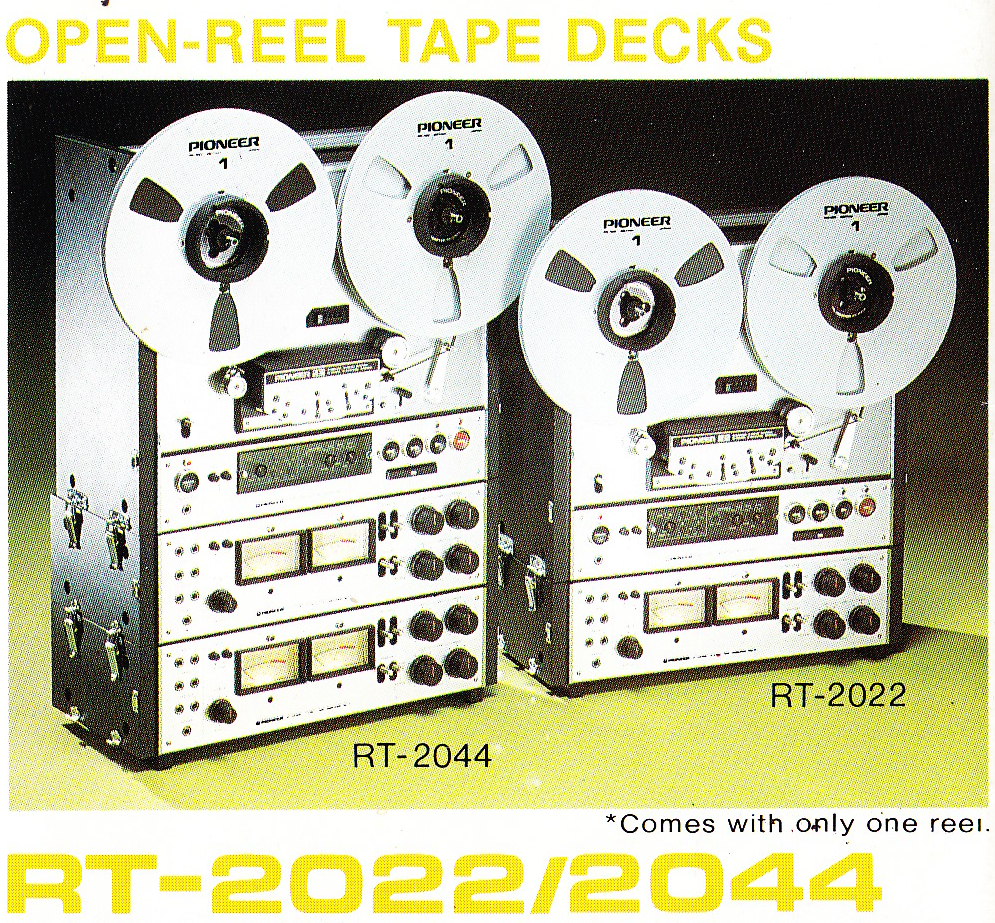
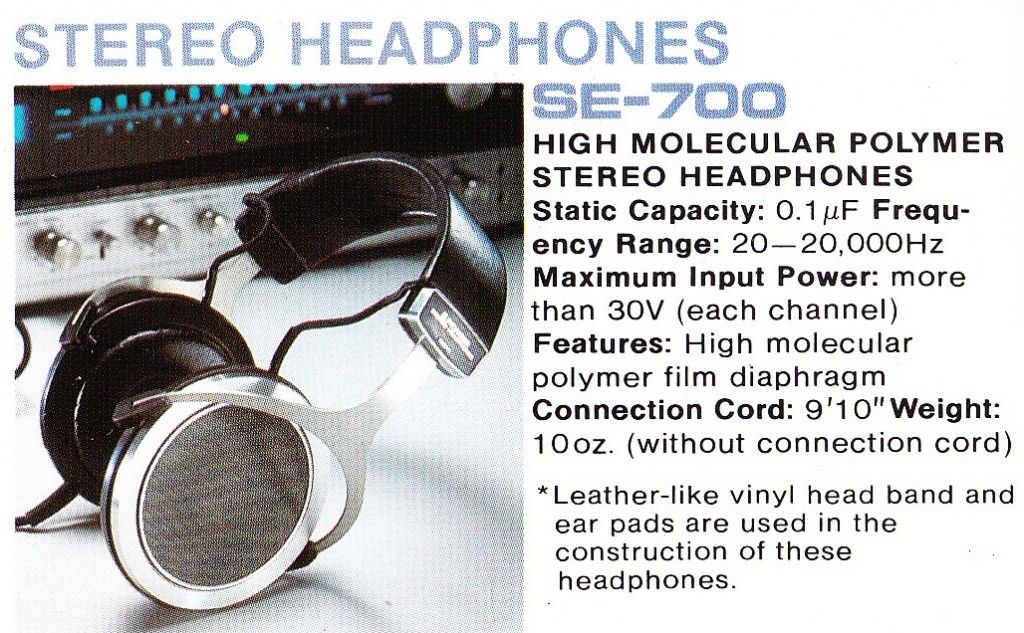
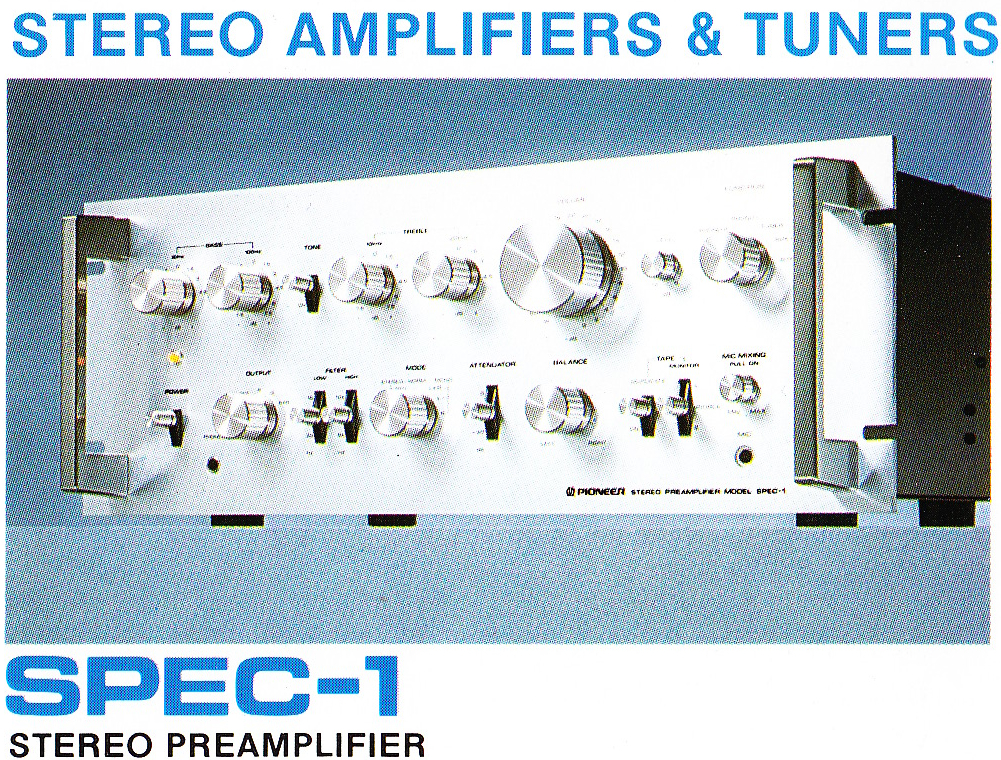
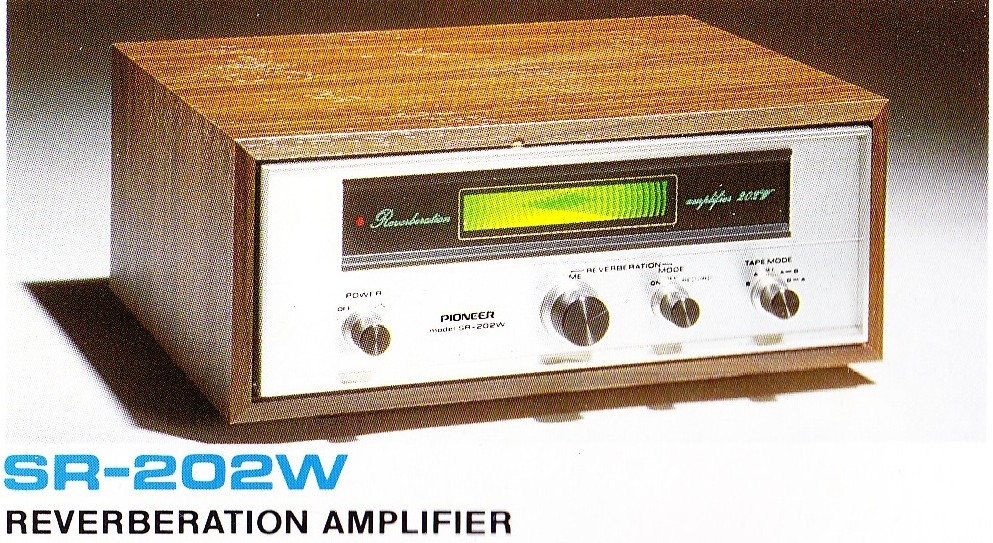
Units covered, with specs and photographs, include: Pioneer SX-1250, SX-1050, SX-950, SX-850, SX-750, SX-650, SX-550, & SX-450 AM/FM Stereo Receivers; SPEC-1 and SPEC-2 preamp and power amp; Pioneer SA-9900, SA-9500II, SA-8500II, SA-7500II, SA-6500II, AND SA-5500II Stereo Integrated amps; Pioneer TX-9500II, TX-8500II, TX-6500II, AND TX-5500II AM/FM Stereo tuners; Pioneer SR-202W Reverberation Amp, SG-9500 graphic equalizer, RG-1 dynamic processor (expander), and SF-850 crossover; Pioneer PL-570, PL-560, PL-530, PL-510A, PL-117D, PL-115D, AND PL-112D Turntables; Pioneer QX-949-A Quad receiver and PC-Q1 quad phono cartridge; Pioneer CT-F9191, CT-F8282, CT-F7171, CT-F6262, CT-F2121, CT-5151, and CT-414A Cassette decks; Pioneer MA-62 Mixer and CM-1, CM-2S microphones; Pioneer RT-2022, RT-2044, RT-1050, RT-1020L, and RT-1011L reel-to-reel tape machines; Pioneer HPM-200, HPM-100, HPM-60, HPM-40, CS-63DX, CS-99A, CS-700G, CS-500G, CS-66G, PROJECT 100A, and Project 60A speaker systems; and finally Pioneer SE-700, SE-500, MONITOR-10, SE-4, SE-505, SE-405, SE-305, and SE-205 stereo headphones.
Nothing too exciting here, but if you have one of these units and you are curious about its specs and/or its position within the range, here’s yr chance to find out. There is a ton of the lower end of this kit still out there; the catalog also offers many very high-end pieces that I’ve never come across. Dig in…
The Guitar: 1964
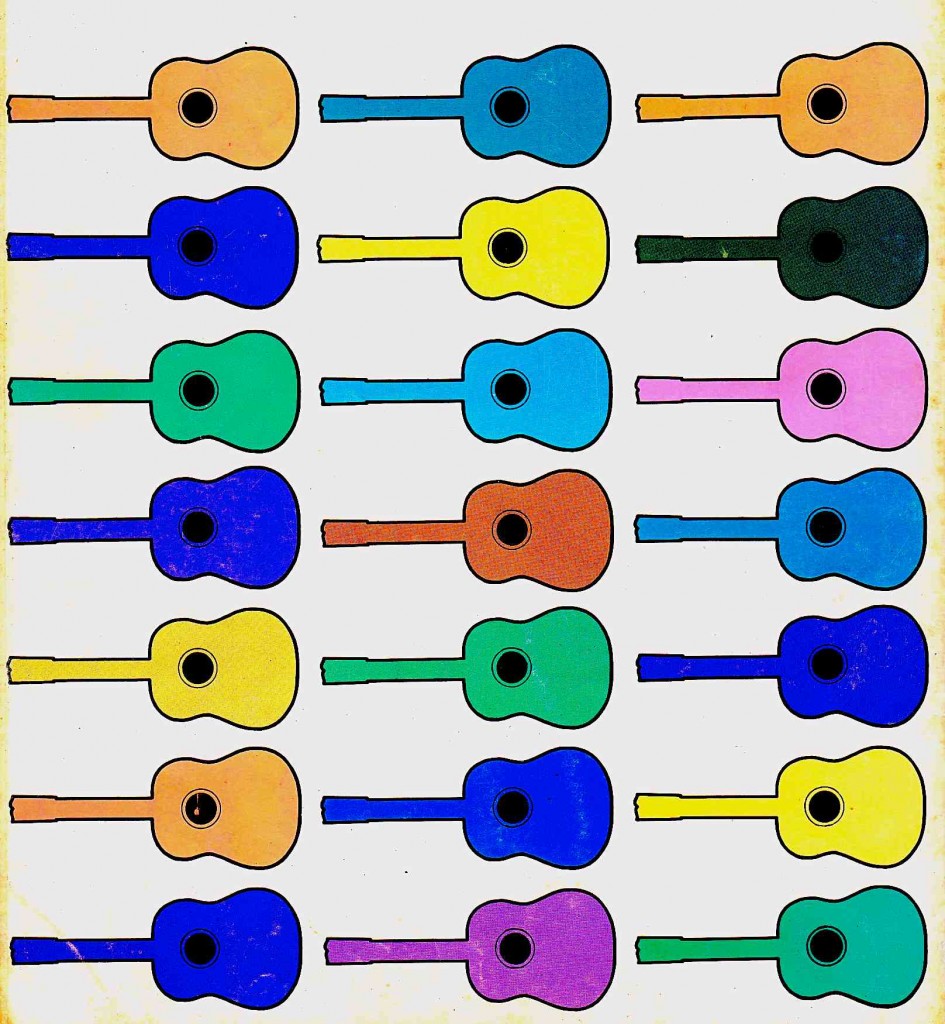 Download a five-page scan from “A World Of Music,” Fall 1964: the subject is ‘the guitar,’ and we are treated to a visit to the Gibson guitar factory.
DOWNLOAD: A_World_Of_Music_Fall1964
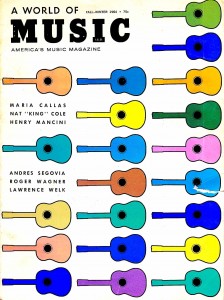 AFAIK, this piece on the Gibson plant has not been reprinted anywhere… not sure if there are any actual insights here but what the hell. Alright so… haven’t been updating the site too often lately and it’s not for a lack of subject matter. My lord do I ever have a big pile of new (old) stuff to upload. Just been short on time. Working hard tryin to make some dinero to pay for all the wonderful things in life… like a new timing belt for my VW. Love/hate cars. OK NEways… Anyone out there playin an old Fender Jaguar?
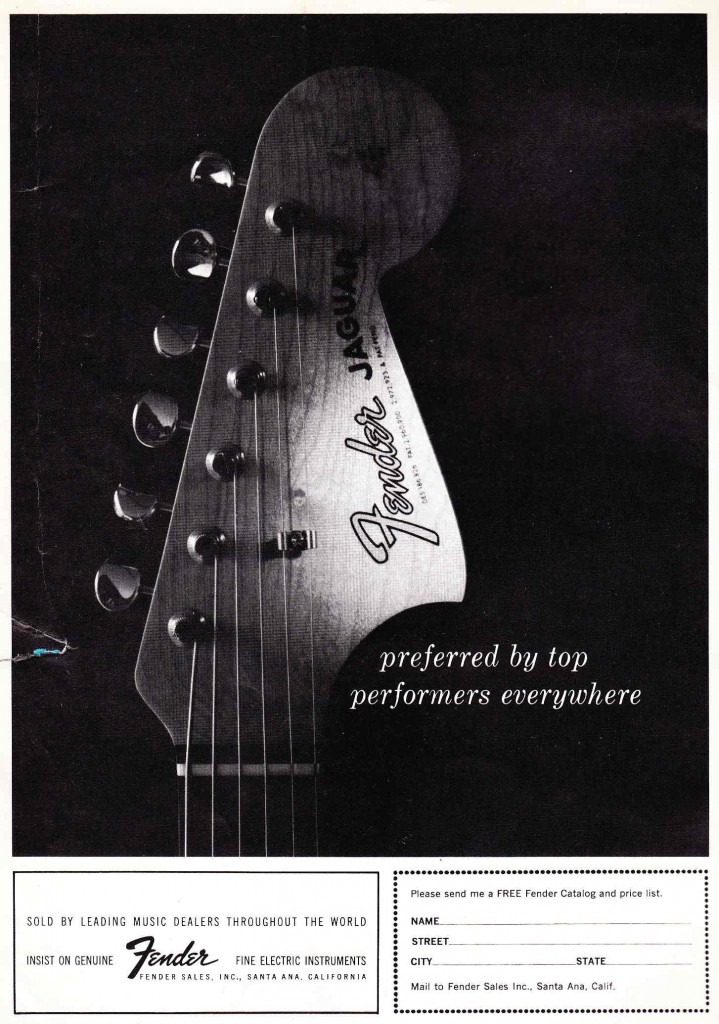
Saw this ad in the aforementioned issue of ” A World of etc.” I use a 1968 Jaguar (with flatwounds) pretty much everyday… it’s one of my regular electrics in my lil home writing studio. It sounds great but my god does it ever play badly, even after two ‘PRO’ setups. Anyone?
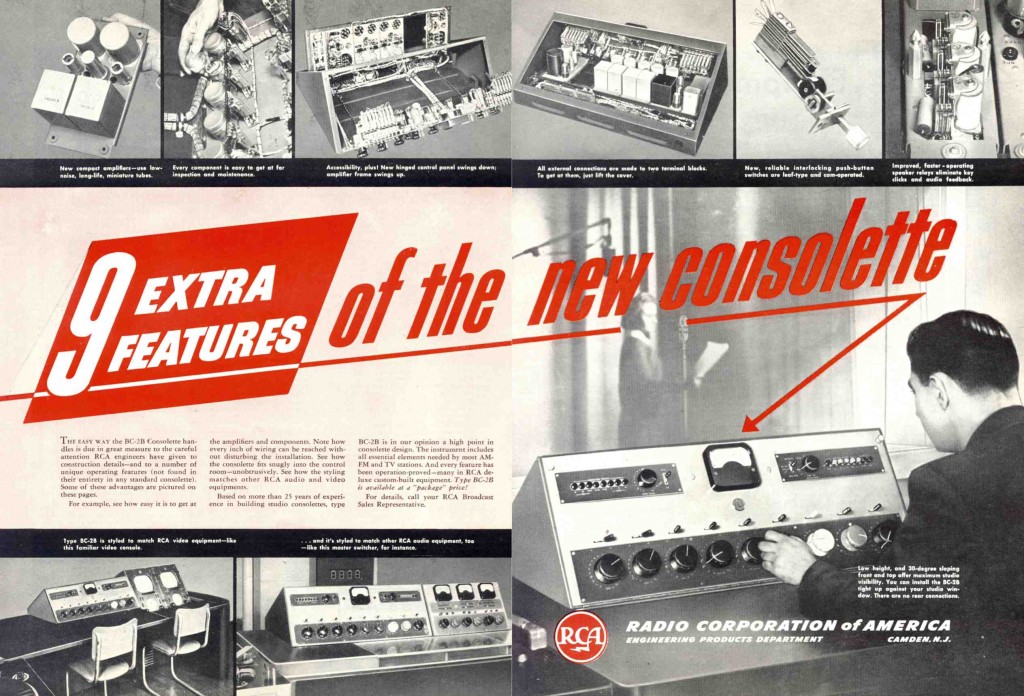
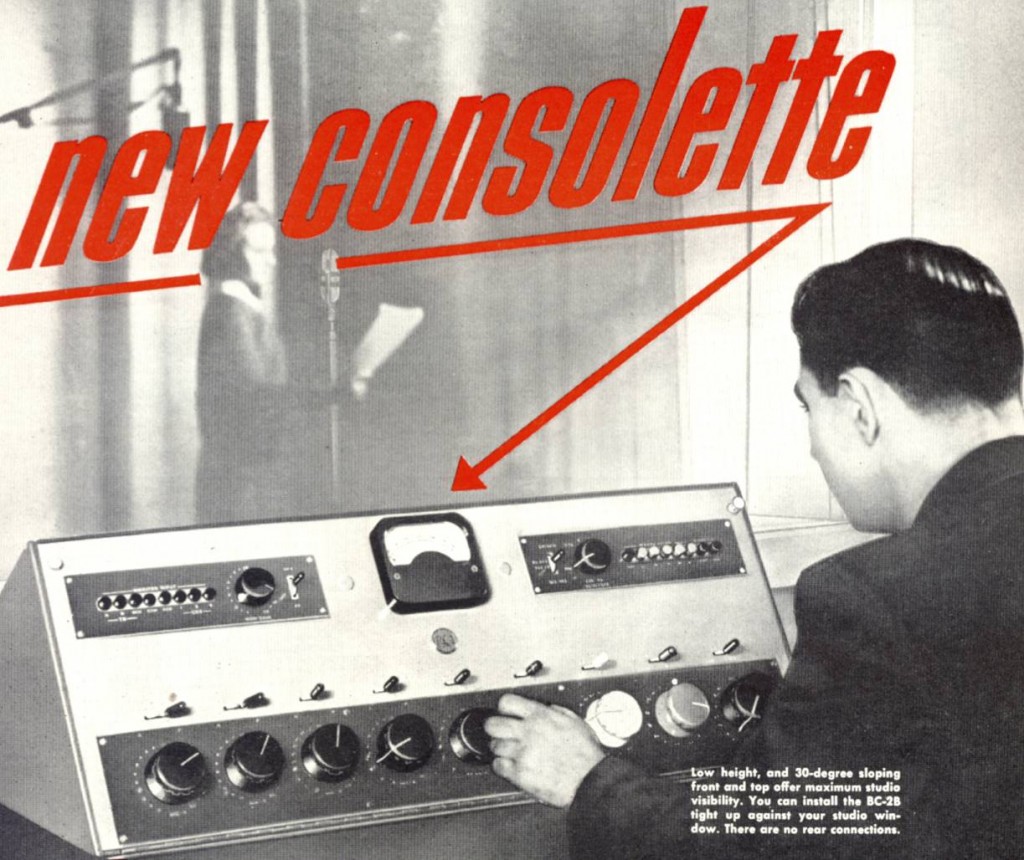 Reader T.F. sent me this scan from AUDIO ENGINEERING c. 1952: the introduction of the RCA BC-2B Console.
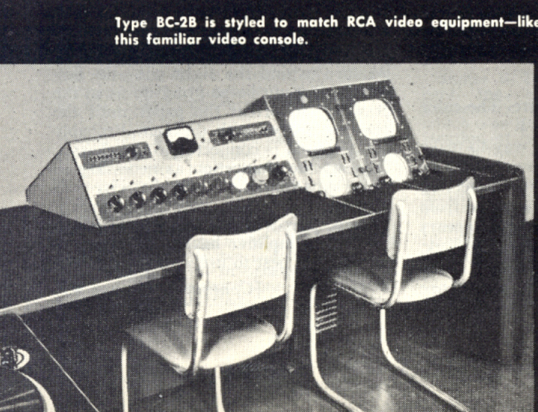
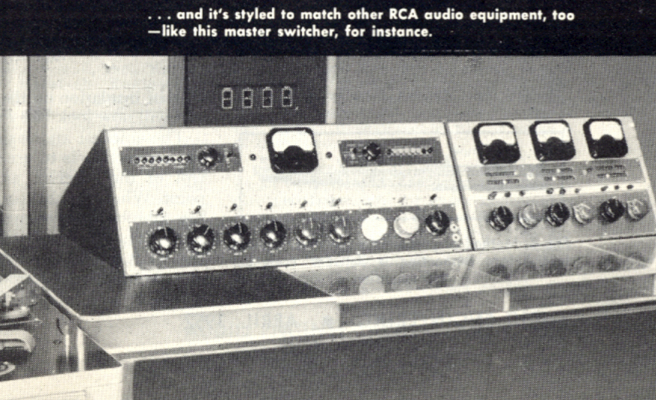
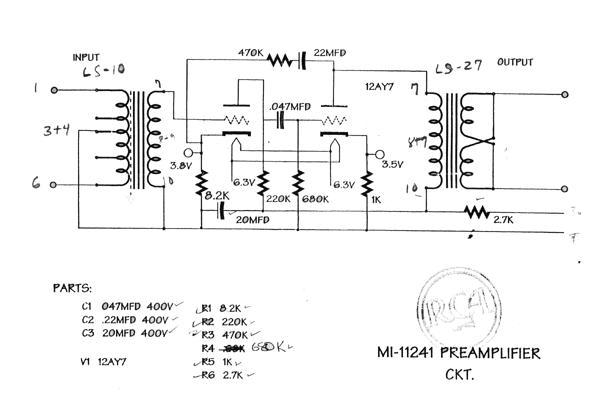
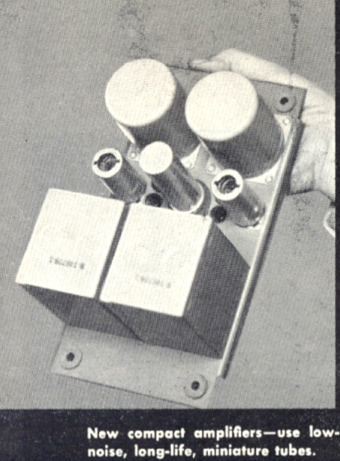 LEFT: The BC-2B incorporated the RCA MA-11241 dual mic pre-amp unit; a two-stage circuit, each channel used a single 12AY7 for, I would suppose, about 25 – 30 db of gain. The schem for the 11241 is posted below here. Notice that, similar to the earlier octal-pentode based RCA mic pres, the full B+ current flows through the output transformer; this severely limits your choice of output transformer: the only vintage full-fidelity units that I am aware of are the UTC A-25 and LS-27. Lundahl makes a modern unit that satisfies this spec, as does Hashimoto (HL-20K-6); very expensive pieces tho! Any of you fellas know of other 15k:600 1/2 watt transformers that handle 8ma unbalanced DC and still pass 40 – 20K?
Here’s a dude that’s cloning the BC2B preamp; price is $650 for the preamp plus another $450 for the power supply. Assuming that the build-quality is good, $1100 is a pretty fair price for this thing; I know how much those Lundahls cost ( I use the same O/T in my BRDCSTR as well) plus phantom power is a pain in the ass to build in.
Studio’d
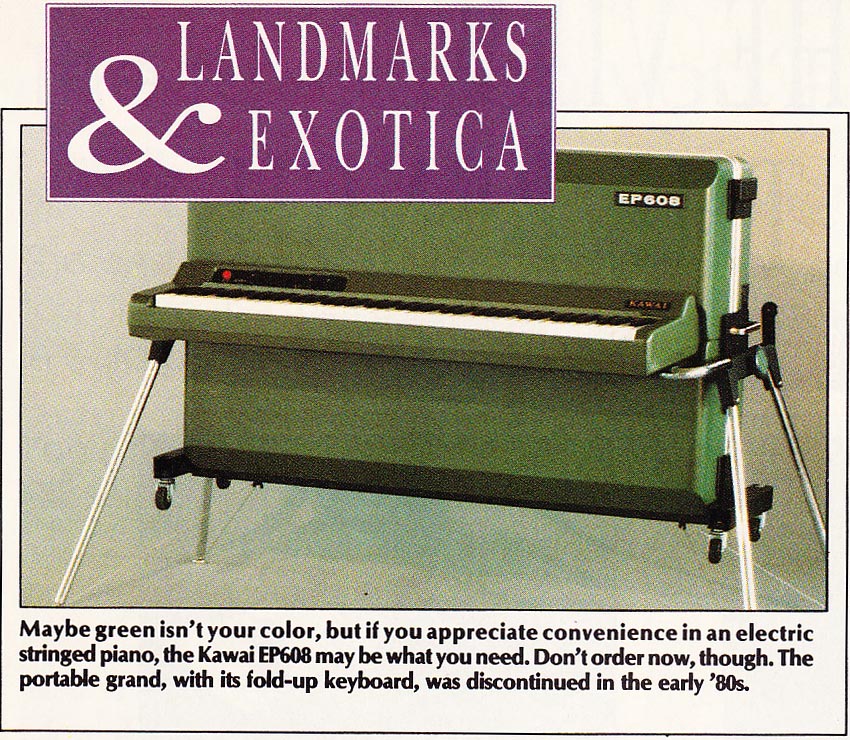 Above: the Kawaii EP608 electric stringed-piano. Anyone?
Been super-busy at the studio lately, leaving me very little time to attend to this ole’ country blog. Got some really great stuff on the horizon once the mist clears, so stay tuned…
Here’s a little gift for y’all tho: I recently picked up a Casio 630 at an estate sale, and the sounds are actually pretty great in an aggressively-retro way. Anyhow, I made a drum-hit sample set (a coupla loops are in there too); here it is, feel free to download and use it however you like.
DOWNLOAD: Casio CT630 samples
 This is pretty far afield from the general mission of Preservation Sound dot com, but those of you who have been reading my writings for a while might be interested in checking out my advance review of some pretty interesting new audio software.
Regular readers might get the impression that I am a luddite who fetishes any/all things vintage and damaged, and you might be correct. But I am also a working producer and composer and I actually do give a shit about new audio technology that offers the potential for creating new sounds and new meanings.
My friends at Production Hub, a film/TV industry website, asked me to be one of the first people to review Sony Creative Software’s new product SpectraLayers Pro (disclaimer: I did work for SONYMUSIC for many years, but this had no bearing on the review selection; I don’t think the folks at Production Hub were even aware of my history there).
You can click here to read the review. If you work with digital audio editing on any kind of regular basis, I think you will find the software to be pretty remarkable, if even from a purely academic perspective. Elevator-pitch: what if you had a stereo mix of a rock track, and entire production with vocals, lots of parts all going on at once all the time, and there was an out-of-tune vocal note that you wanted to fix? Leaving everything else alone, just retune the vocal? Well… now you can. pretty easily actually.
Anyhow, lest my intentions here by lost: this is not a paid endorsement or sponsorship of any kind; it’s just not that often that I am impressed by something that I feel is truly ‘NEW’ in the world of audio production. Which might be why I am always digging around thru the past looking for ‘new’ ideas to bring to my work. I imagine that this sort of technology will show up in all DAWs in a matter of time, but for the moment, prepare to be surprised…
 Download the complete 16pp EMPIRE “World’s most perfect high fidelity components” catalog (circa 1964 – exact year is unclear):
DOWNLOAD: Empire_HiFi_1964
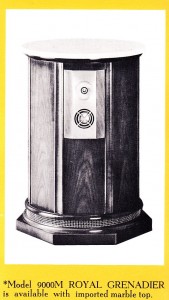
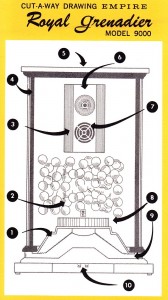
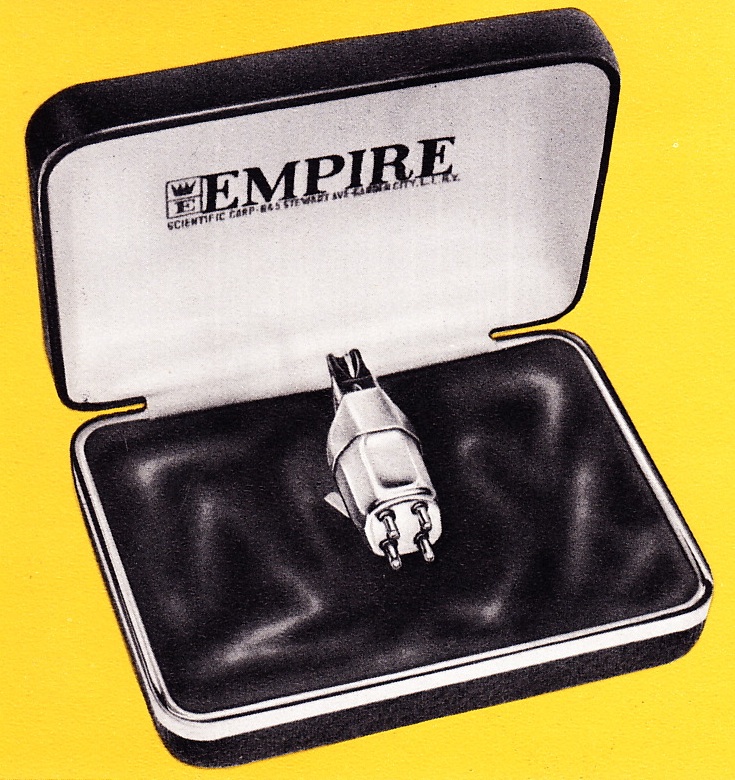
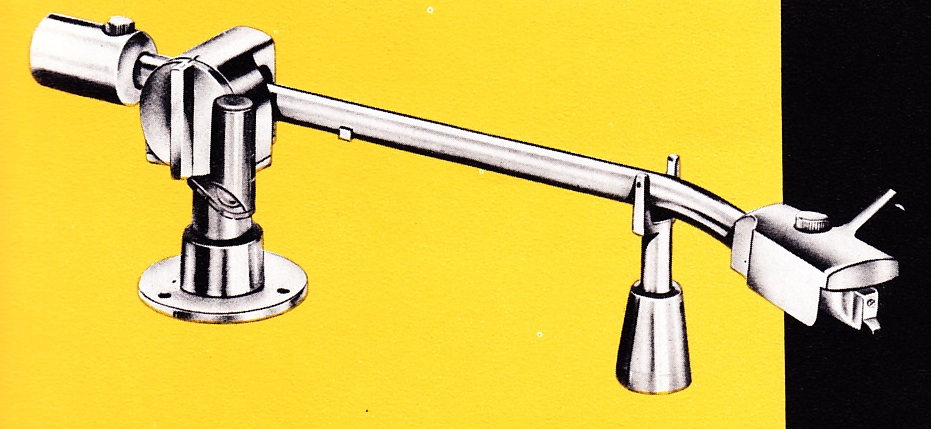
Products covered, with text, specs, and images, include: Empire Grenadier model 8000, Royal Grenadier 9000, and Imperial Grenadier 8200 speakers; Empire Troubador 398 and 488 turntables; Empire 880, 880P, and 880PE cartridges; and empire 980 tonearm.
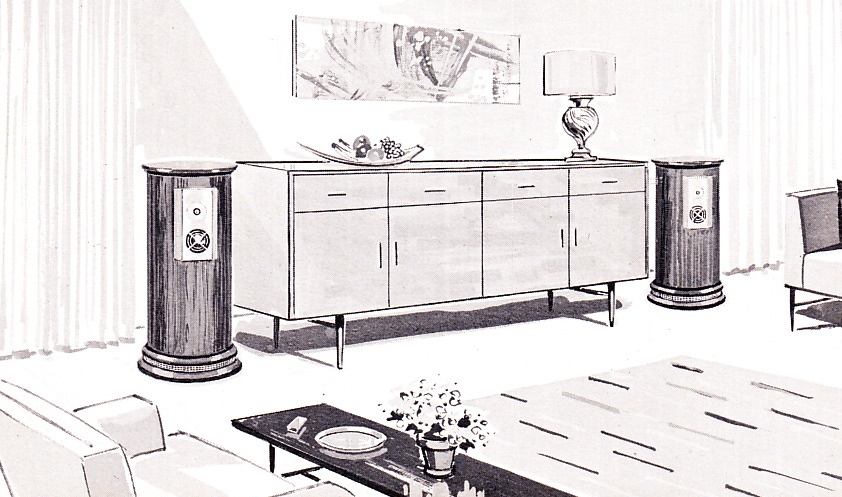
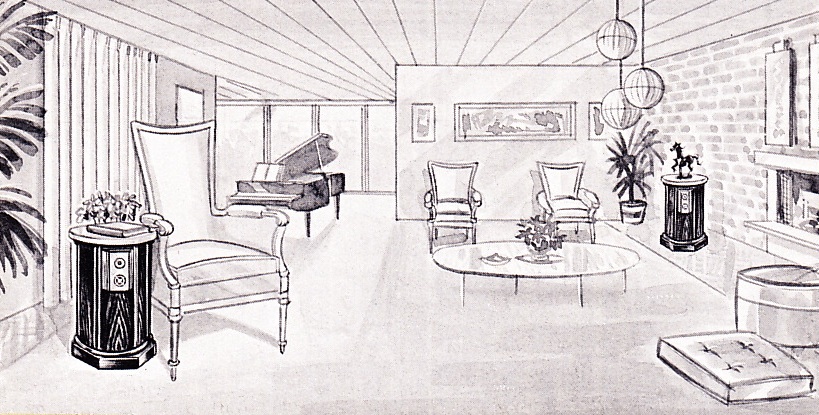
Oh yeah it’s those round speakers! I come across these things every year or so in some un-re-decorated suburban ranch house. Never bothered to buy a pair: just too big and not really my style, finish-wise. Although they appear a bit chintzy in construction, they apparently handle 100 watts and the woofers have 18LB magnets! Anyone currently using a pair of these speakers?
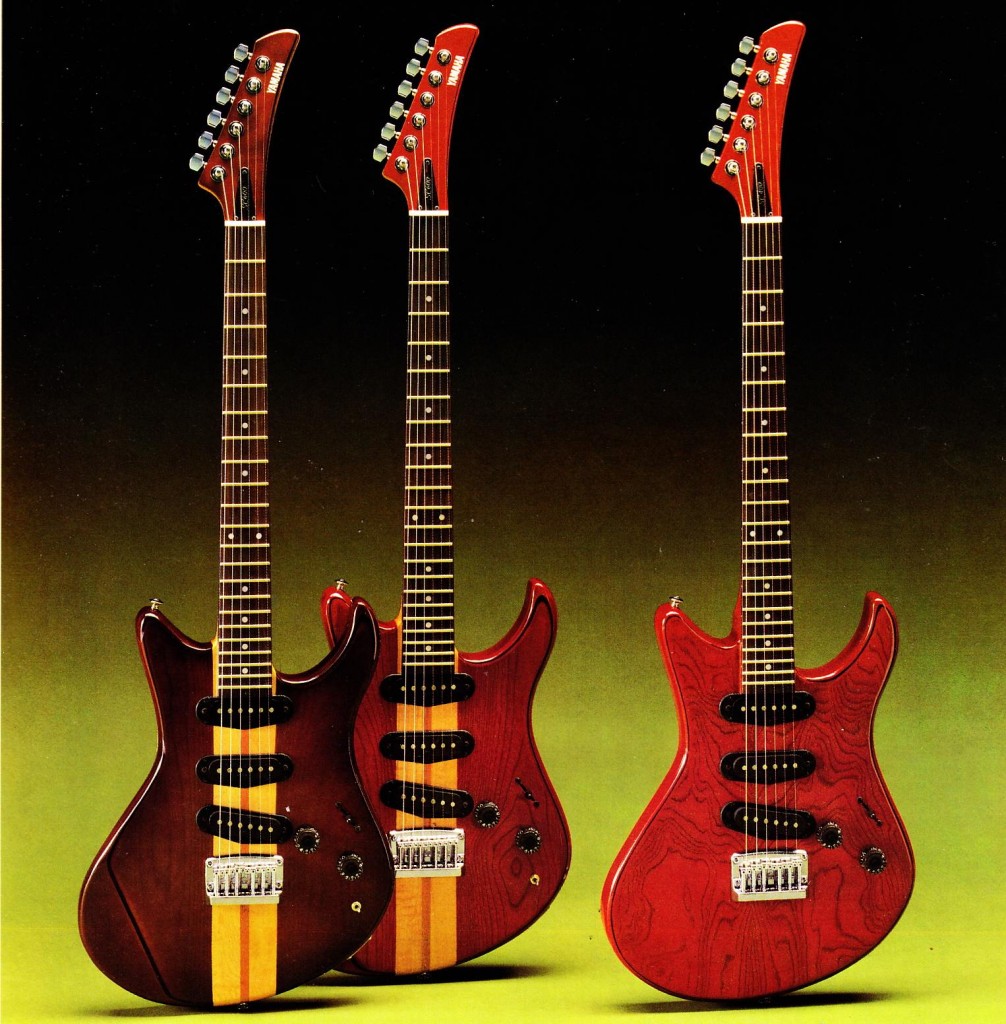
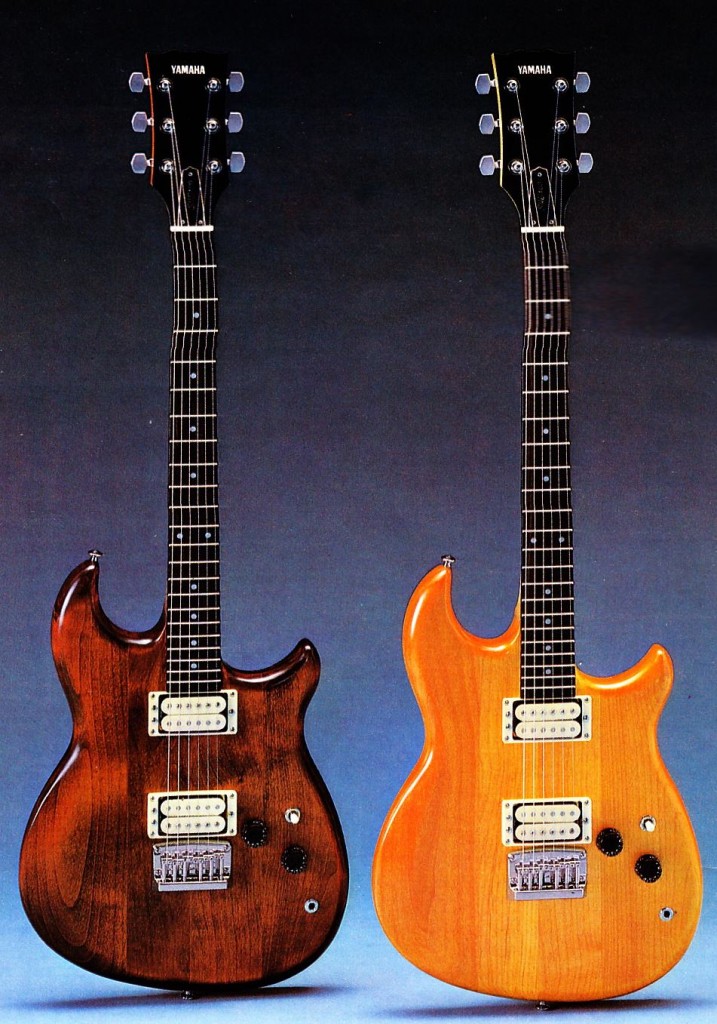
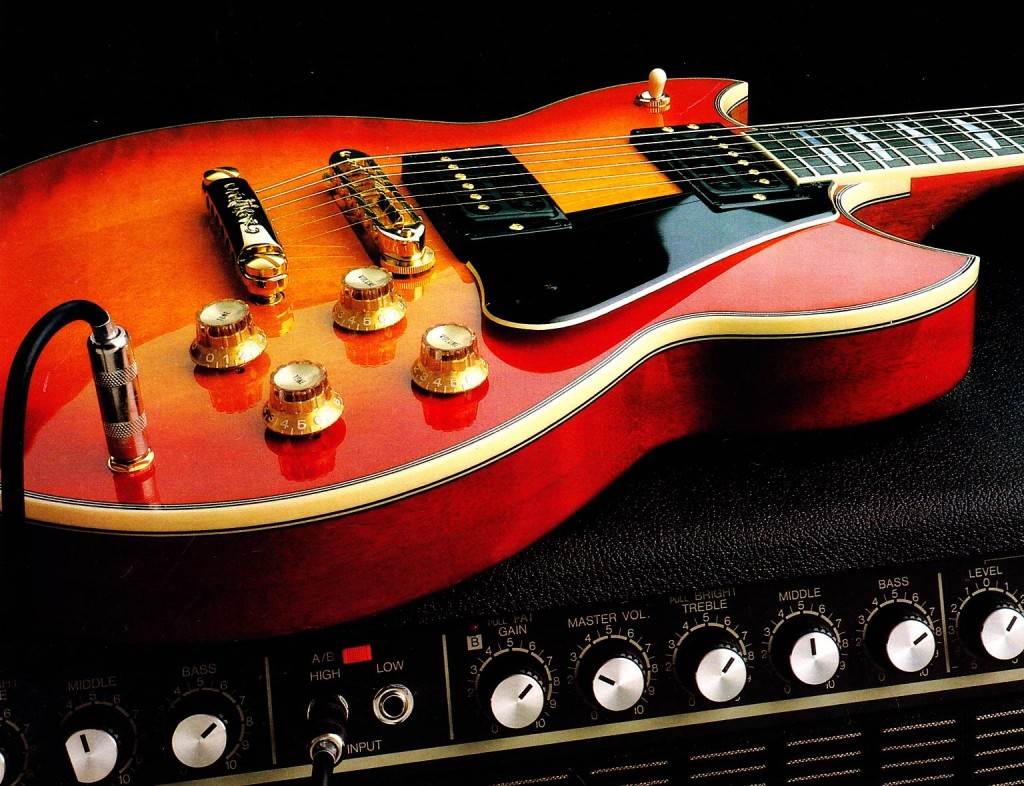 Pretty good one for y’all today. Click below to download the complete 20pp Yamaha Electric Guitars and Basses Catalog circa 1981:
DOWNLOAD: Yamaha_Guitars_1981
Models covered, with text, photos, and detailed specs (chart at end of catalog) include: Yamaha SBG3000, SBG2000, SGB1000, SBG500 guitars; Yamaha SSC500, SHB400, SC600, SC400, SA2000, and SA800 guitars; Yamaha BB2000, BB1200S, BB1000S, and BB400 electric basses.
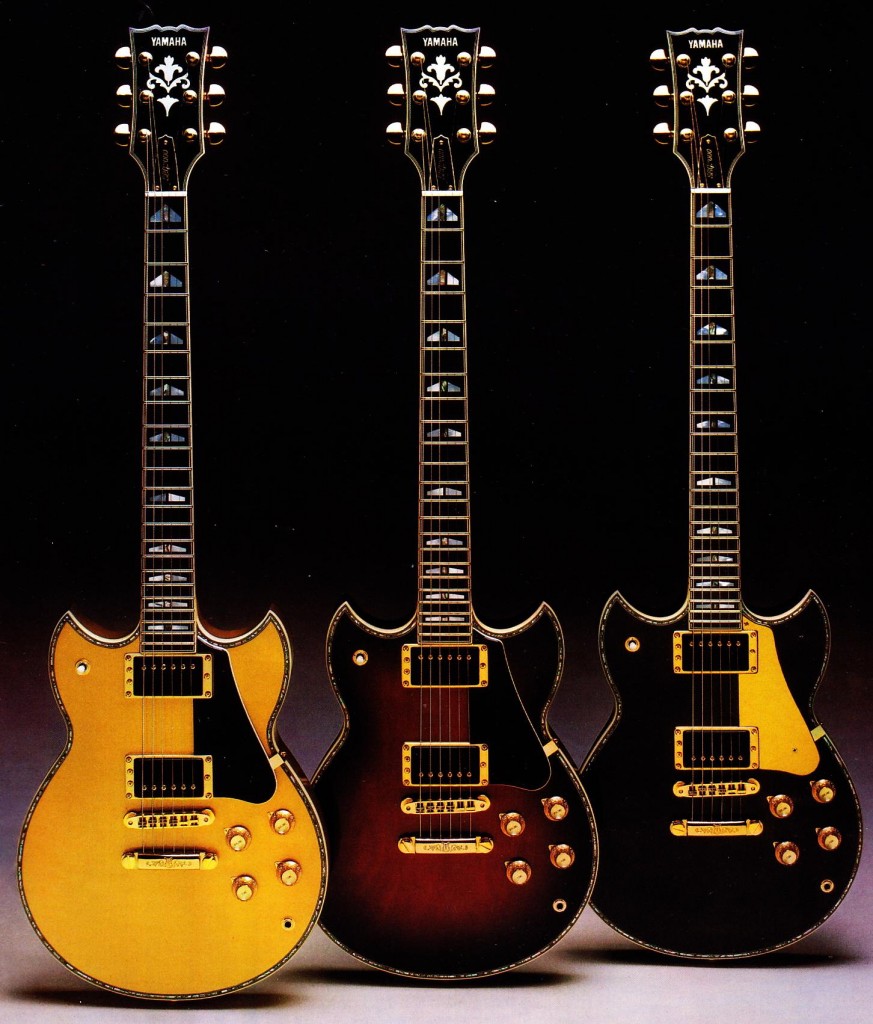 Above: the Yamaha SBG3000, flagship model of the range, and still highly desirable; the most recent example to sell online went for $2075.
For whatever reason, products of the Yamaha corporation have always played a large role in my musical life. Growing up, my folks’ house contained: a Yamaha baby grand, a Yamaha dreadnought, a Yamaha alto saxophone, three sets of Yamaha hi-fi speakers (I still have the NS30s, and they still sound great). The first electric instrument I ever bought was a $40 Yamaha bass, beat-up but functional; at 16 I was the owner of a circa 1980 Yamaha SG1500, identical to the SBG2000 pictured at the left save for dot fret markers. I played it through a solid-state Yamaha combo amp, their version of a Fender Super; 60 watts with four 10s. Each of these circa 1980 pieces was purchased at East Coast Music mall for around $200 each. Christ anyone remember that place? If yr not from “round here,” take a gander at the clip below and you’ll get a pretty good idea of what the place was like. Oh this one nvr gets old…
No idea what happened to that Yamaha amp, but I am pretty sure that my former SG1500 is still on offer, after nearly twenty years, at the legendary MUSIC GUILD in Danbury CT. How is this possible? If yr ever there, check out the price they are asking. LOL for reals. NEways… even these days I have plenty of Yamaha in my life: at home I play a U3 piano, which is probably the best thing shy of a baby grand or grand; I do all of my music recording and mixing at home with Yamaha HS50s, which I continue to recommend to absolutely anyone looking for good inexpensive compact speakers; and at Gold Coast Recorders we’ve got a few Yamaha pieces that get a lot of use too, from a very nice older MIJ Nylon-string to the venerable CP70 Electric Grand Piano. As I sit here typing this, my eye just landed on a set of 1980s Yamaha PTT1 electronic drums over in the corner…oh yeah then there’s my Yamaha CS01, their amazing little circa 1980 mini analog monosynth… it’s just one of those brands I can’t get away from.
Above: the Yamaha SC600 and SC400
For more Yamaha vintage gtr coverage on PS dot com, click here… and for complete information on their circa 1980 Keyboard line-up, click here…
This Was A Home For Animals
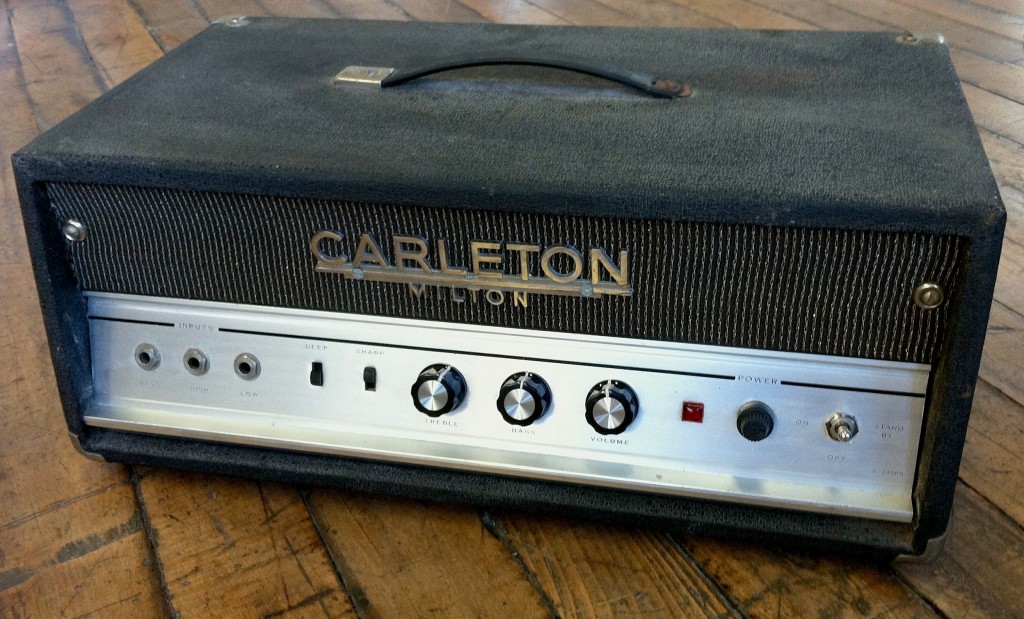 Above: the result of five-hours work on a dead, dead, dead Univox 50-watt tube bass head. This model was originally designated the E-3 or the U-1236 (click here for the schematic). It was made in 1968, and it’s similar to a blackface Fender Bassman in many ways: fixed bias 50Watt output with a pair of 6L6s, 12Ax7 and 12AU7 preamp tubes, volume, bass, and treble controls, and a pair of switches marked ‘Sharp’ and ‘Deep.’ These switches are similar to the ‘Bright’ and ‘Deep’ switches that you would find on the two separate input channels of a Fender amp. Unlike the Bassman, the Univox uses an unusual additional balanced voltage amp between the phase inverter and the power stage. The Univox is also single-channel, it lacks middle and presence controls, and the power supply uses a voltage doubler.
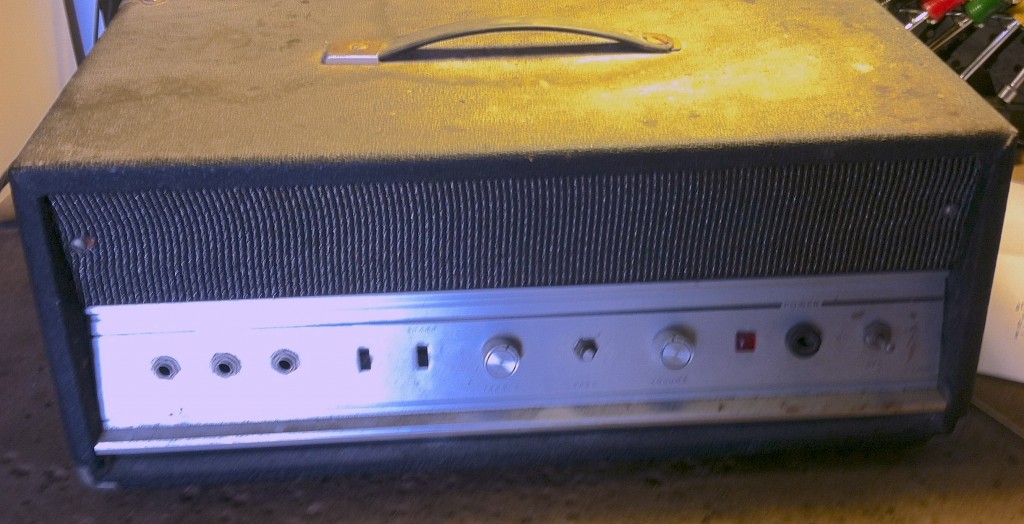 Above, the Univox as I originally found it in a filthy old garage. It came with an empty pro-quality 2×15 ported instrument speaker cabinet; $45 was the total price. A bit steep, I admit, but I was feeling optimistic I suppose. I think a fair price for this thing would have been somewhere between ‘FREE’ and $25. Oh did I mention that it had no tubes in it either? I declined to take the speaker cabinet and it’s probably in a landfill now somewhere. Just can’t save ’em all…
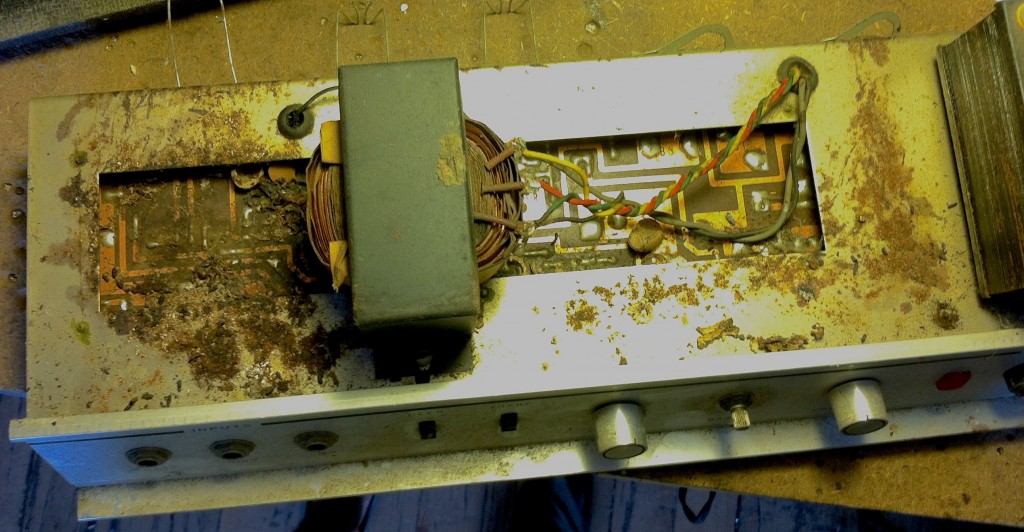 Hey there! Here’s the horrifying scene I encountered when I removed the single (incorrect) screw that was holding the chassis into the cabinet. What you are seeing is a heartwarming combination of acorn shells, spider eggs, and ants. Long after this thing ceased to be a device capable of amplifying audio, it had a second life as home for wayward animals. Let the crack fox explain. (click text at left for direct link; full video below).
Oh yeah so – the horrifying part? Look at how this thing is constructed: a (basically non-removable) circuit board! With half of it obscured by sheet metal. This ain’t gonna be easy. Feeling a little less optimistic at this point…
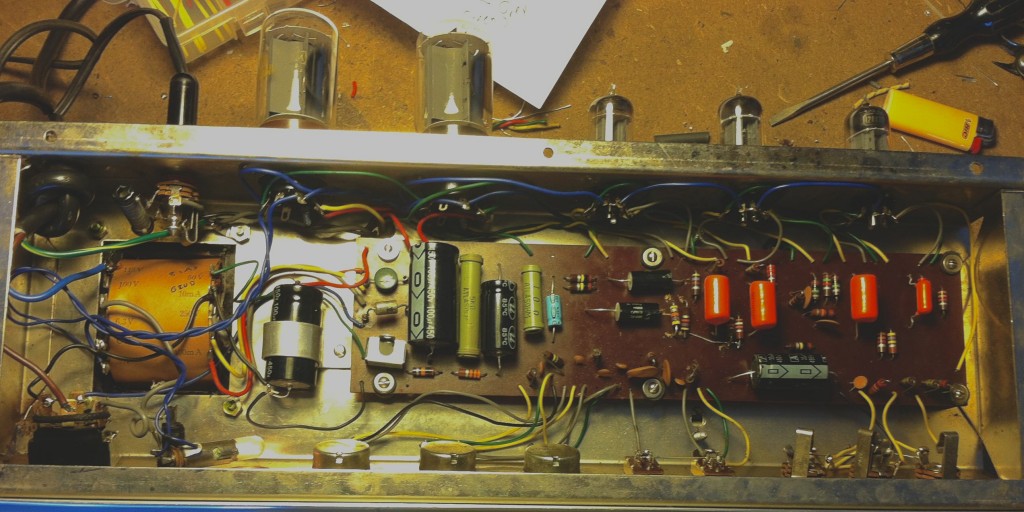 Above: the reverse side of the chassis (which was remarkably clean) after allllll of the repairs were completed. Here’s what it took:
*When I found an appropriate-sized fuse cap and tubed the thing up, I attached the test speaker and I got… hummmmmmmm. That’s it. Lots of hum. Now as a younger fellow this would have discouraged me, but I’ve learned better. Hum may suck but it is SOUND, so at least the power transformer, rectifier, and output stage is relatively operational.
*I measured the voltages throughout the power supply – they were way off. One of the (factory-original) filter caps was so, so drastically underrated – 150v whereas it needed to handle at least 300v – so it’s a miracle this thing ever worked at all. Replaced all the filter caps (and the bias cap) and voila – some audio, a tiny, tiny bit, was passing from the input and the tone controls seemed to work. The B+ points were now also reading within appropriate ranges.
*After replacing the bias cap, the bias was reading 20v whereas the schematic indicated -32v. I was also getting two different readings at the 6L6 grids. I suspected the coupling caps, and sure enough, they were shot. replaced those and bias was now -28v and balanced. I little lower than the schem, but so was the B+ overall so probably correct.
*Next: started checking the B+ at every plate. ALL THREE 47K plate-load resistors were shot. As was EVERY SINGLE coupling cap in the amp. Replaced all of that stuff and the amp was working alright. Some hum, the tone sucked, but it was loud.
*As I was checking some voltages around the chassis I saw some sparking inside the output transformer. The O/T is a paper/wire wound unit with no potting or wrap whatsoever – the coils are completely exposed. Not a good idea. Anyhow, something, moisture, dirt, who knows, had gotten inside of it, and now that it was putting out some real current, it was starting to burn up. I had a spare output transformer (vintage US made unit from a discarded PA head) with the same turns ratio, same size and weight, so I threw that in. Now the amp sounded great! Almost done…
*Last steps: removed the two-prong A/C cord and the ‘Death Cap,’ replaced the DPDT power/standby switch (the original switch was intermittent), and put in a better-matched pair of output tubes (a pair of old Sylvania 5881s). I used 50s RCAs for the preamp. Hum is totally gone, everything works great. It’s really a great-sounding amp now – loud, versatile controls, and so small and light for a 50W head. Pretty good, pretty neat…
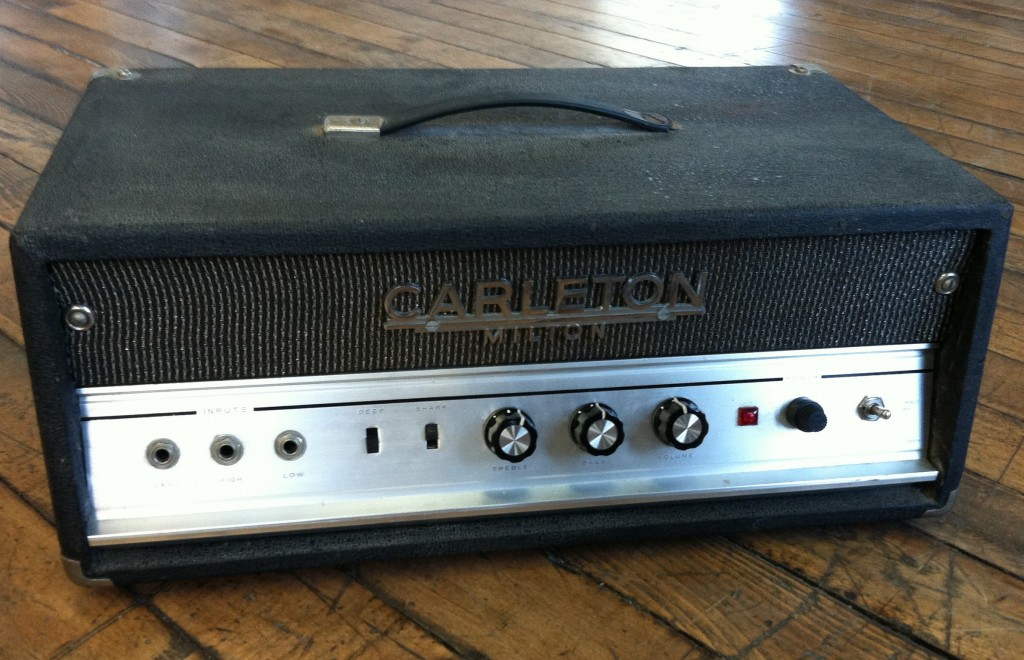 As far as the cosmetics go: one of the original knobs was missing and I didn’t have an identical unit in stock, so I replaced all three with some vaguely period-correct Japanese knobs. I also didn’t have a Univox logo plate to replace the missing original, so I added a name plate from the random-logo-drawer onto the front of the amp just because it looked a little odd with nothing there. Univox is now ready to go, much better than it was from the factory: better caps, better output trans, and much better tubes too. If this had been a repair for a customer, the bill would have been around $400 for parts and labor (assuming I used new Chinese or Russian tubes and a new O/T). $400 is clearly too much for a sensible person to spend on repairing a piece like this, as the street value for a properly working unit is only about $350. Had someone other than an amplifier serviceman purchased this thing, it probably would have gone into the trash or into another garage for the next 45 years. Now, if the Univox had been wired and assembled like a Fender amp, on a turret board, the repair would have taken half as much time and the repair could have been vaguely cost-effective. It was the goddamn awkward circuit board that made it take so long to re-fit. Proof yet-again that repairman-friendly construction practices do add significantly to the service-life of an amplifier.

